Slicing in Ideamaker
How to Slice in IdeaMaker
- Download IdeaMaker installer
- Finish installing and launch IdeaMaker
- You will be prompted to select which printers you are using
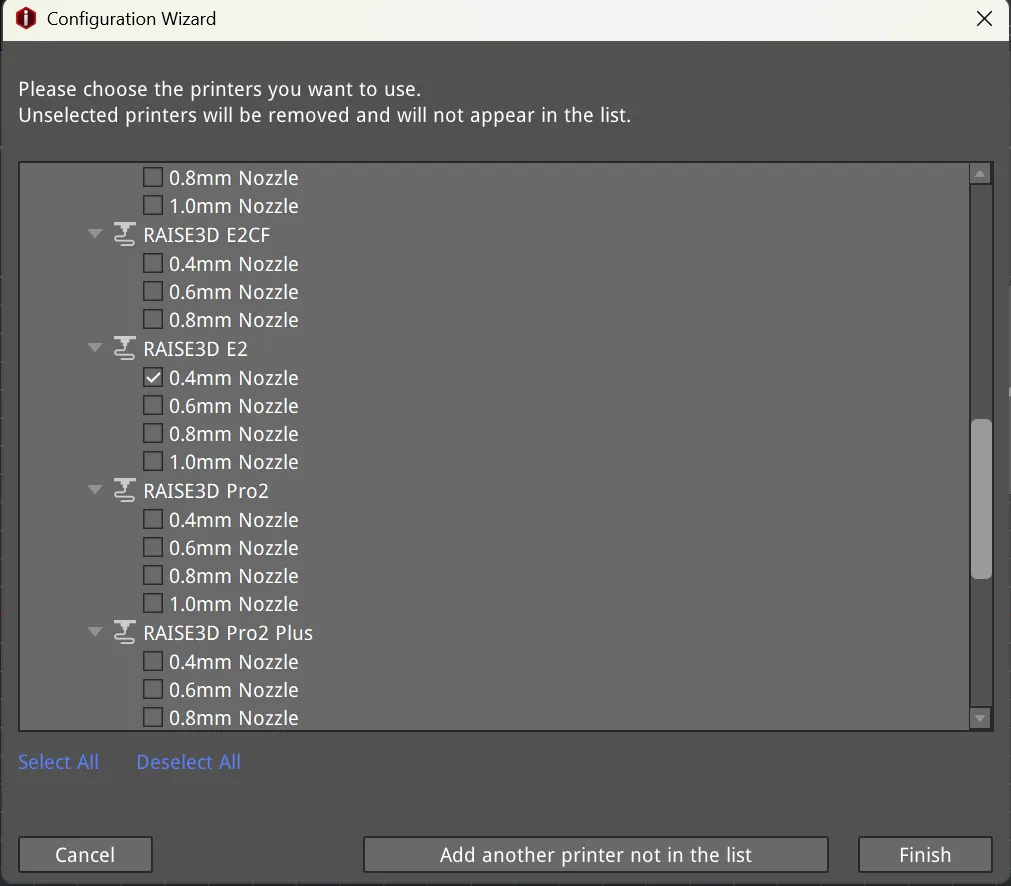
-choose RAISE3D E2 0.4mm Nozzle (unless you happen to be working with another nozzle size)
- Select Import Models and upload your .stl file
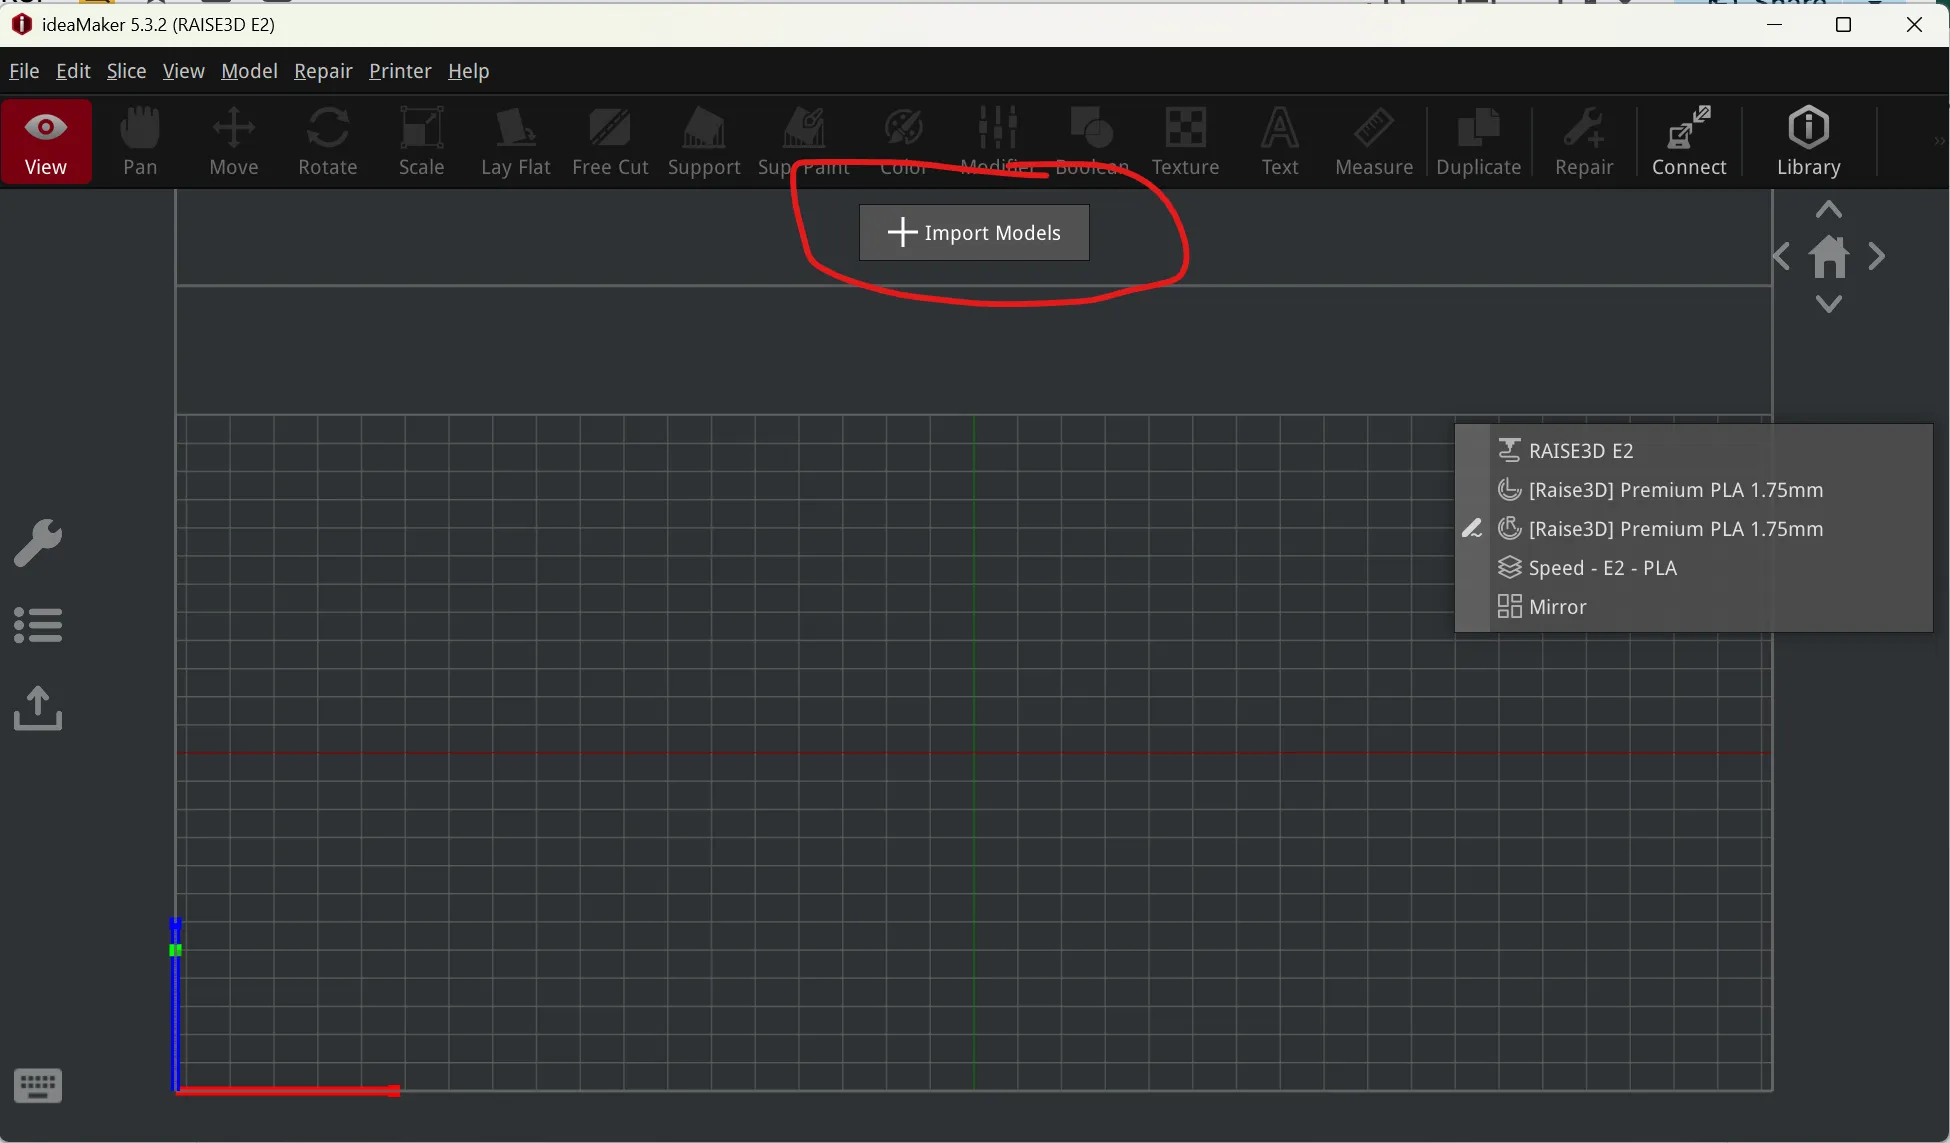
- Edit your slicer preset settings
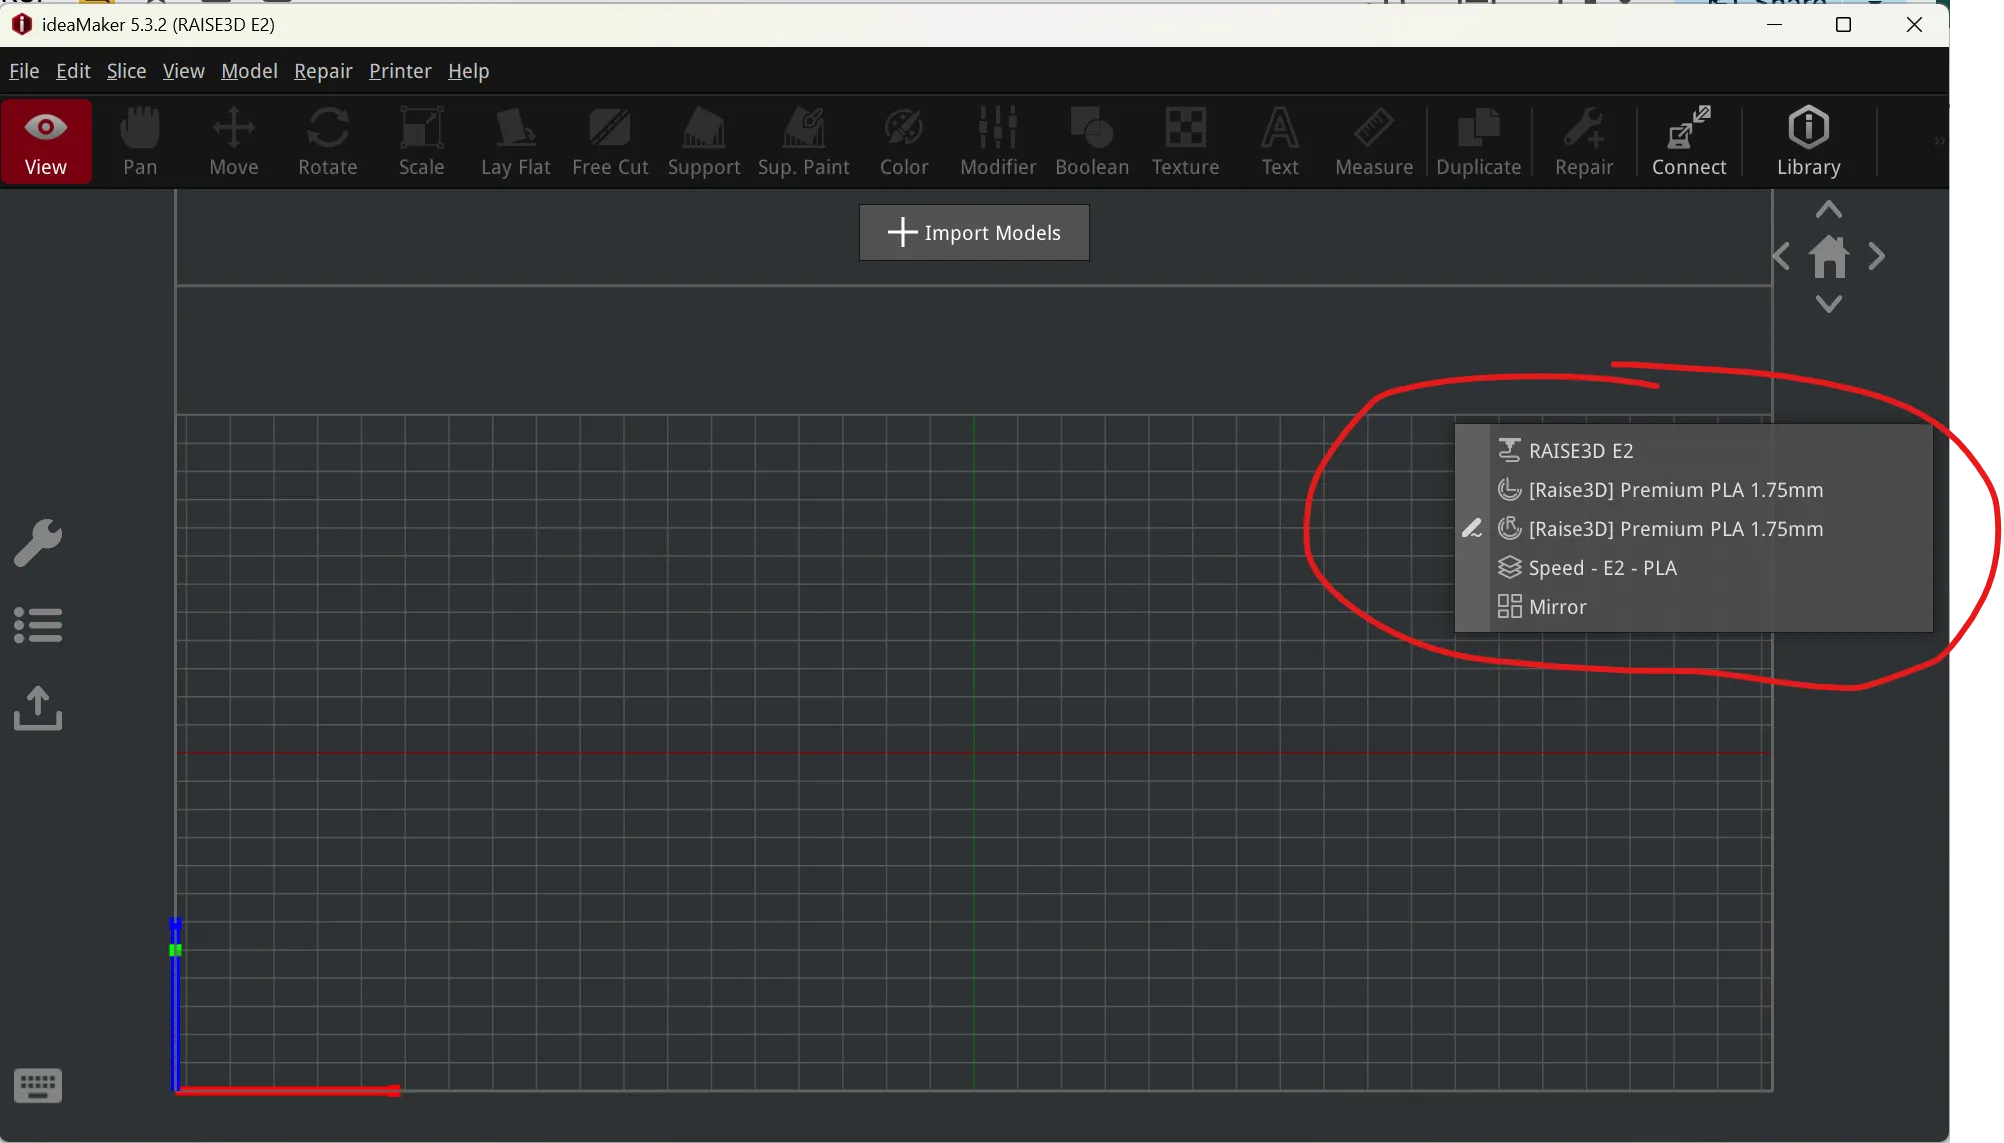
-By pressing the edit button, you can customize the recommended preset.
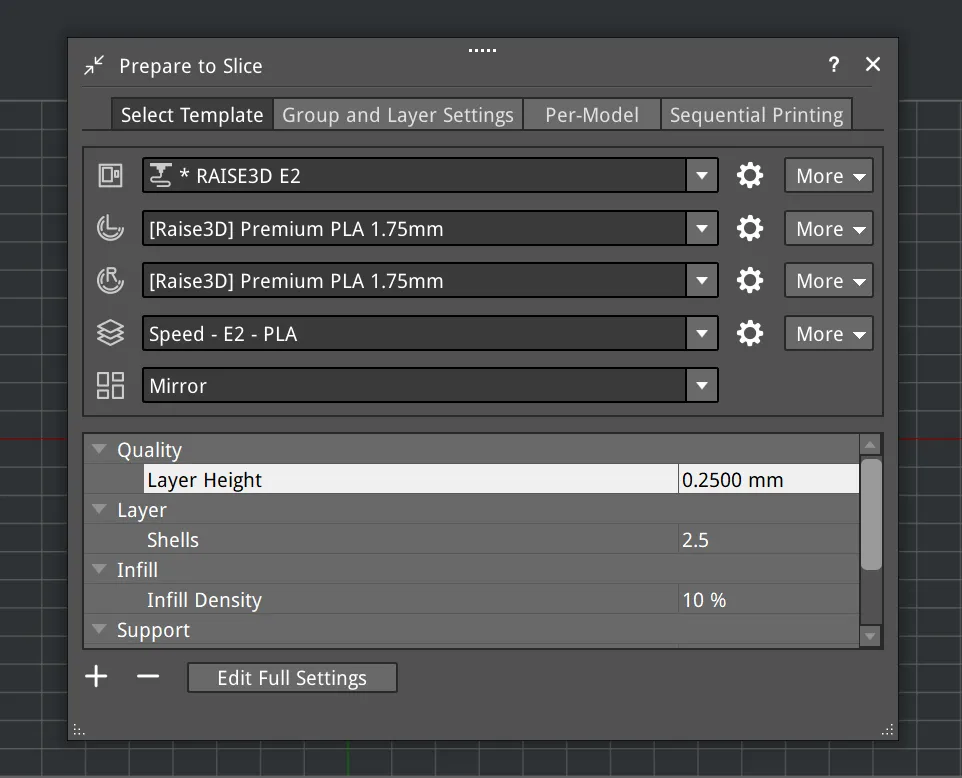
-confirm your filament type has been entered correctly
-select the level of quality for the print (High Quality/Standard/Speed)
-select none/dual/mirror mode (for a typical 3D print select none)
-The preset settings are sufficient, but if you have sufficient knowledge of slicing settings, you can edit the full settings
-you can customize the infill style in the full settings menu
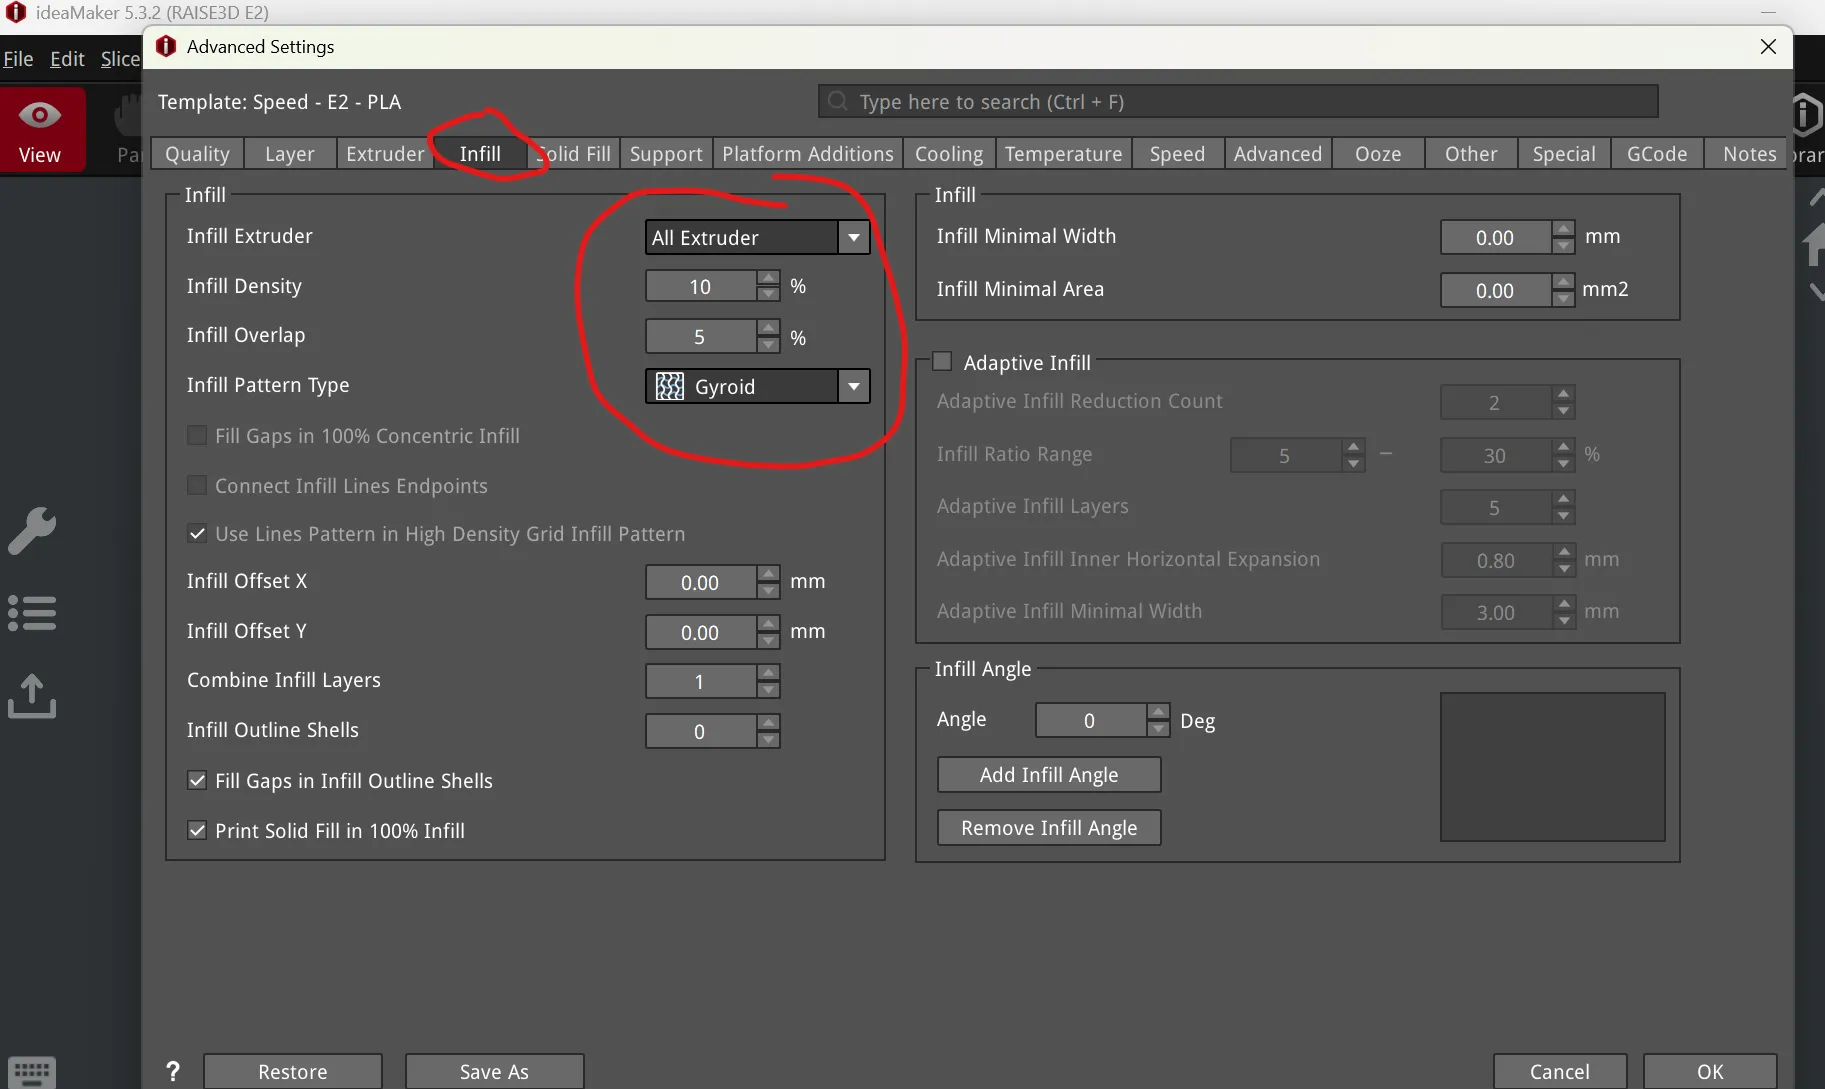
-For more information on slicer settings, visit this reference
- Move, rotate, or scale your print
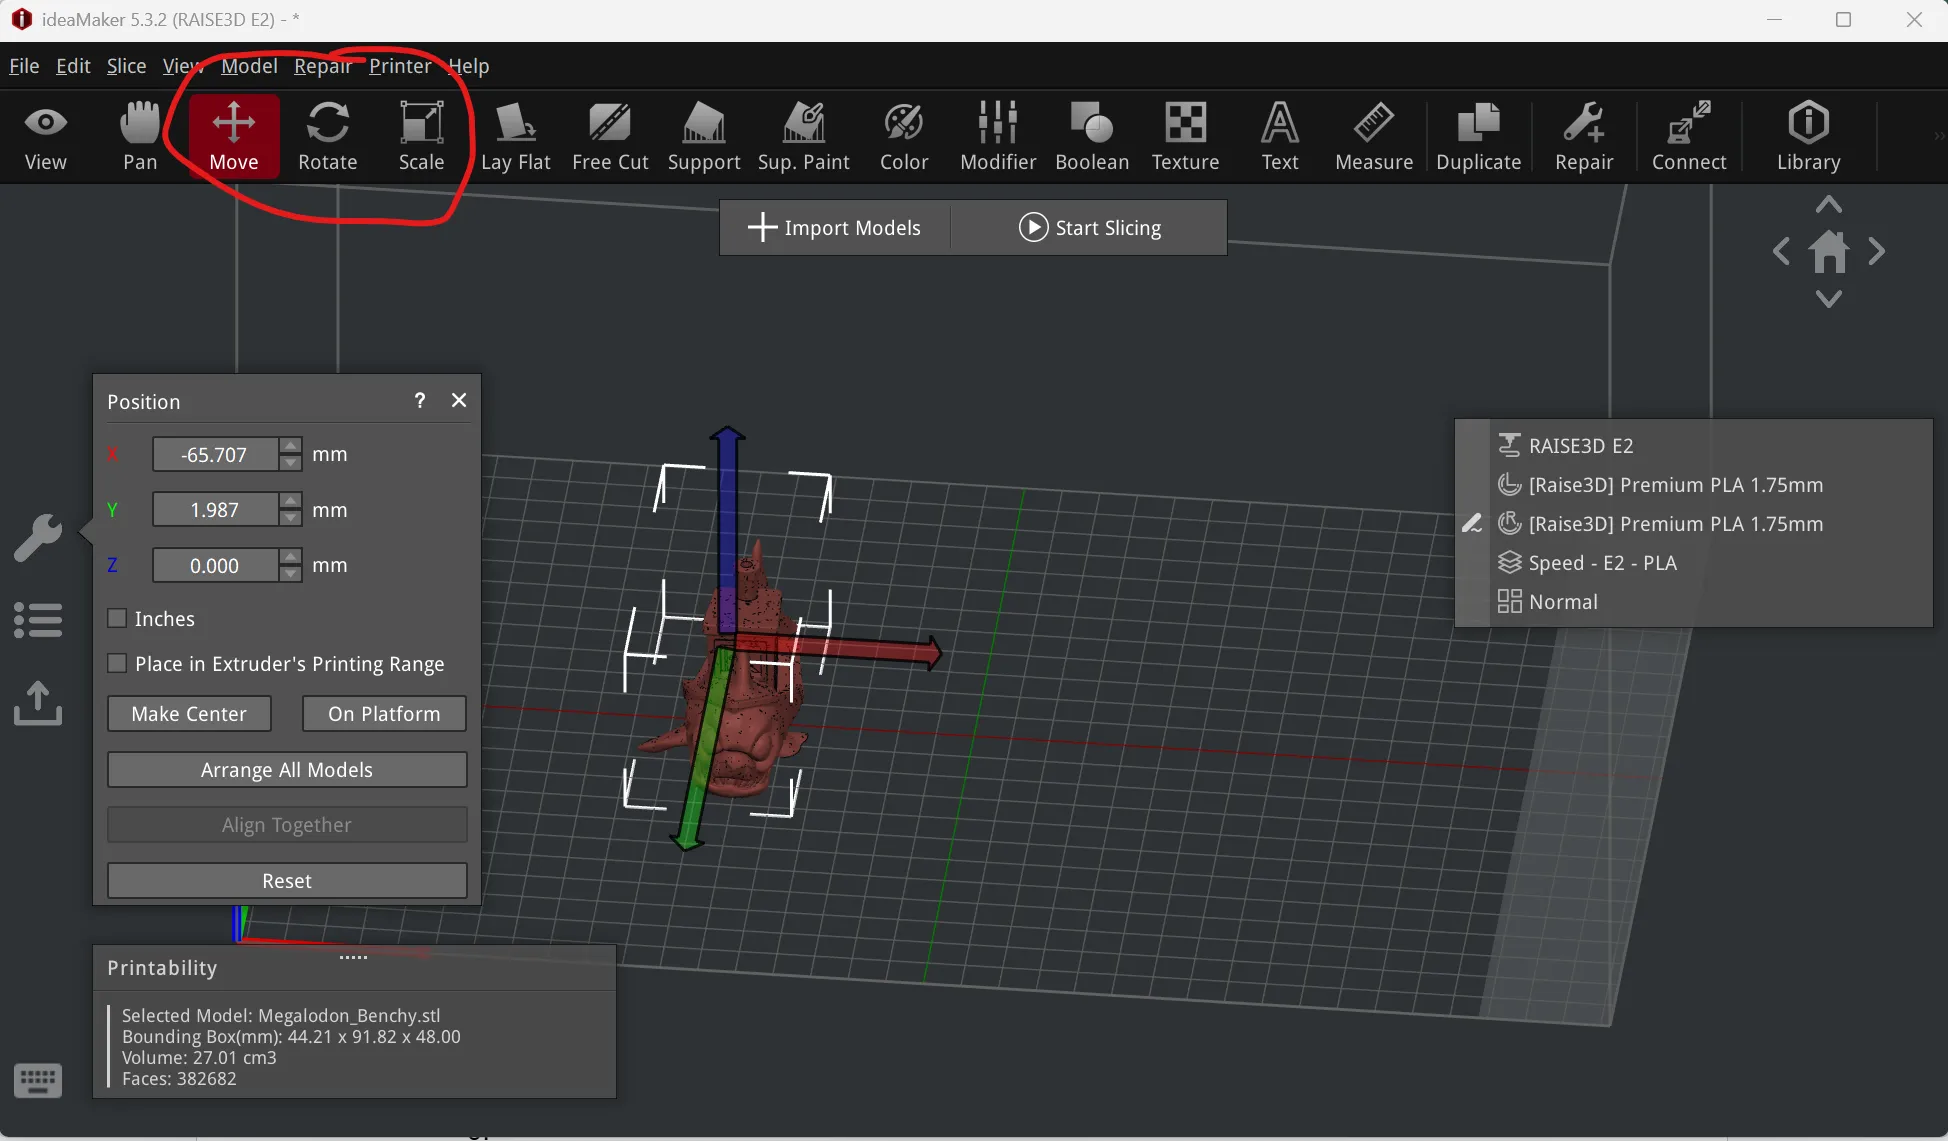
-note that for duplication or mirroring, you must keep your model in IdeaMaker’s designated area
- Add Supports if necessary
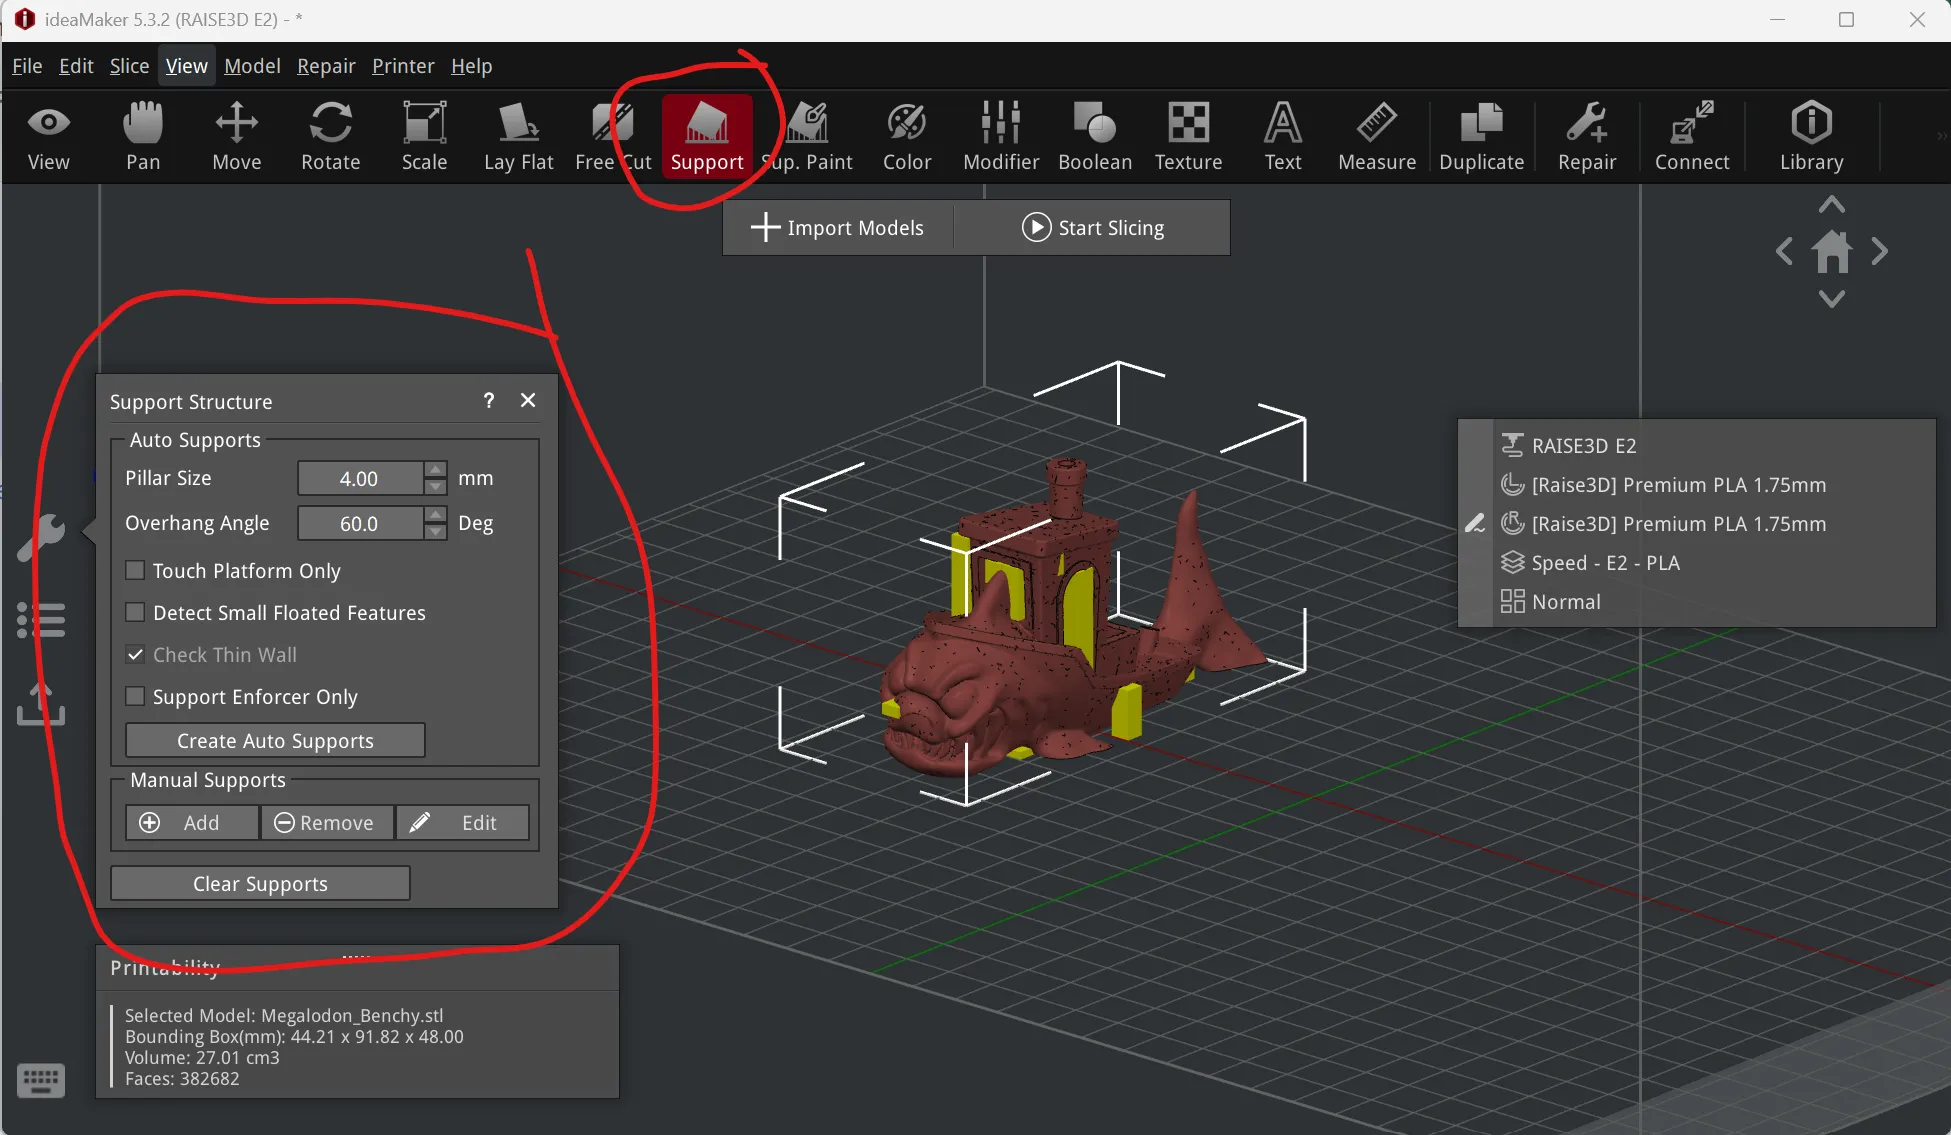 -You can start with auto supports or manually add supports
-Keep in mind auto support tends to generate more supports than necessary (the example model above can actually be printed without any supports at all)
-
Before slicing, complete the following checklist:
-File reviewed in Preview mode
-Correct extruder assignment verified
-Correct material profile selected
-Print fits within build volume
-Supports and brims reviewed -
Once you are done positioning your model and adjusting settings, you can start slicing
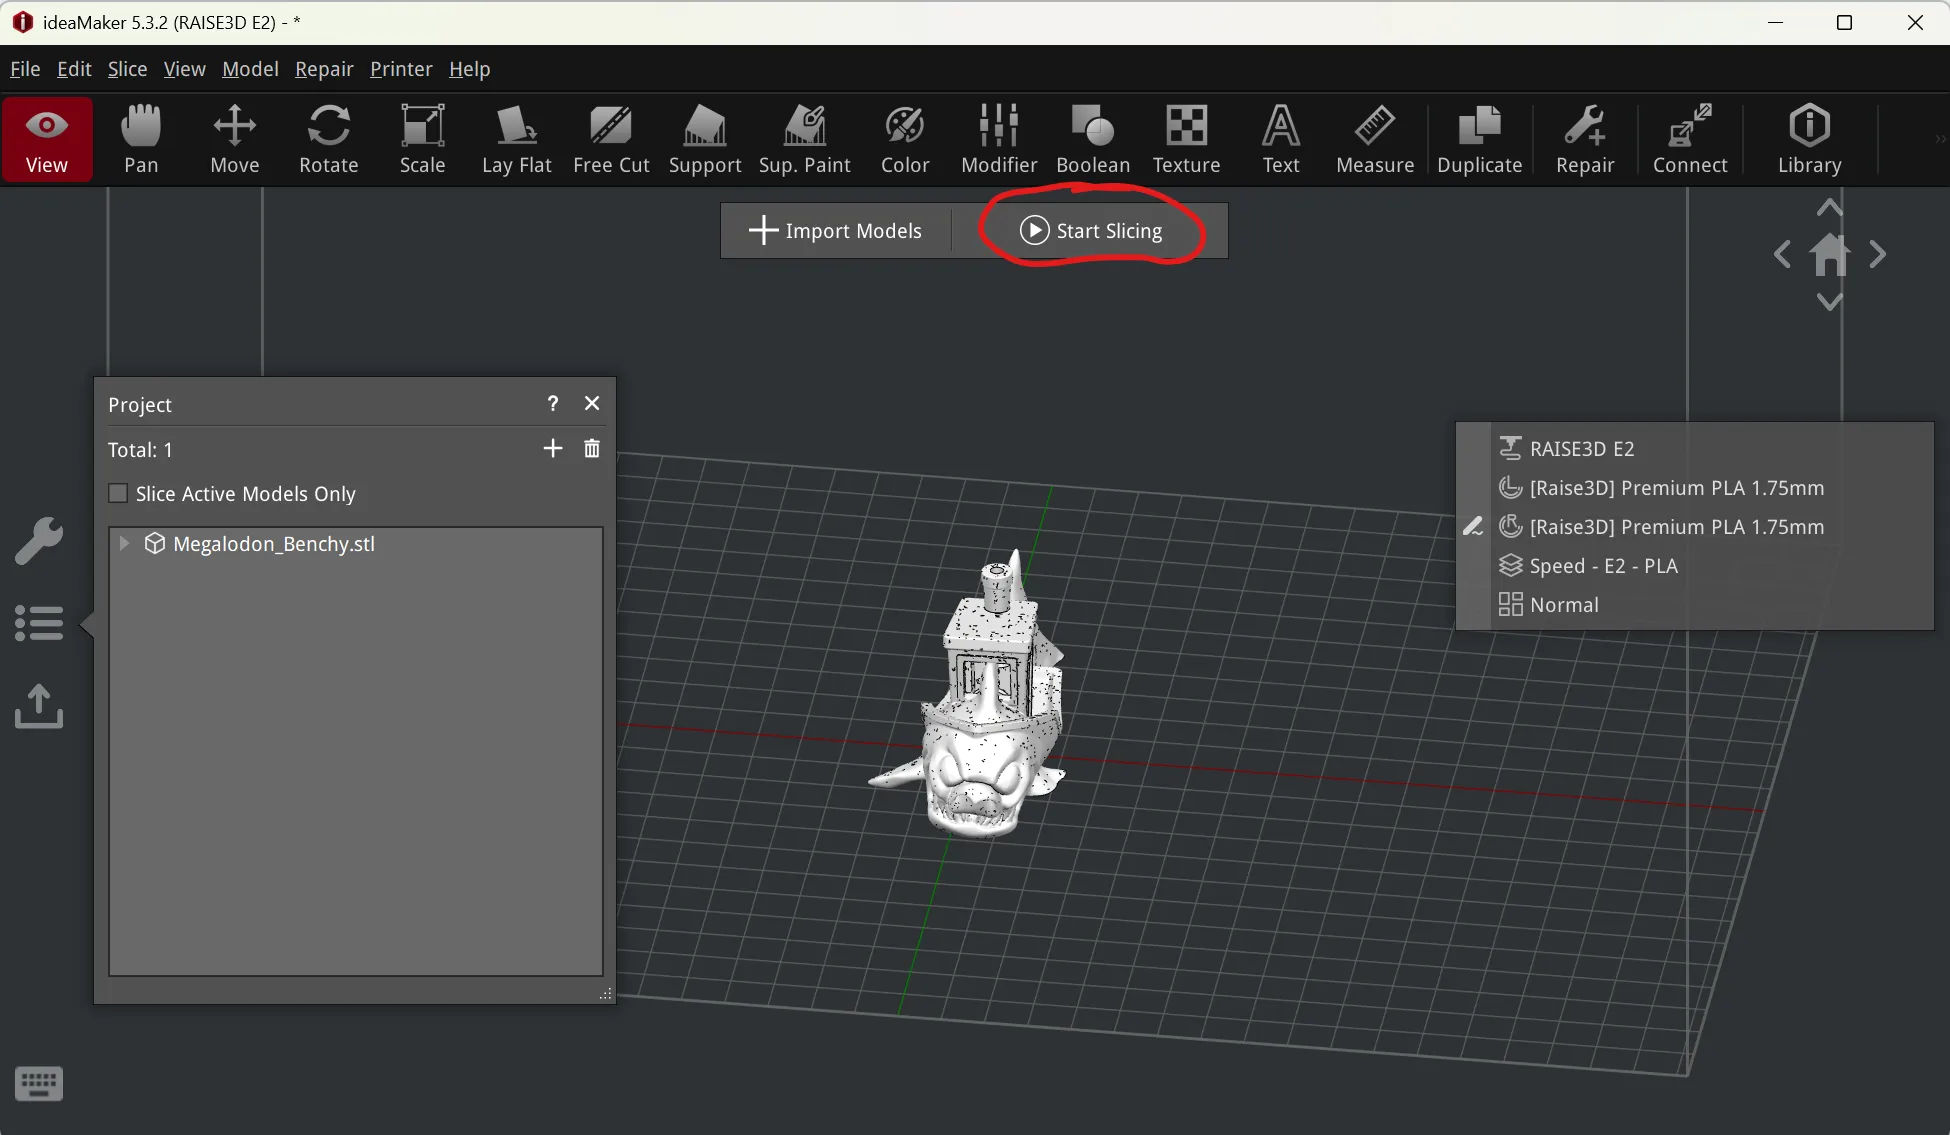
- Once slicing is complete, Export to Local Disk and select your USB drive
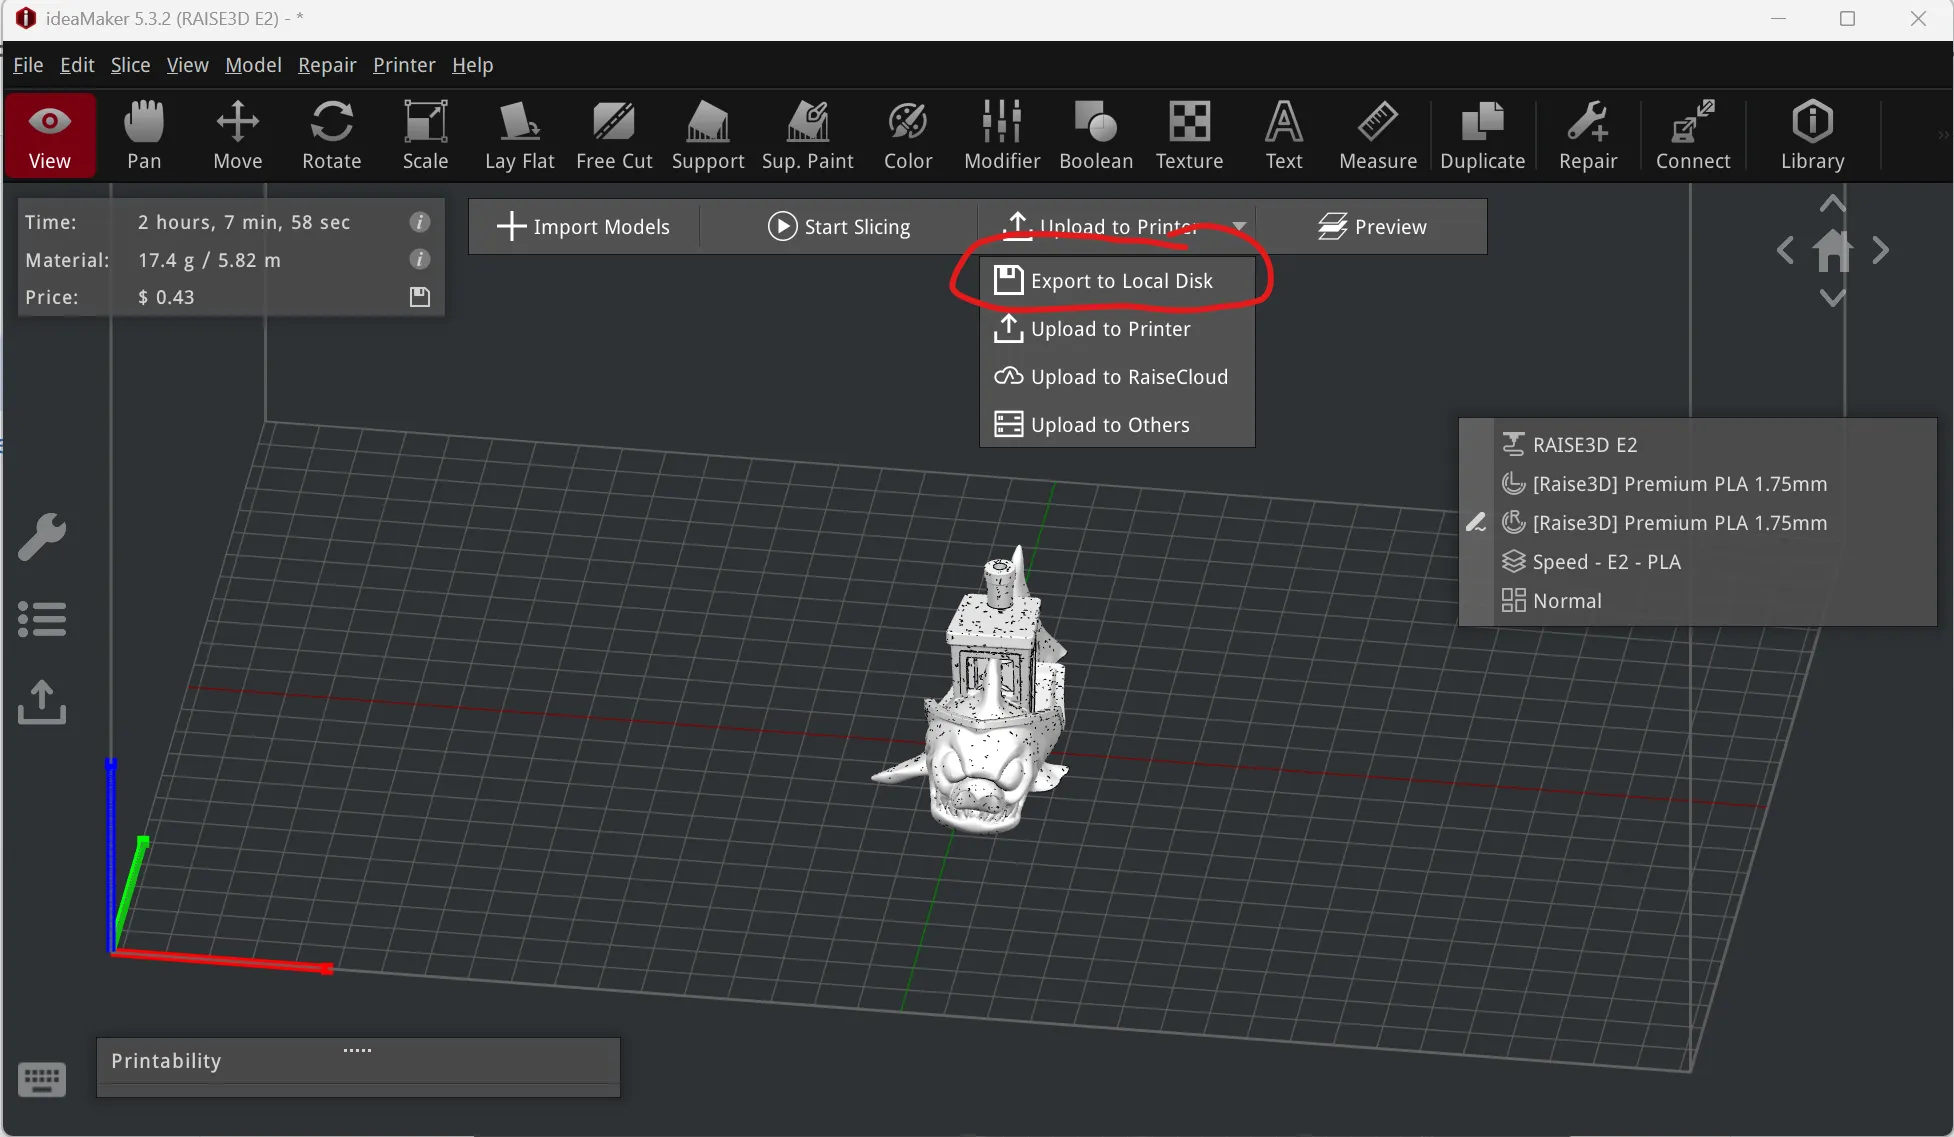
- You are now ready to plug your USB into the Raise3D E2 Printer and start the print. Reference the Raise 3D E2 Dual Head Printer Operations Manual to get started.