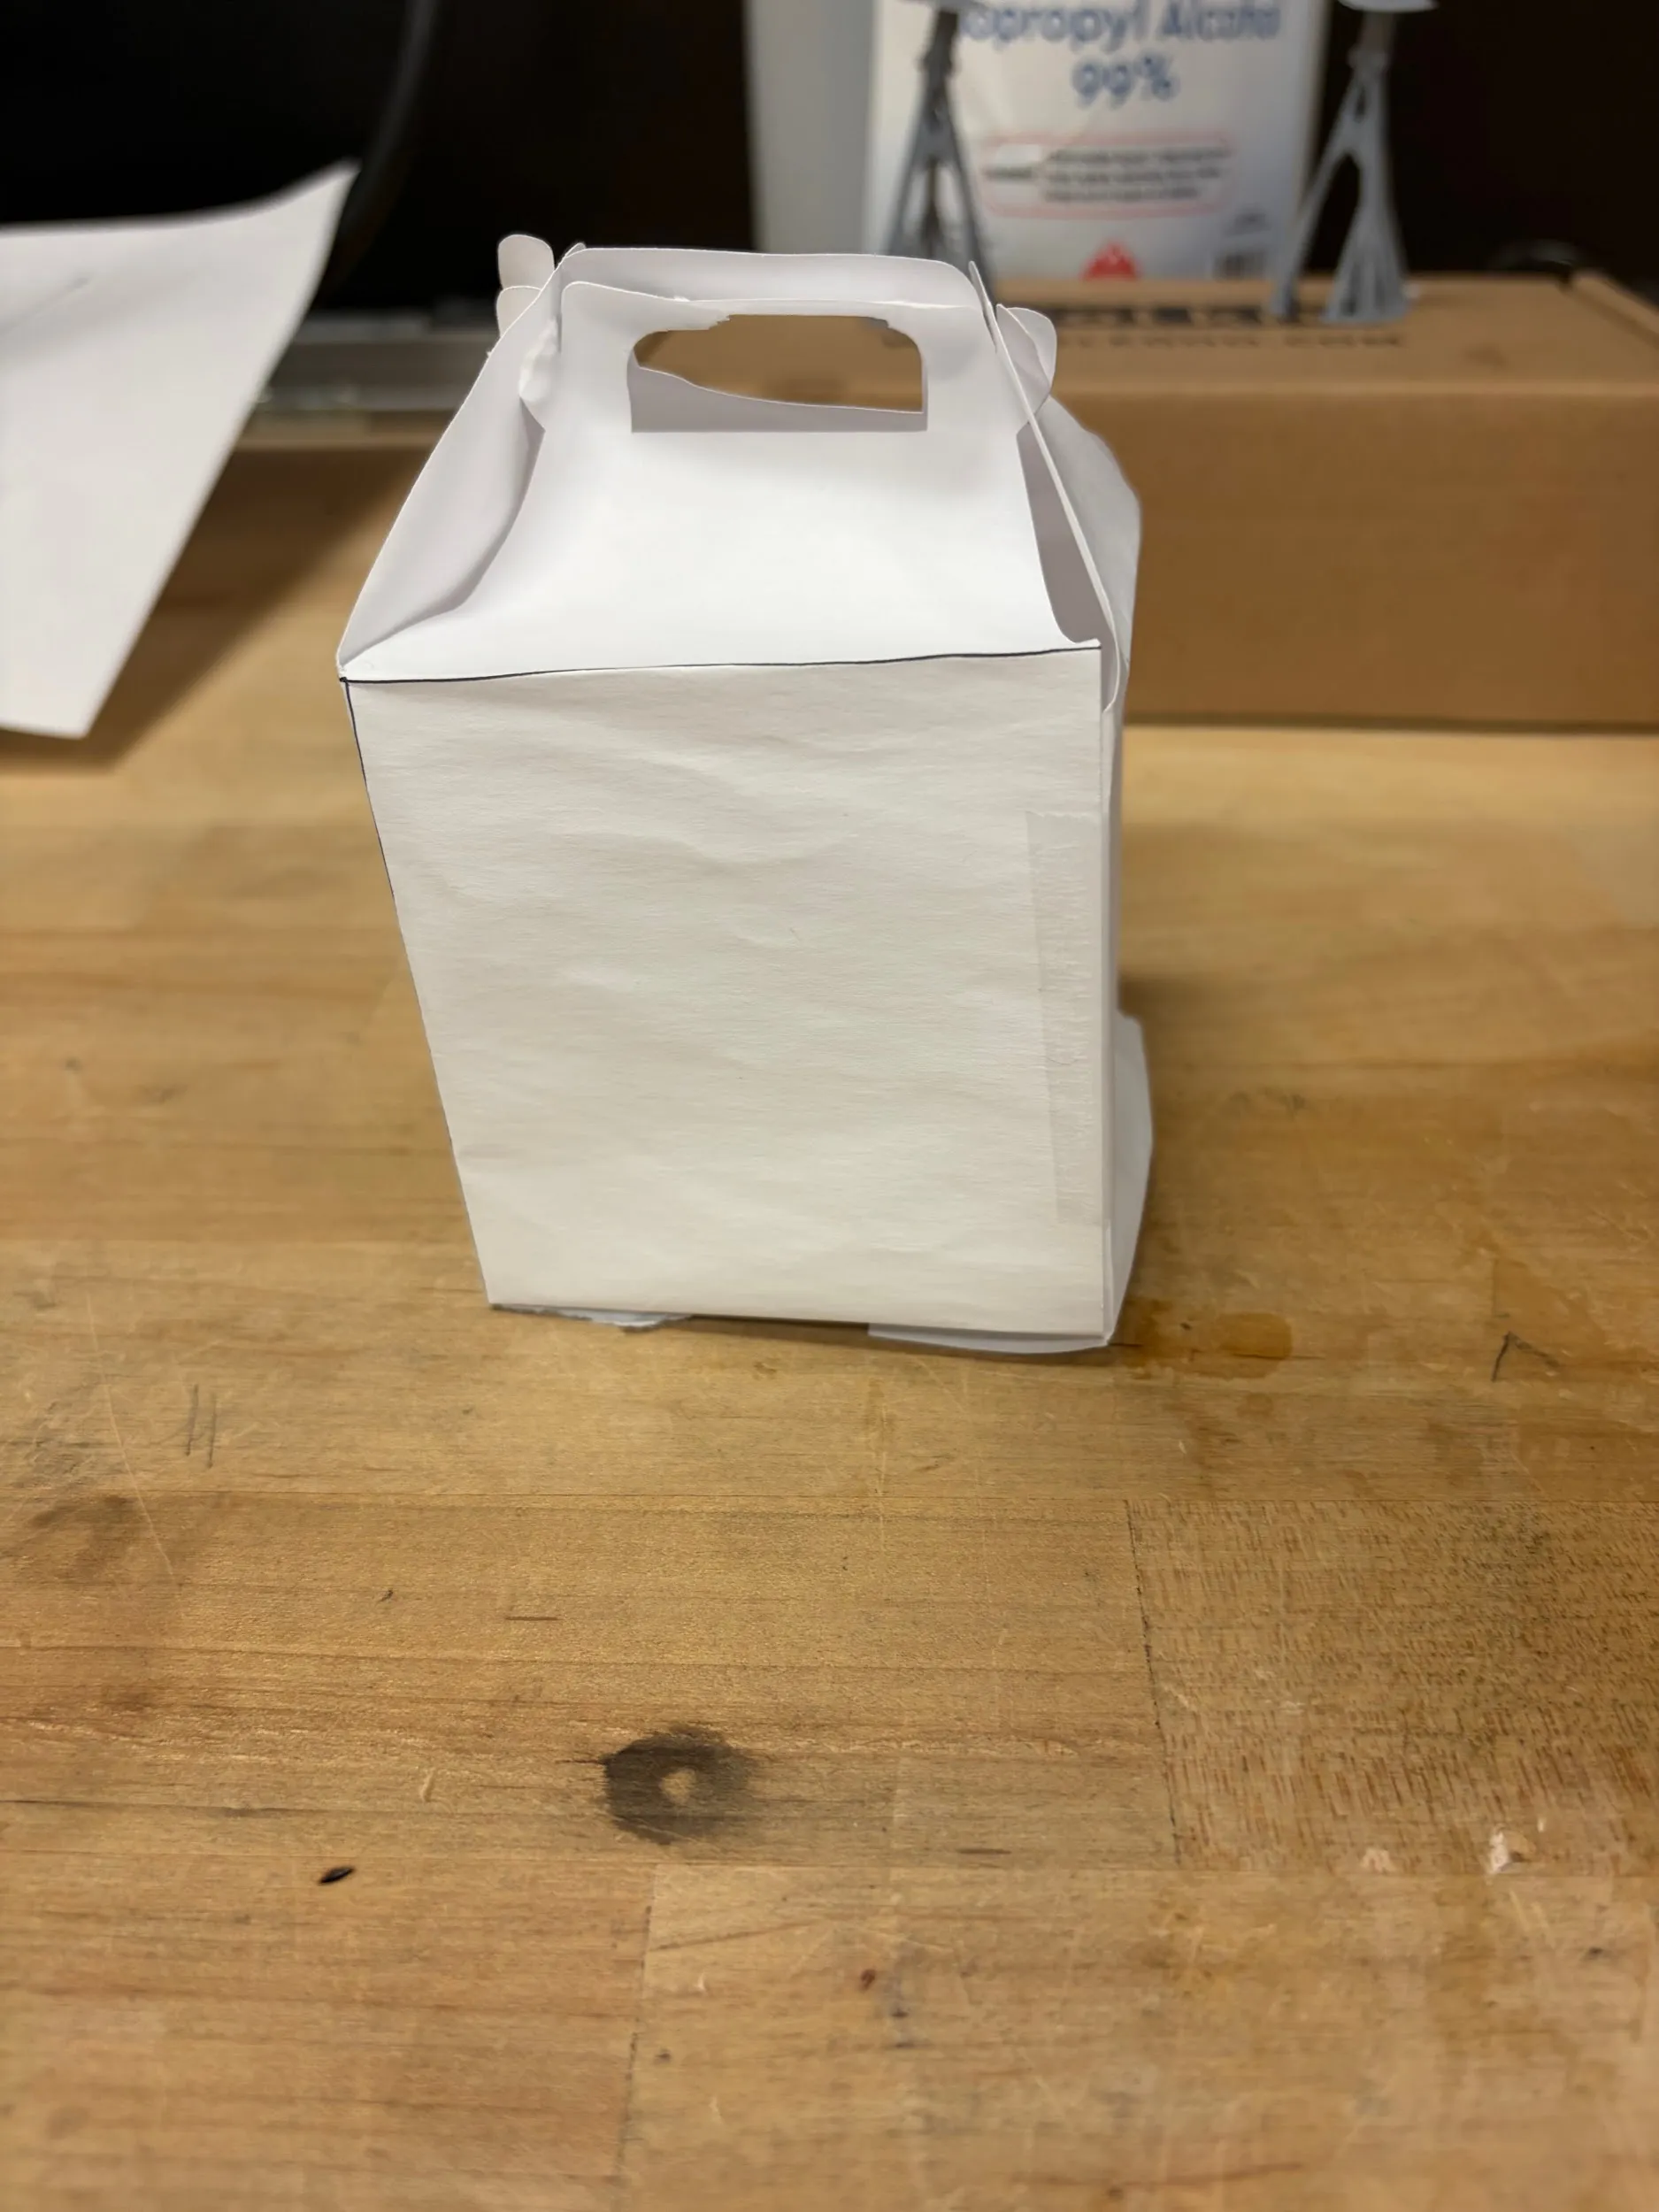
Cricut Explore 4 Assignment _ Box
Cricut Explore 4 Assignment
Machine Name: Cricut Smart Cutting Machine | Explore 4
Location: The Fab Lab
Version: v1.0
Last Updated: 4/1/26
Responsible Student Worker: Priyanka Naphade
Linked Operations Manual:Operations Manuel
Objective: Make a Gable box
- Set up design space
Go to Cricut Design Space and follow the prompts from the website and the operation manuel to Design Space.
- Download Template
Go to this website: Free Large Gable Box Template SVG
Scroll down to the download portion button, it’s a blue button that says click here to download
Download the template and unzip the files
- Upload to Design Space
Select cardstock cut out
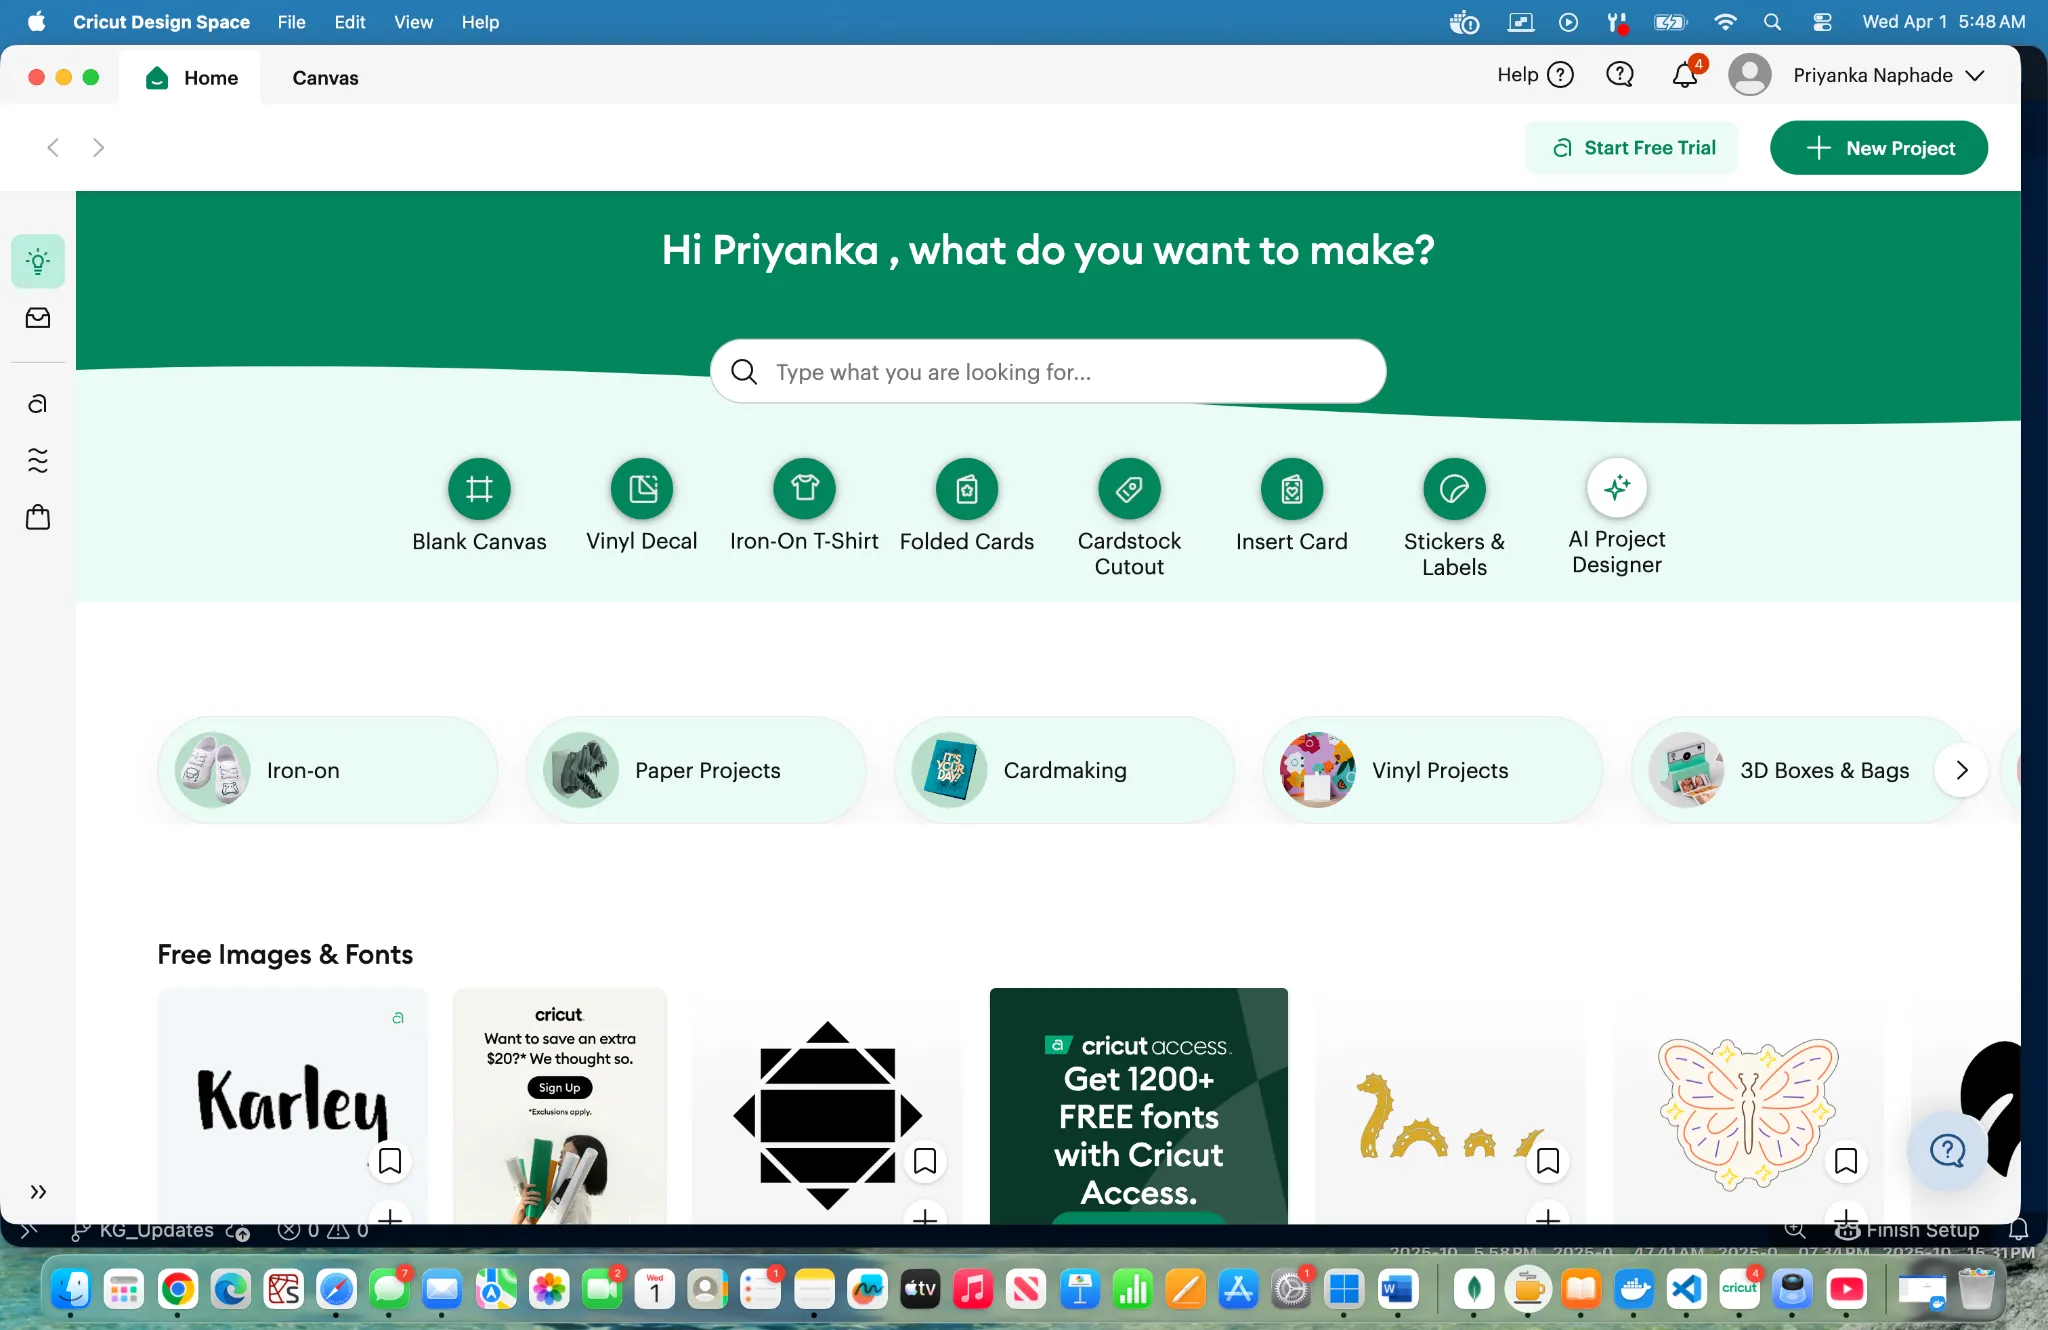
Then select custom size, enter in the dimensions 11.7 x 12 both are in inches and then click create
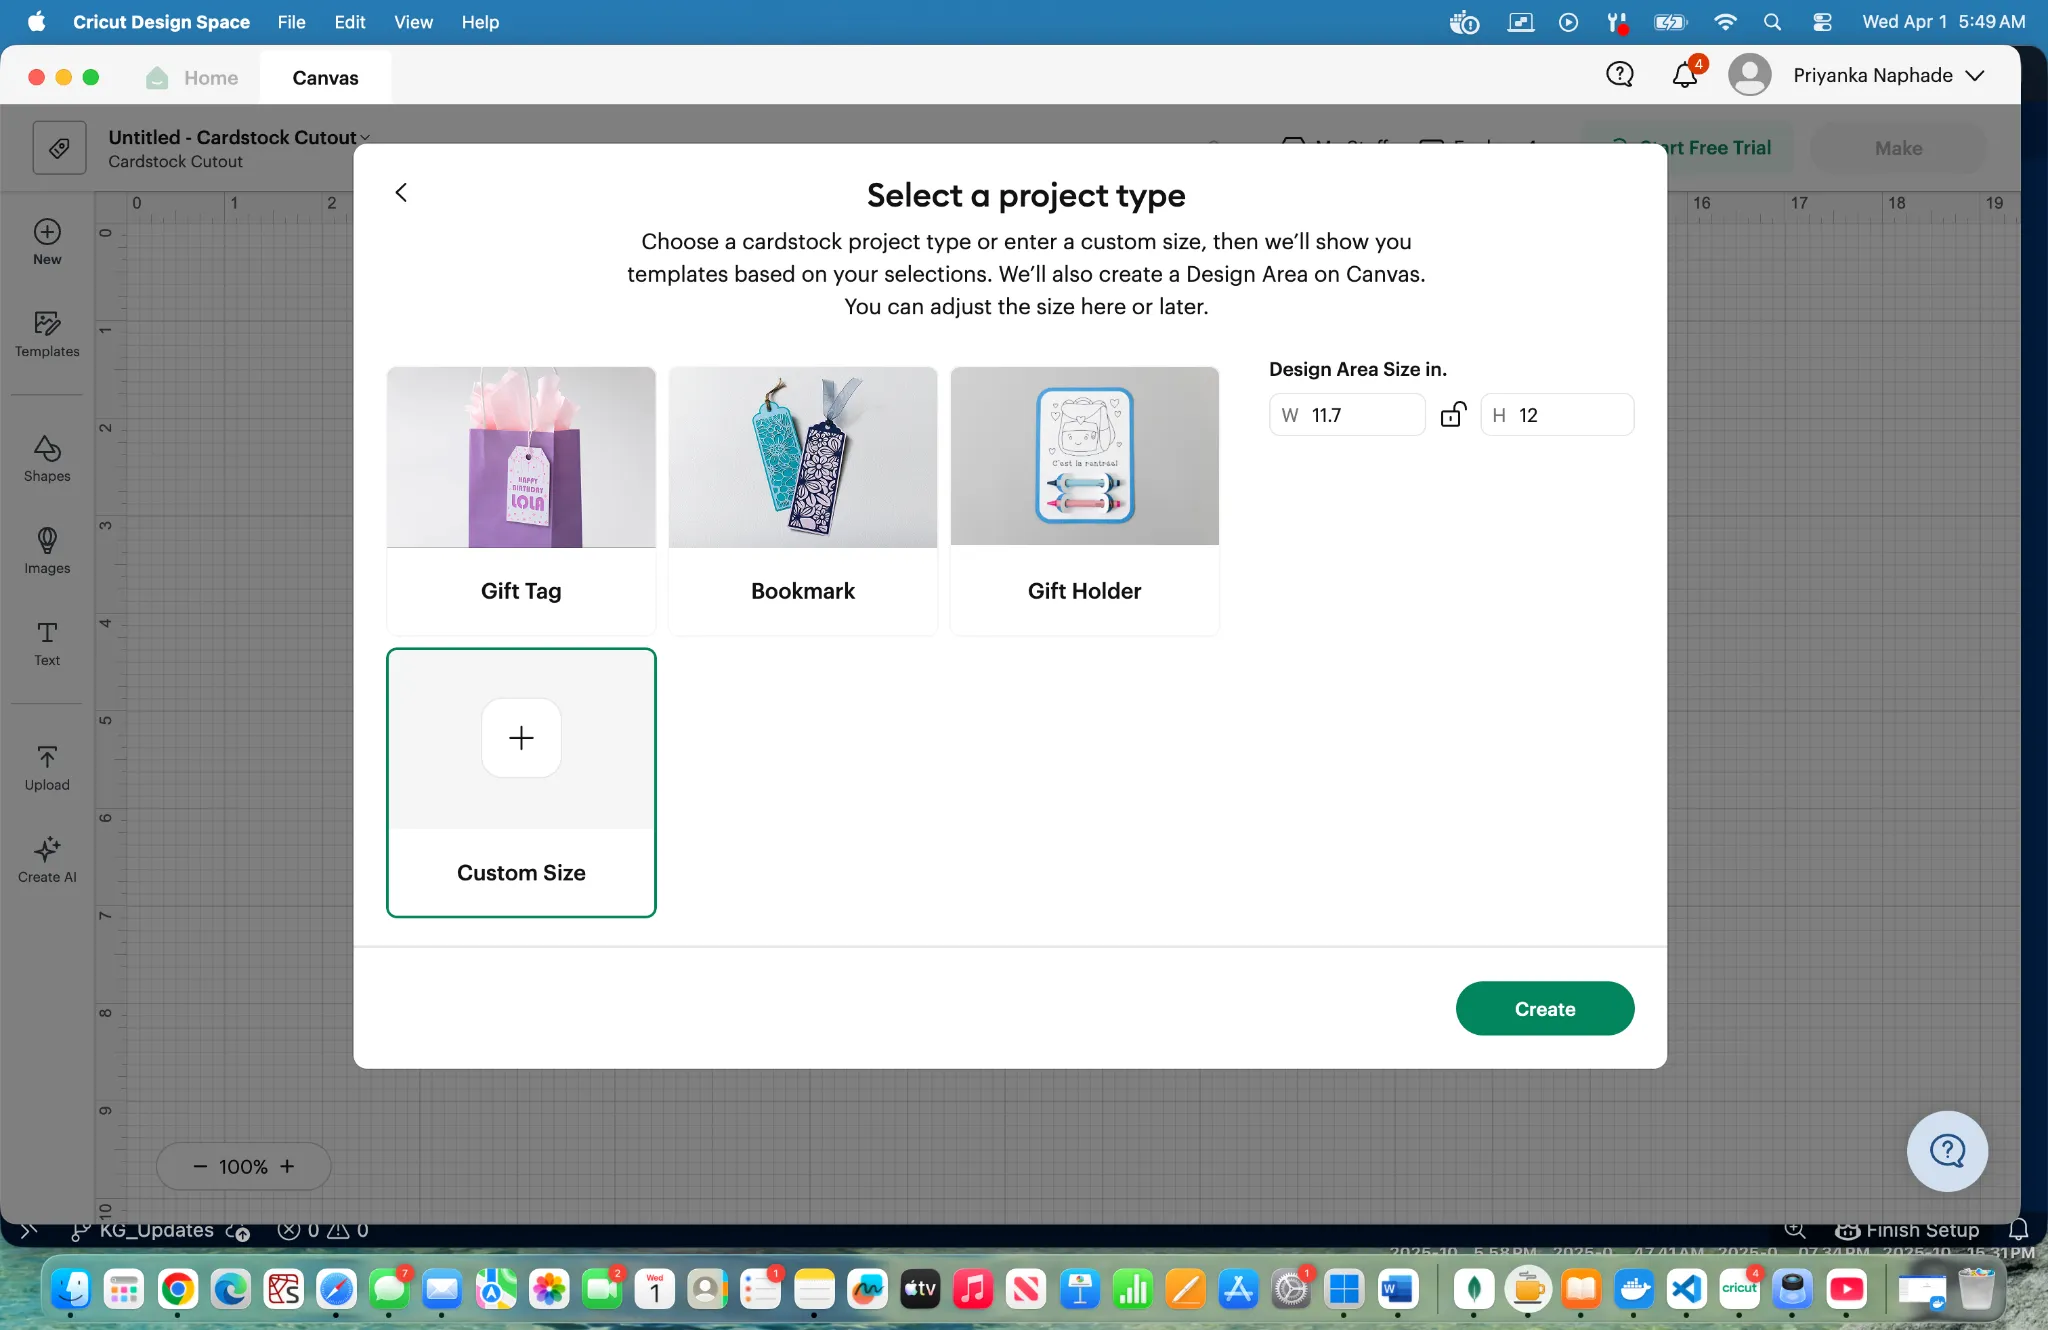
Click upload, it is located on the side bar.
Under the image tab click upload image
Upload the SVG version of the file that is within the zip folder
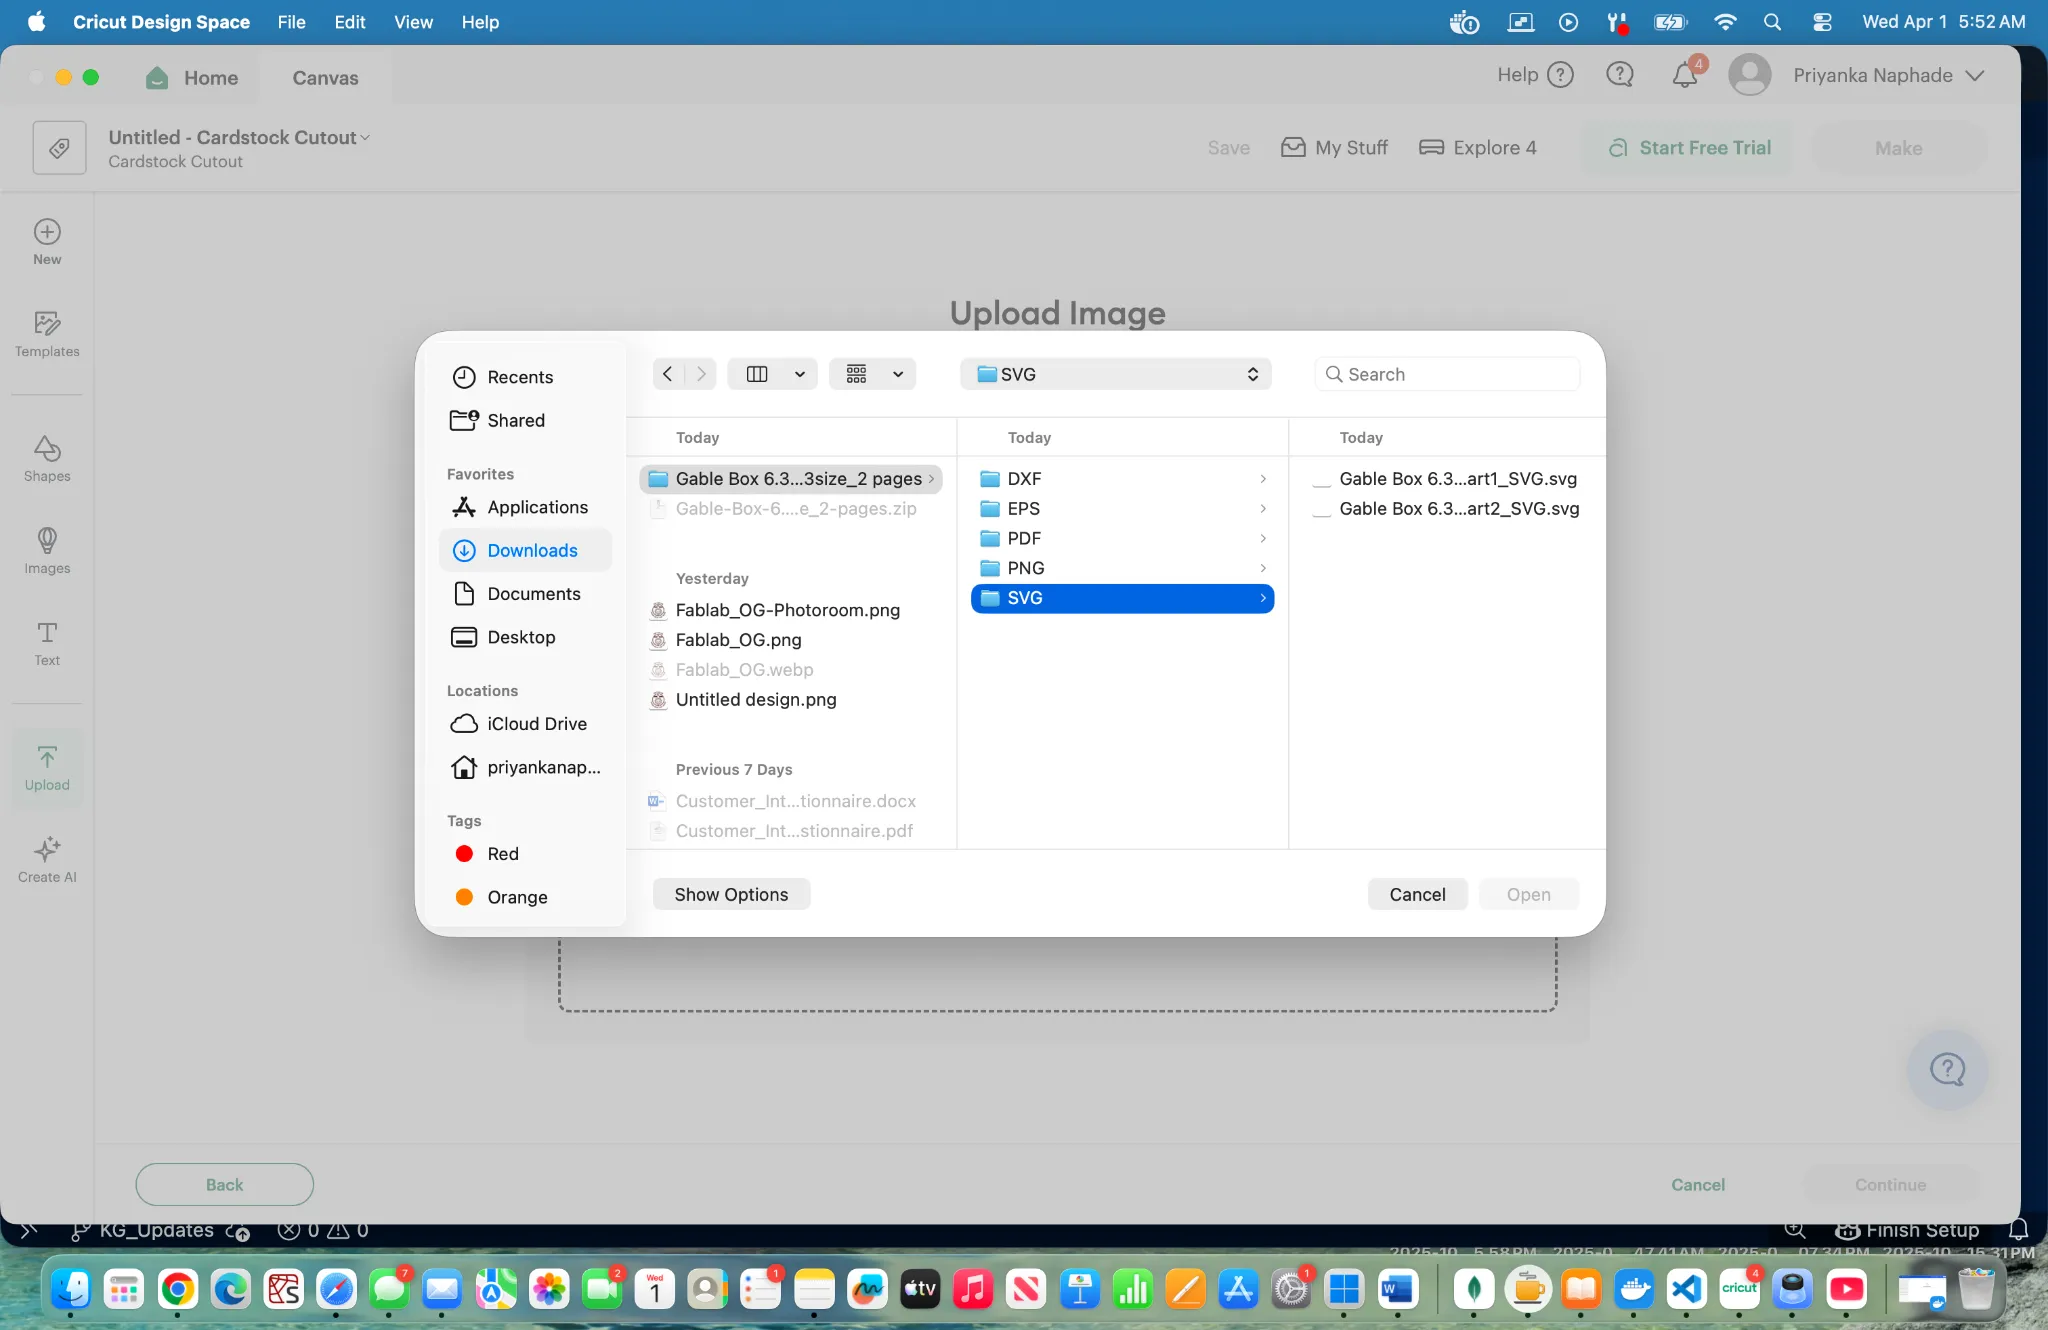
Then select part 1, you will not need to use part 2 in this project as they are identical.
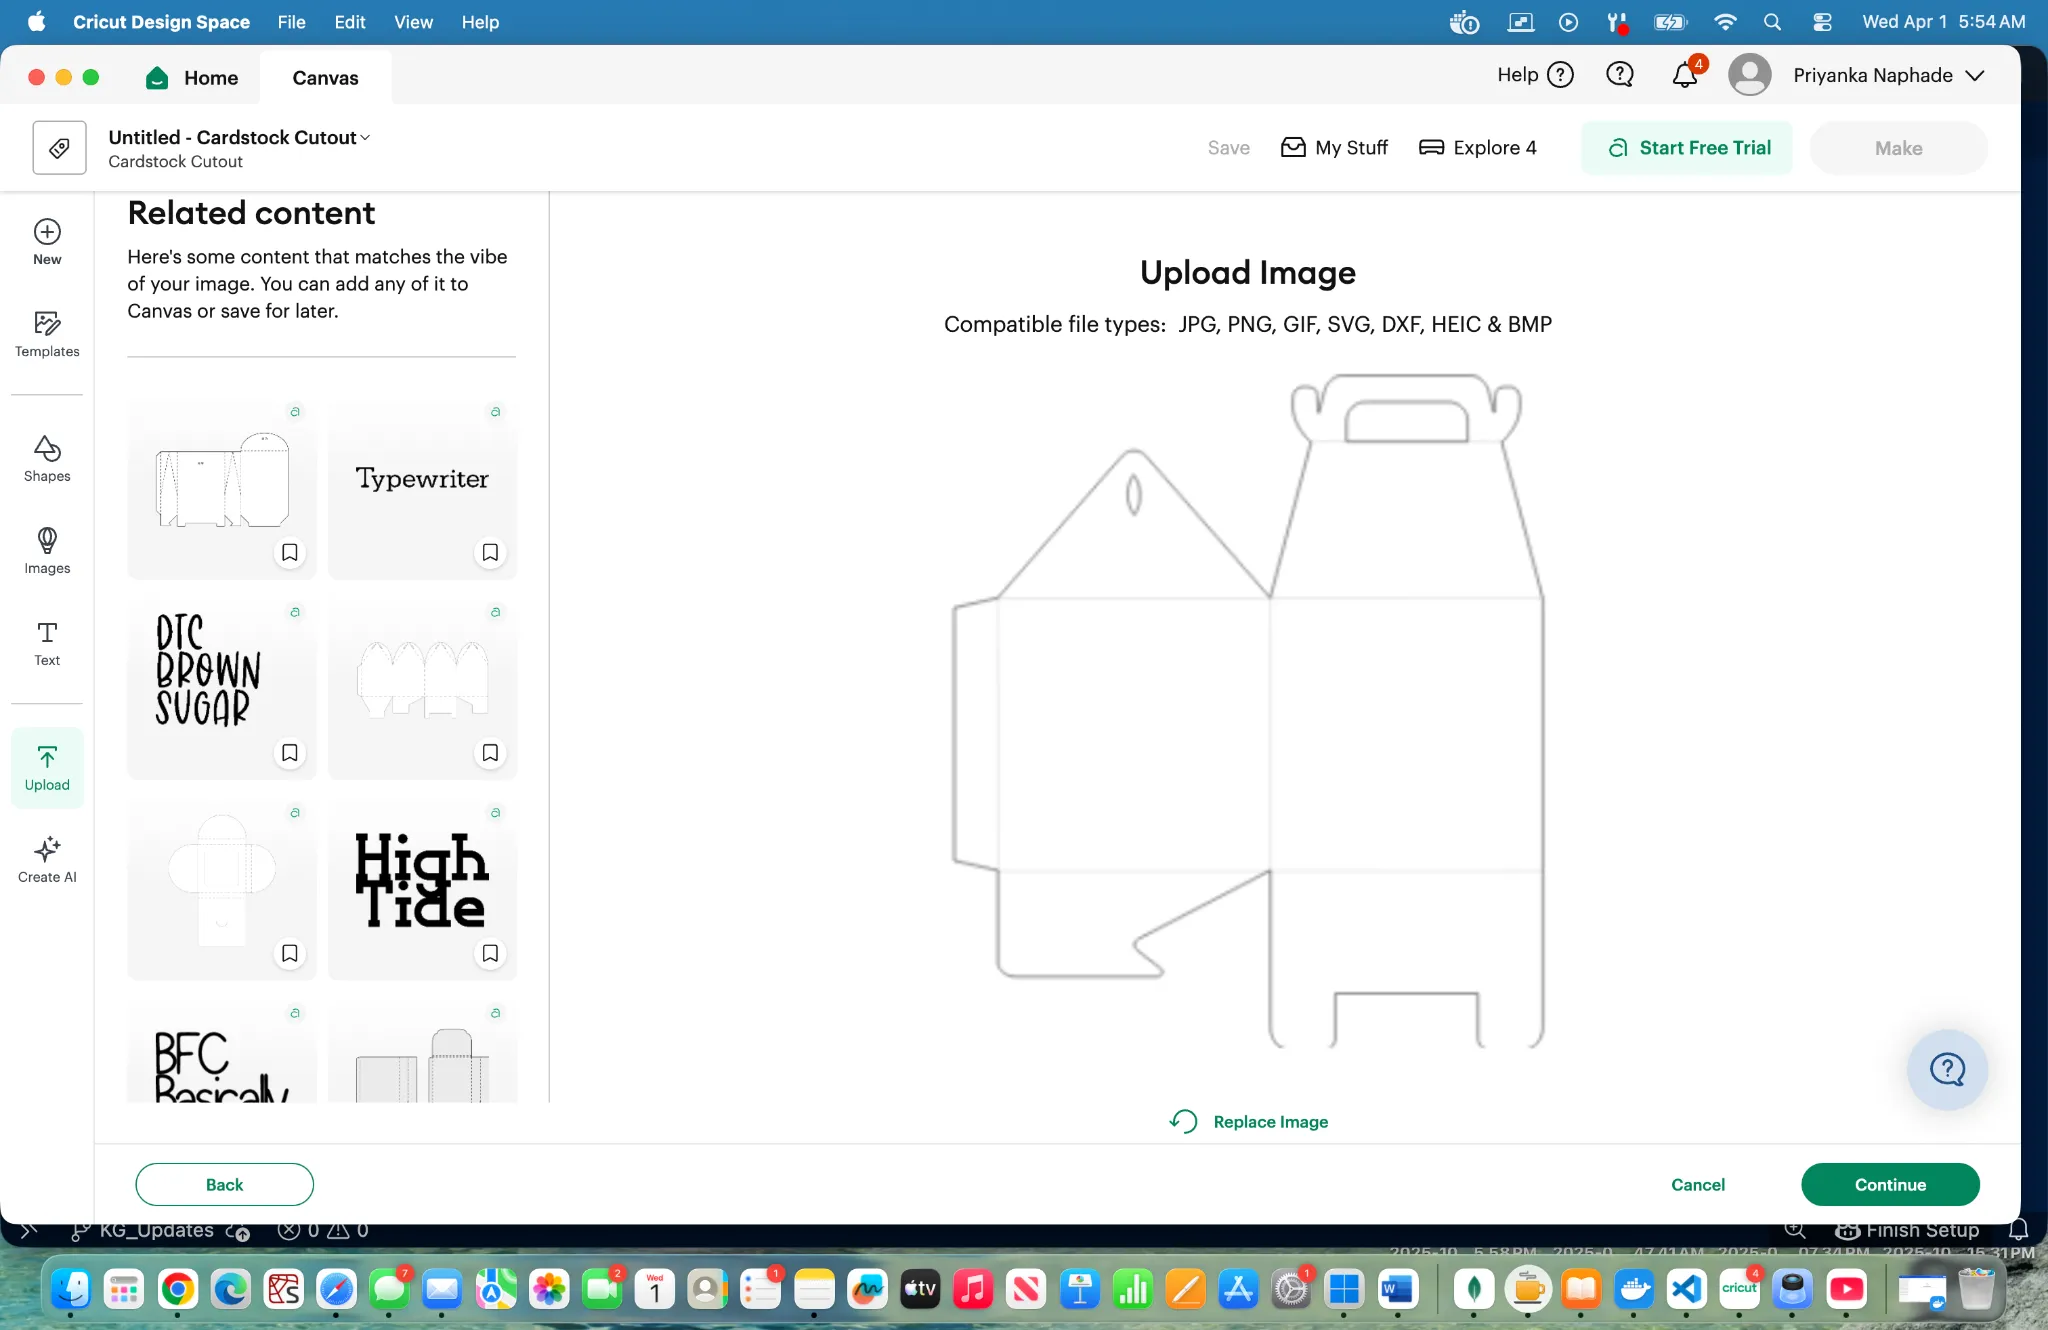
After this screen click continue
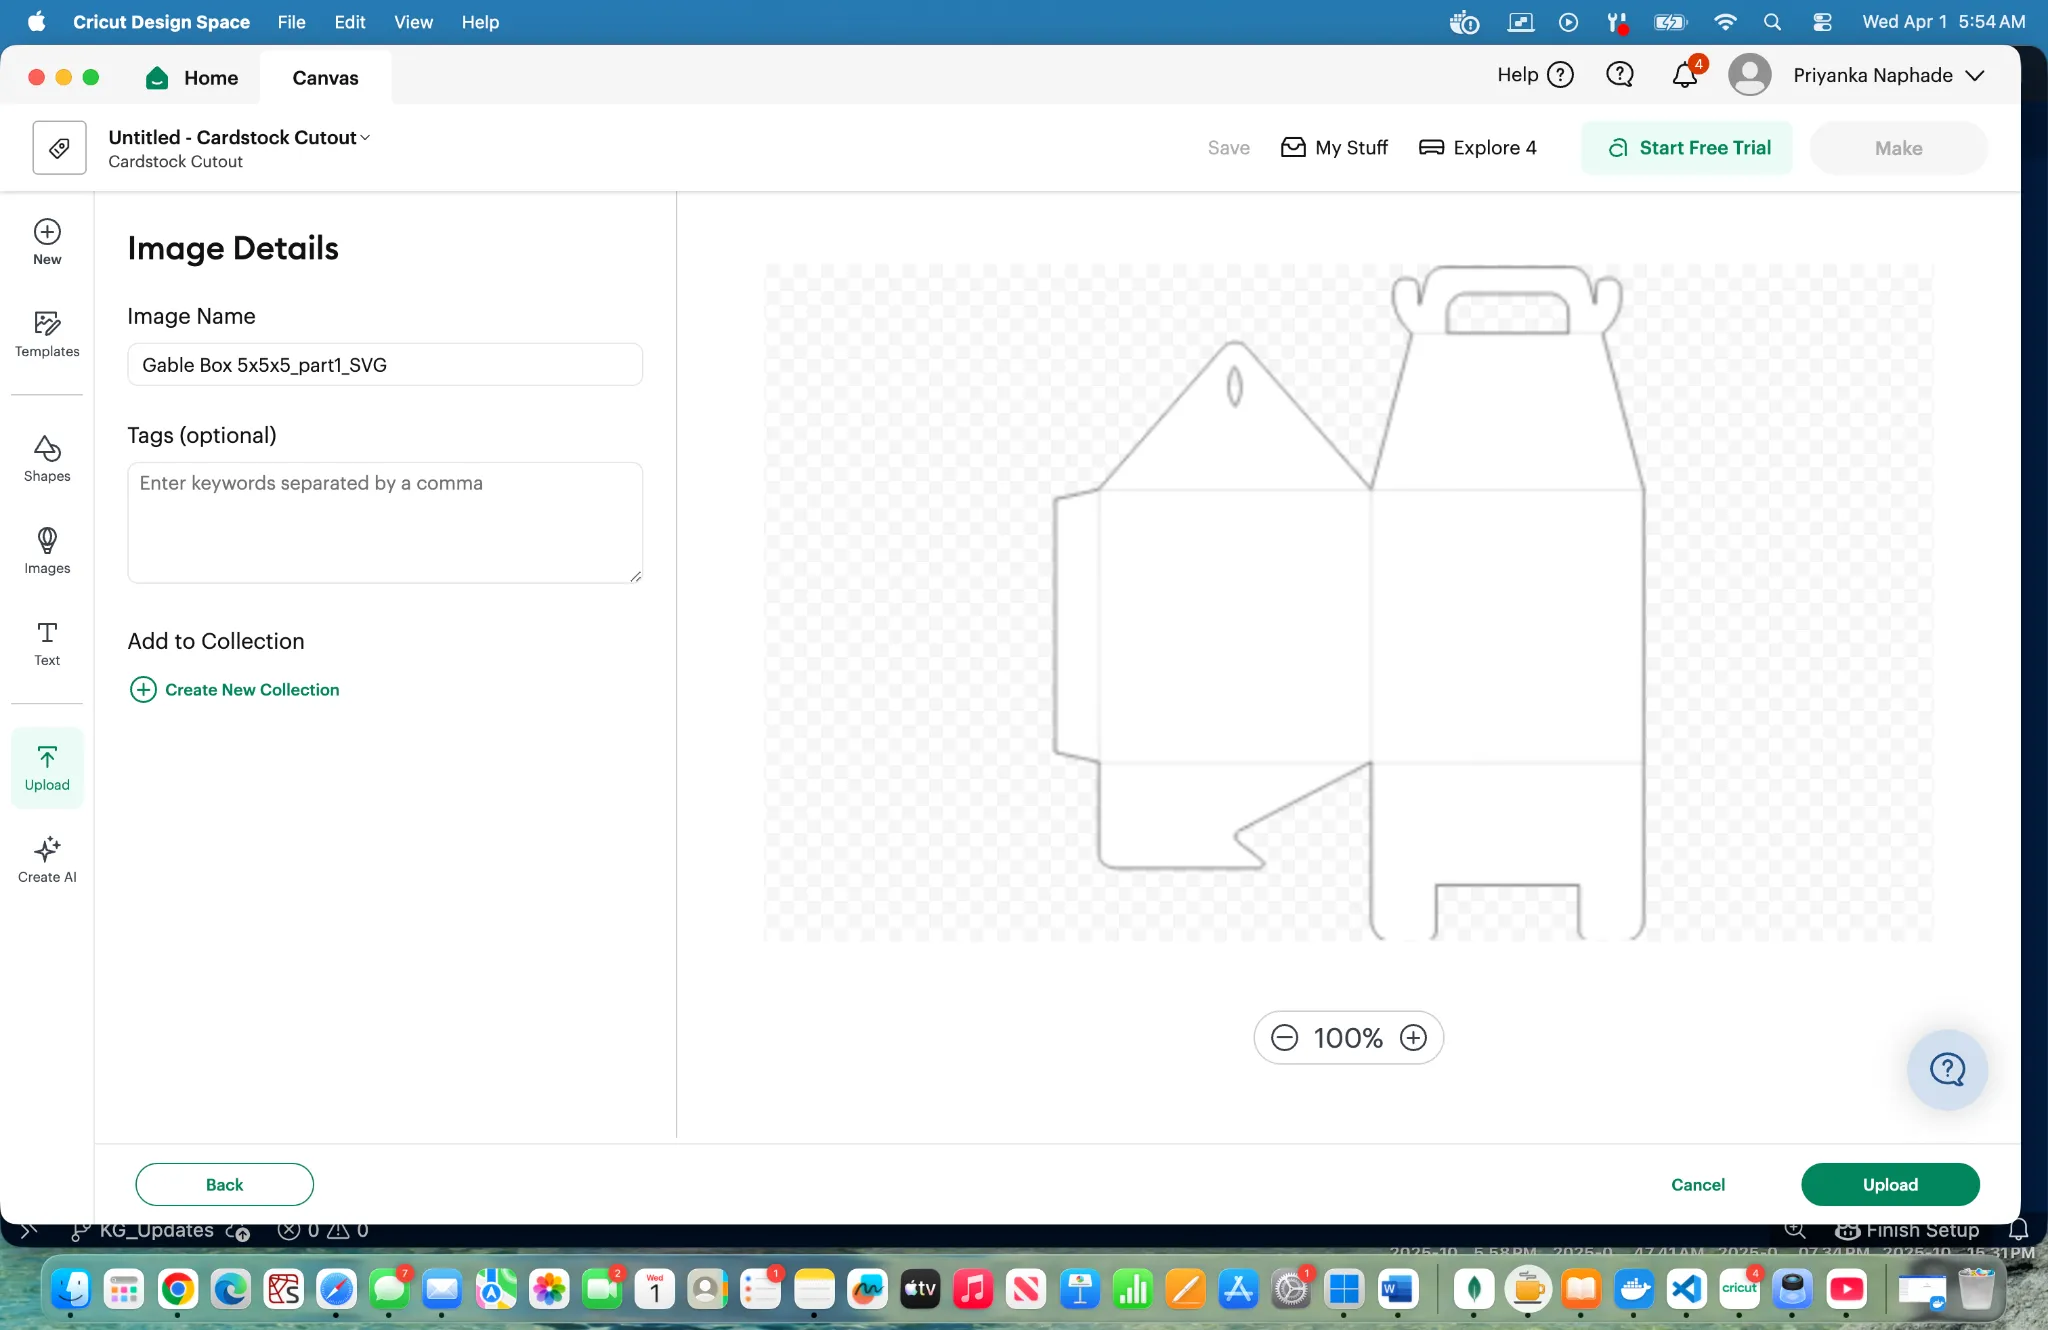
Press upload, it does look like the design is but off but that is not the case
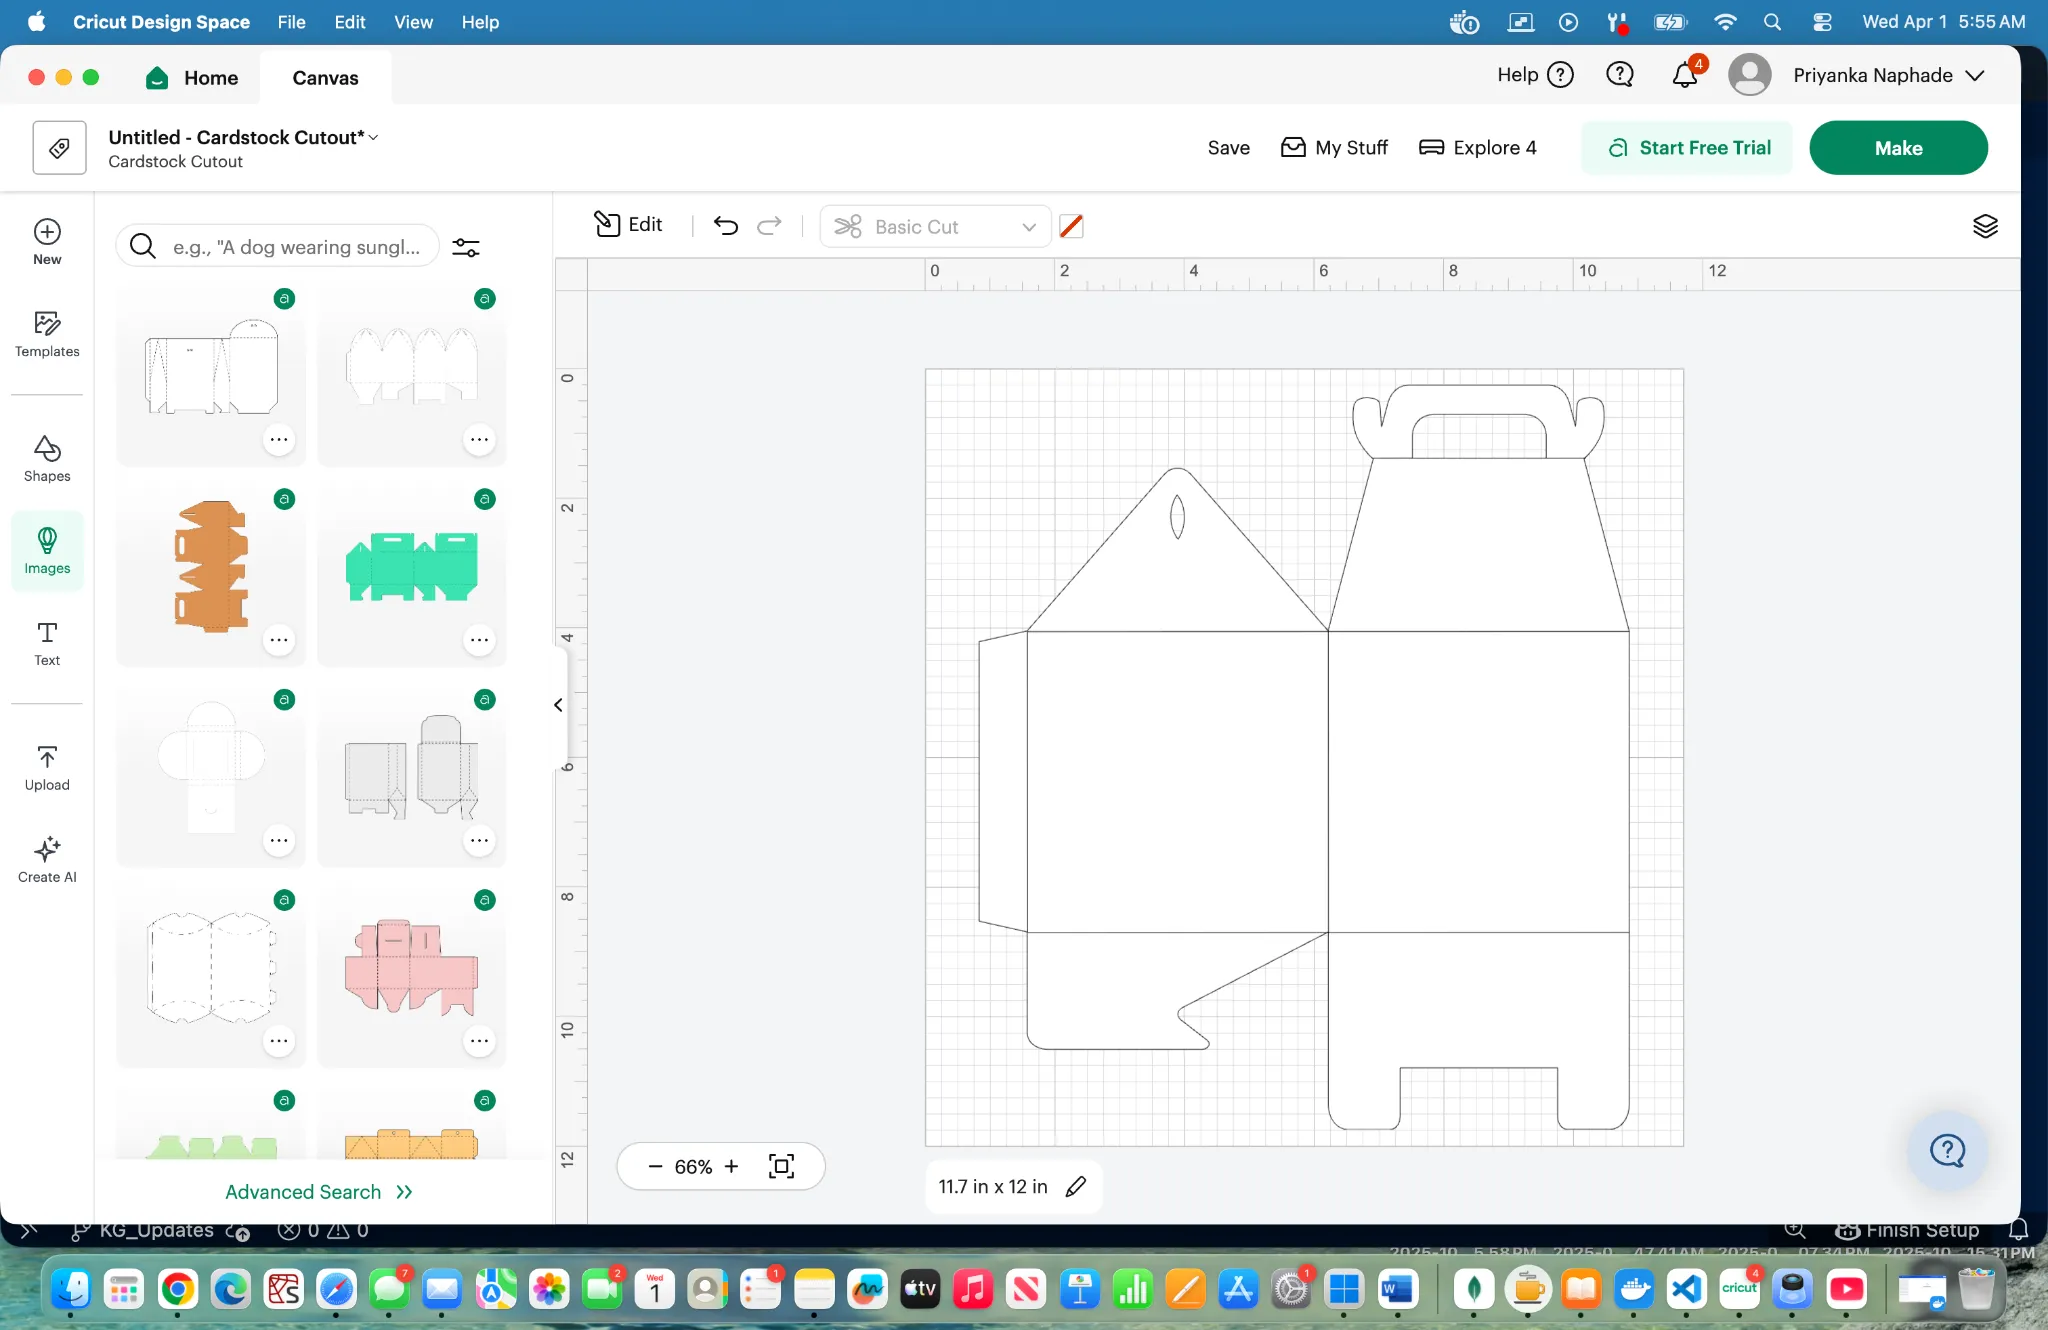
This is how the design should look like when it is uploaded to canvas

Use the rectangle shape as, which is circled in red on the image above, to cover the bottom panels of the box as displayed in the image above. Two separate rectangles are used.
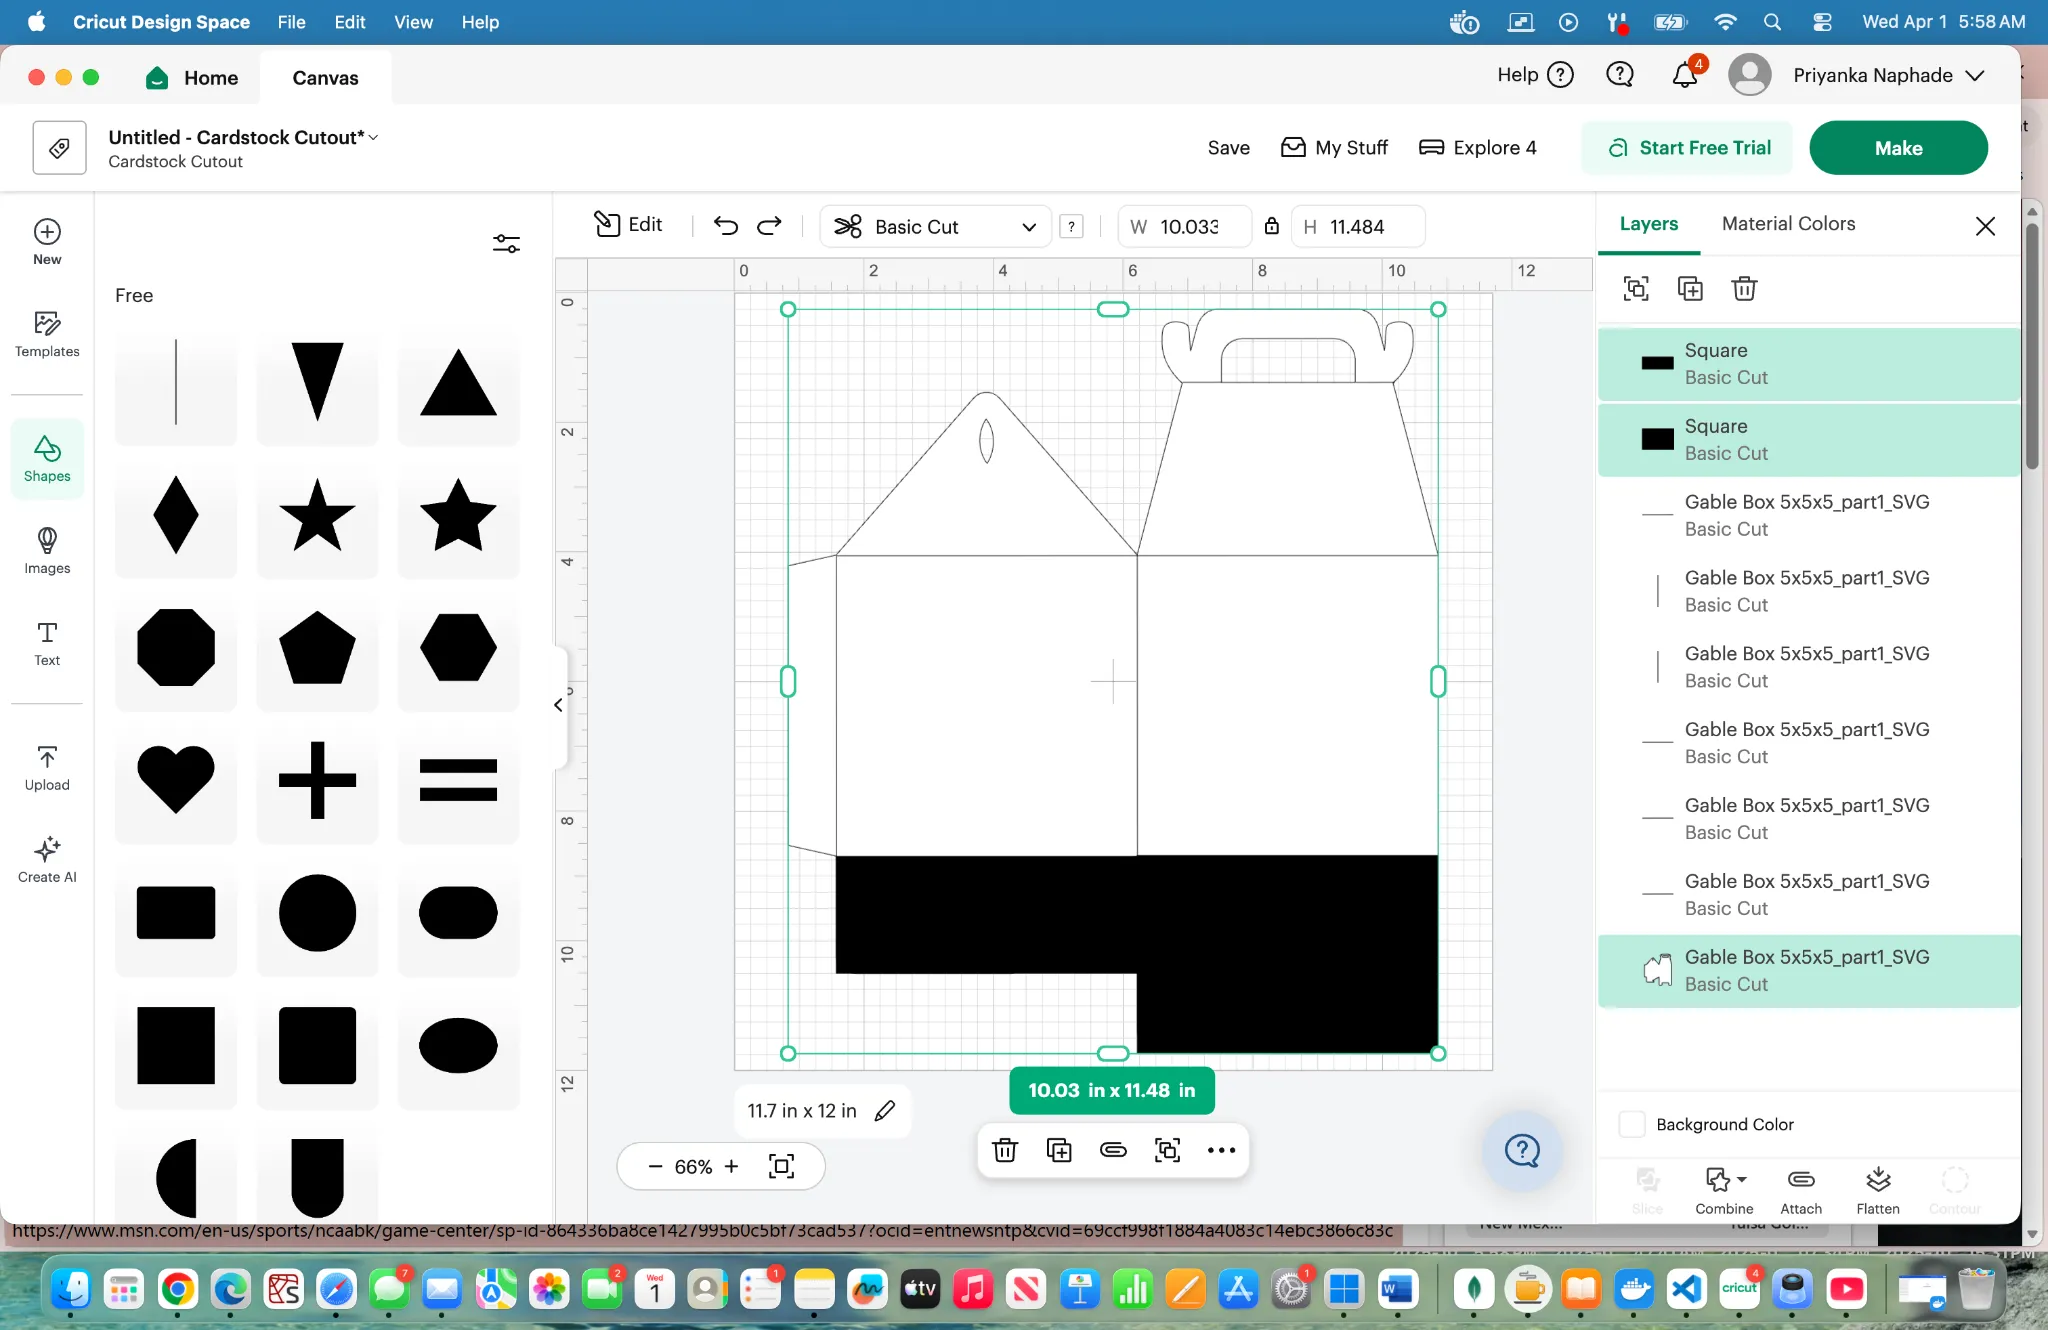
Open the layers menu on the top right side then select the two new shapes you’ve added with the rectangle and the shape that came with the template. Press shift and use the mouse to select these layers.
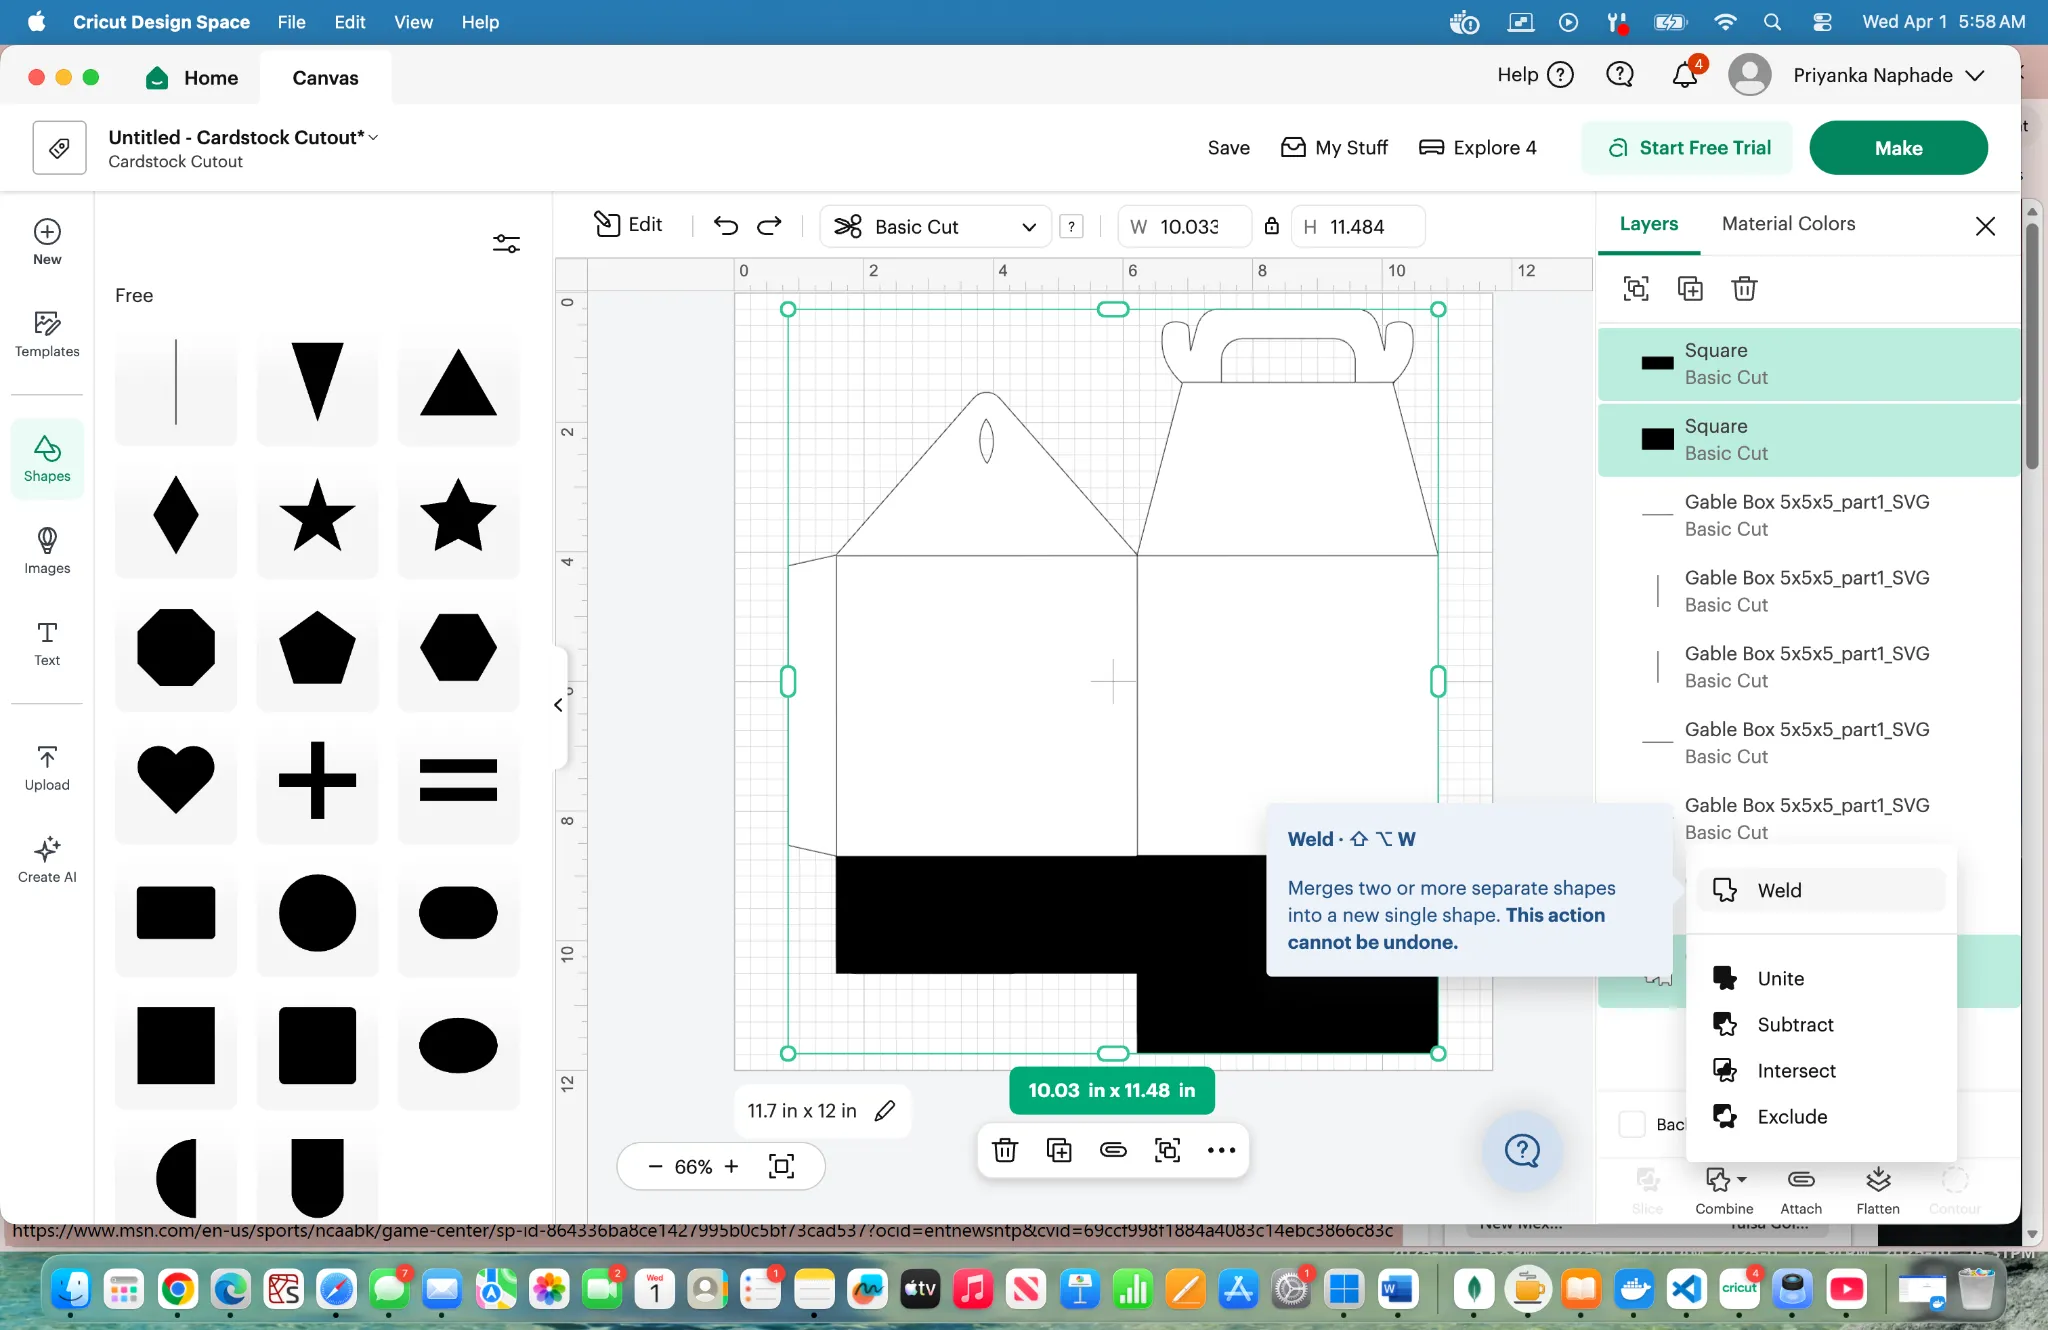
Then click the combine button on the lower right hand side menu in the layers pop up and press weld.
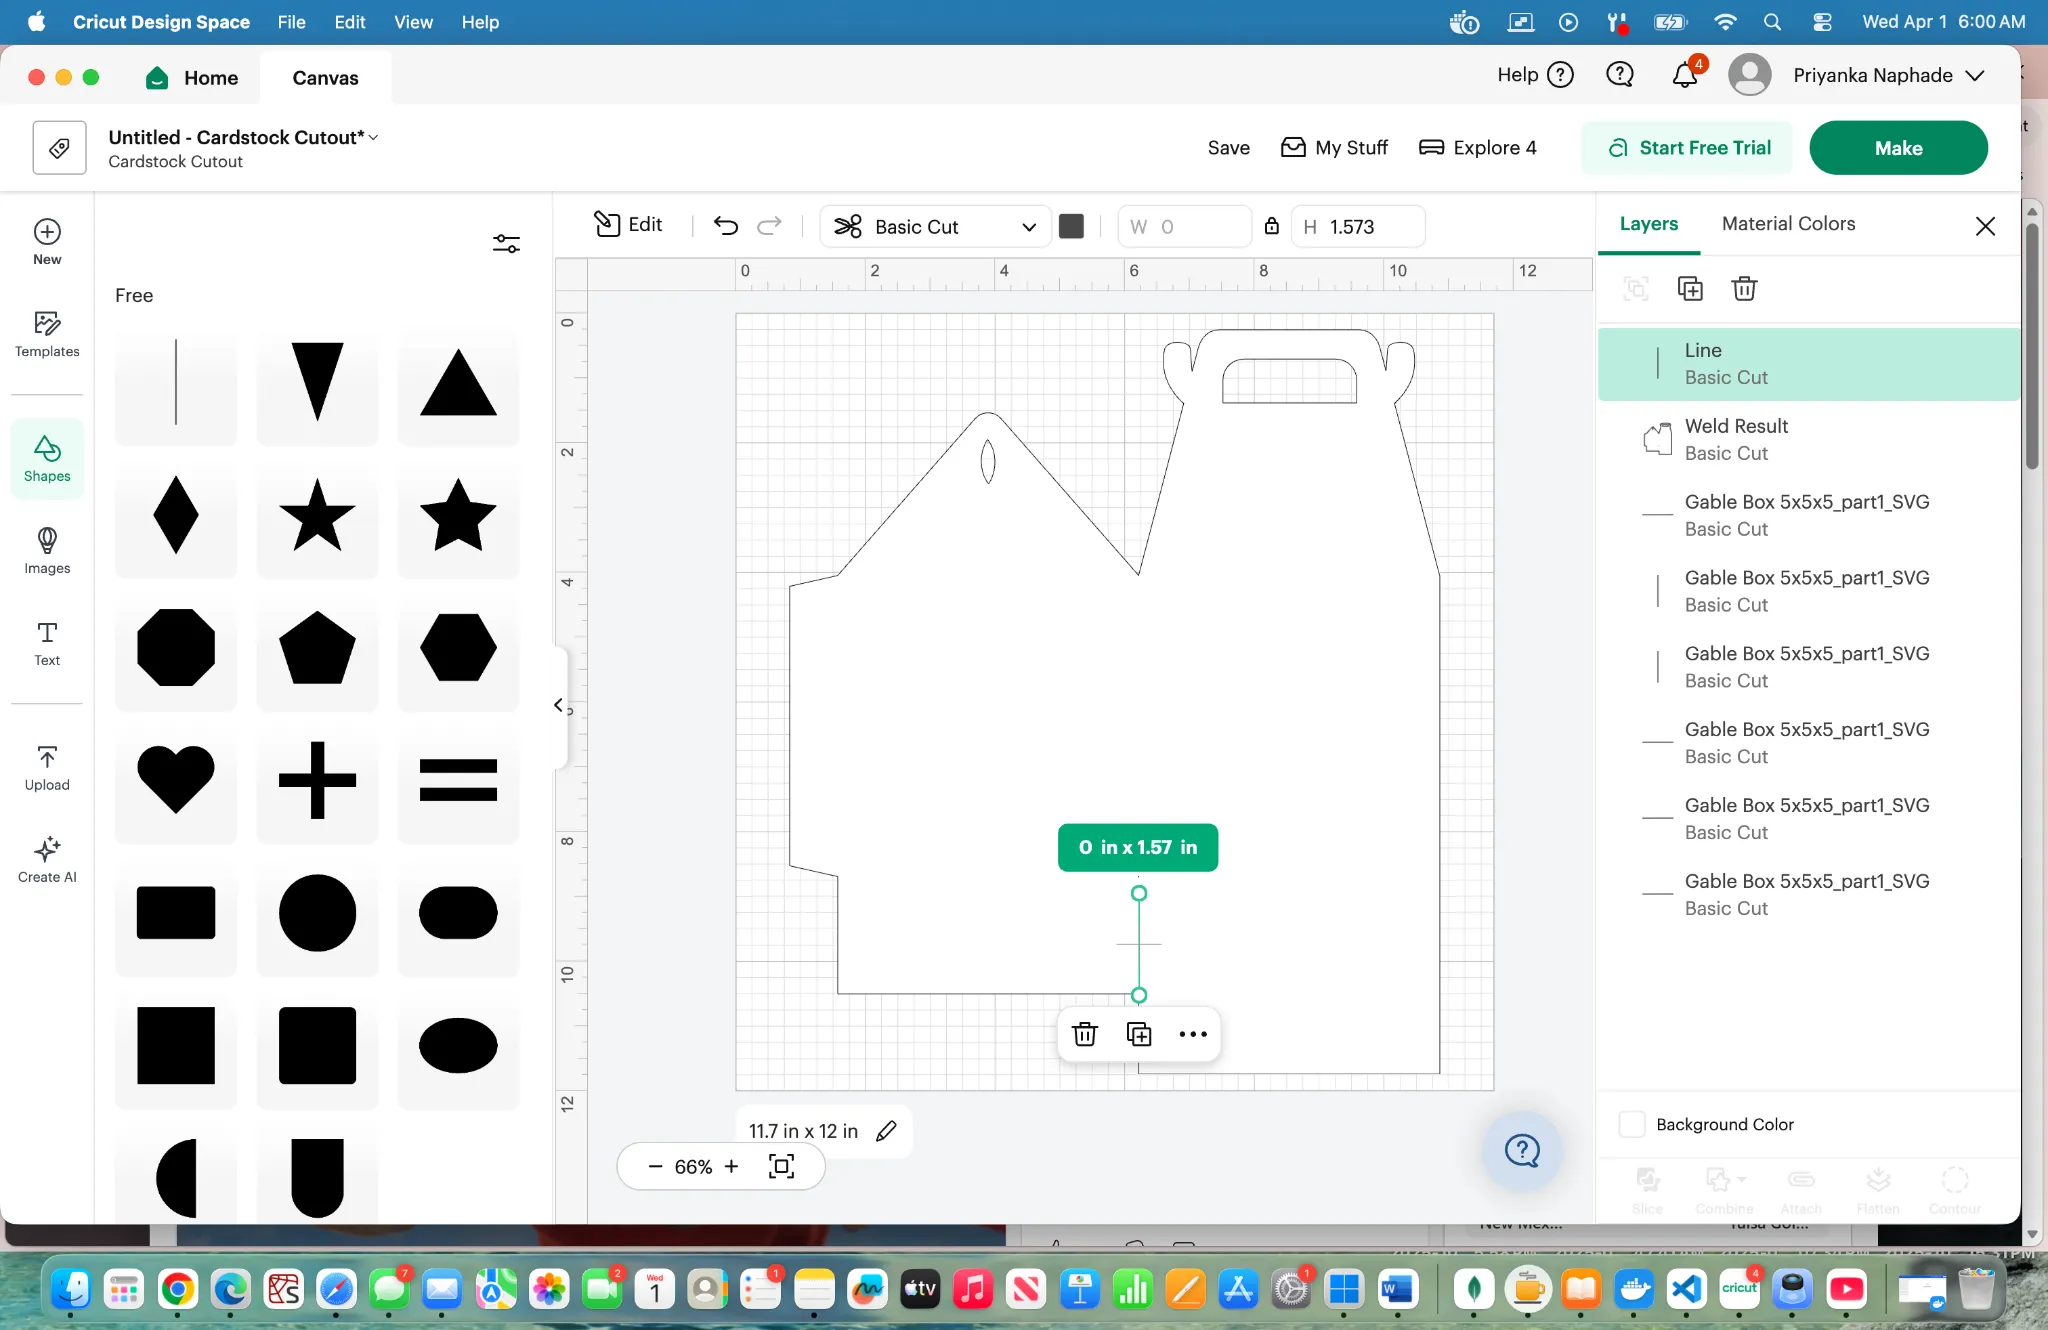
This is what the new shape should look like. Use the line shape from the shape menu to add a line in between the two new rectangles, as displayed in the image above. Weld this to your overall shape as well.
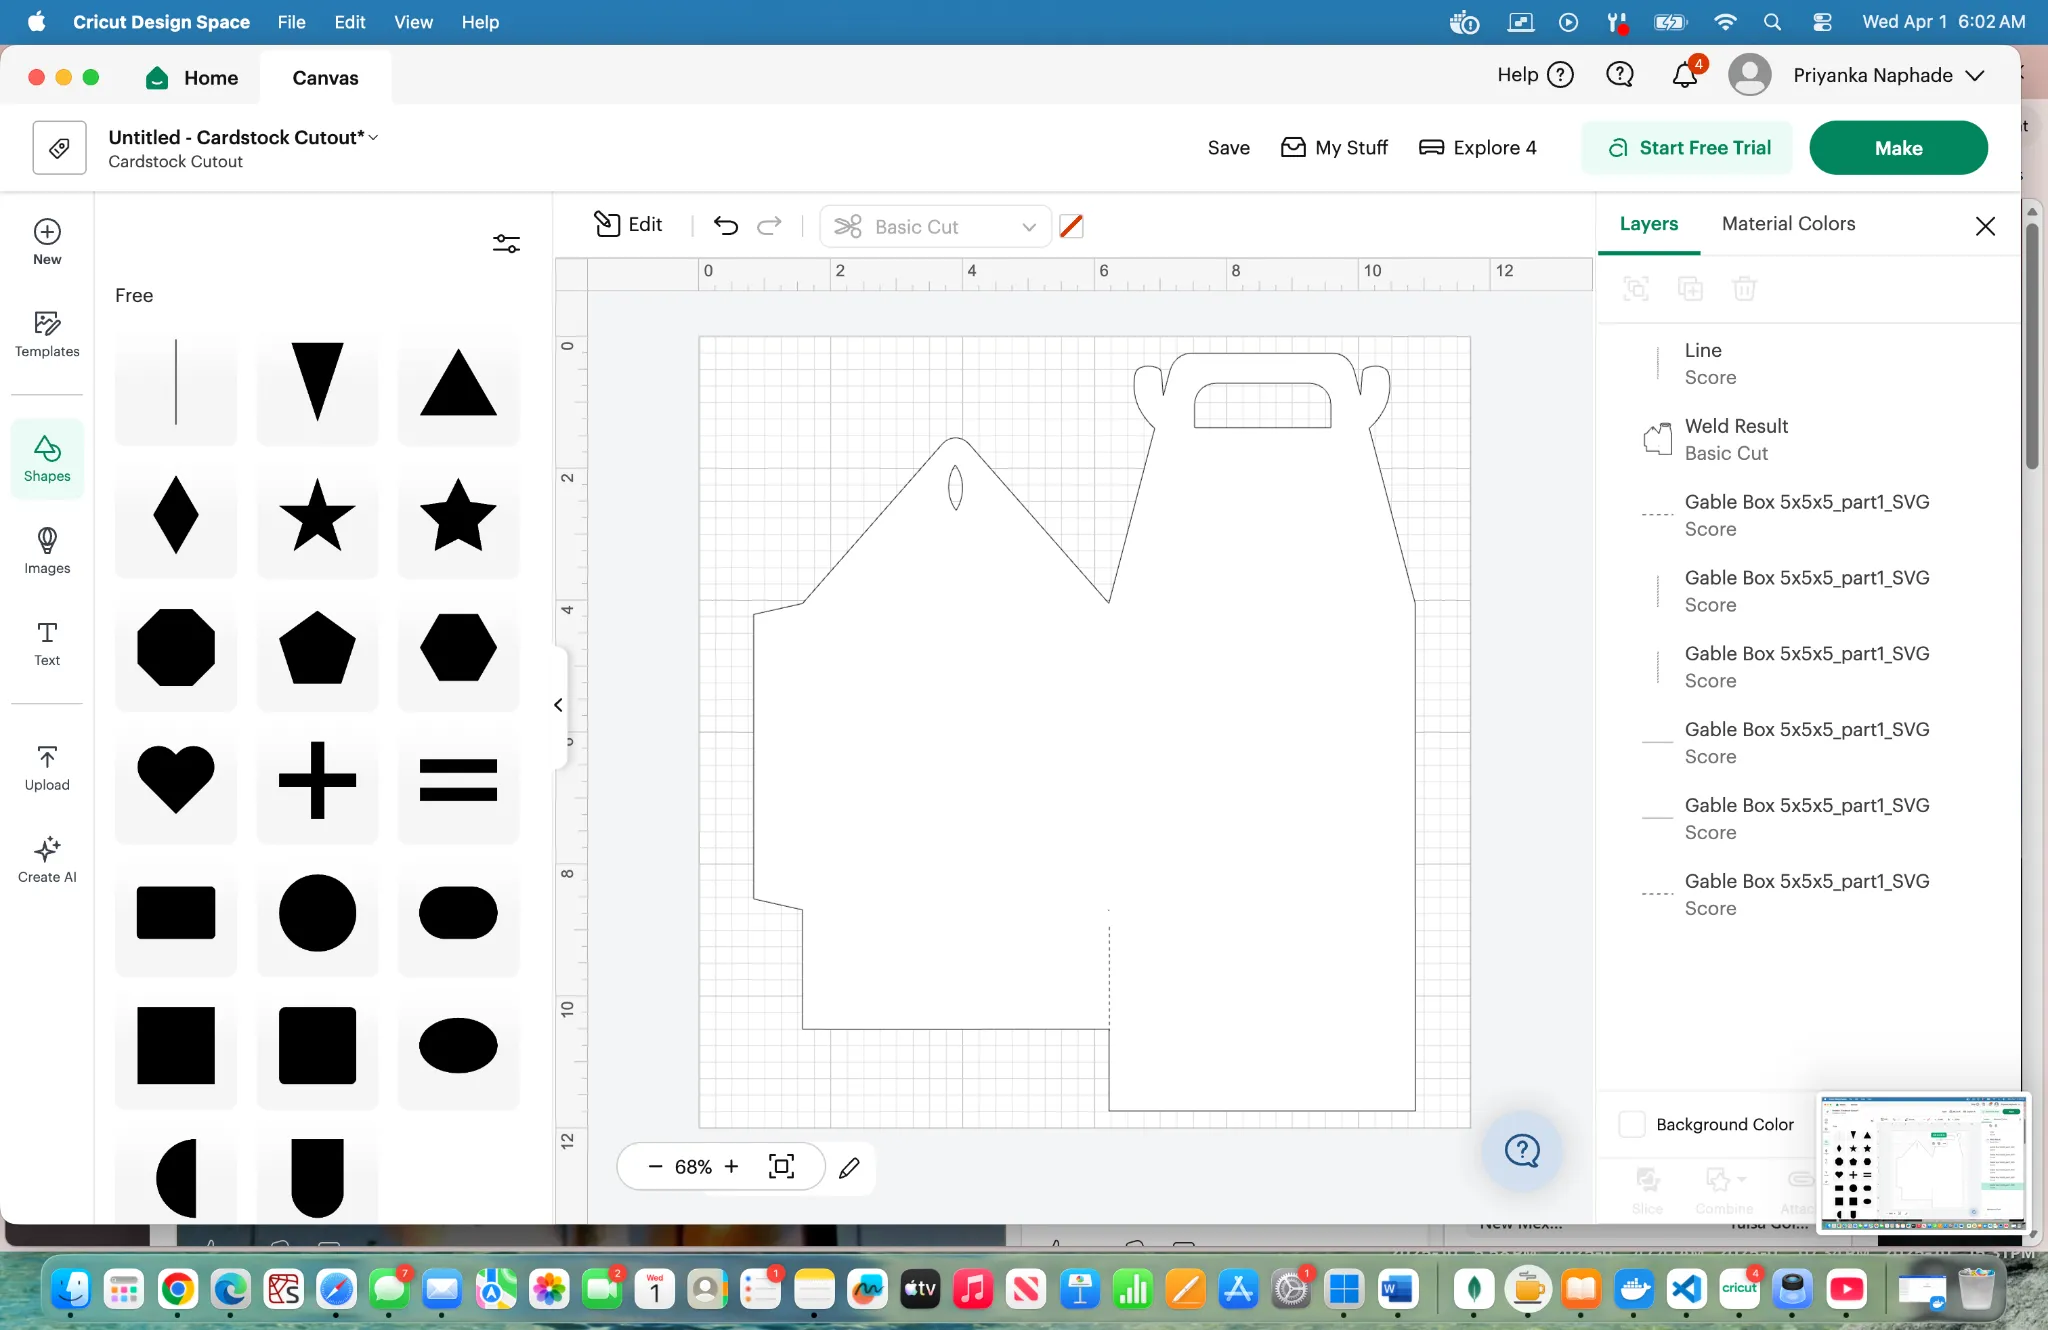
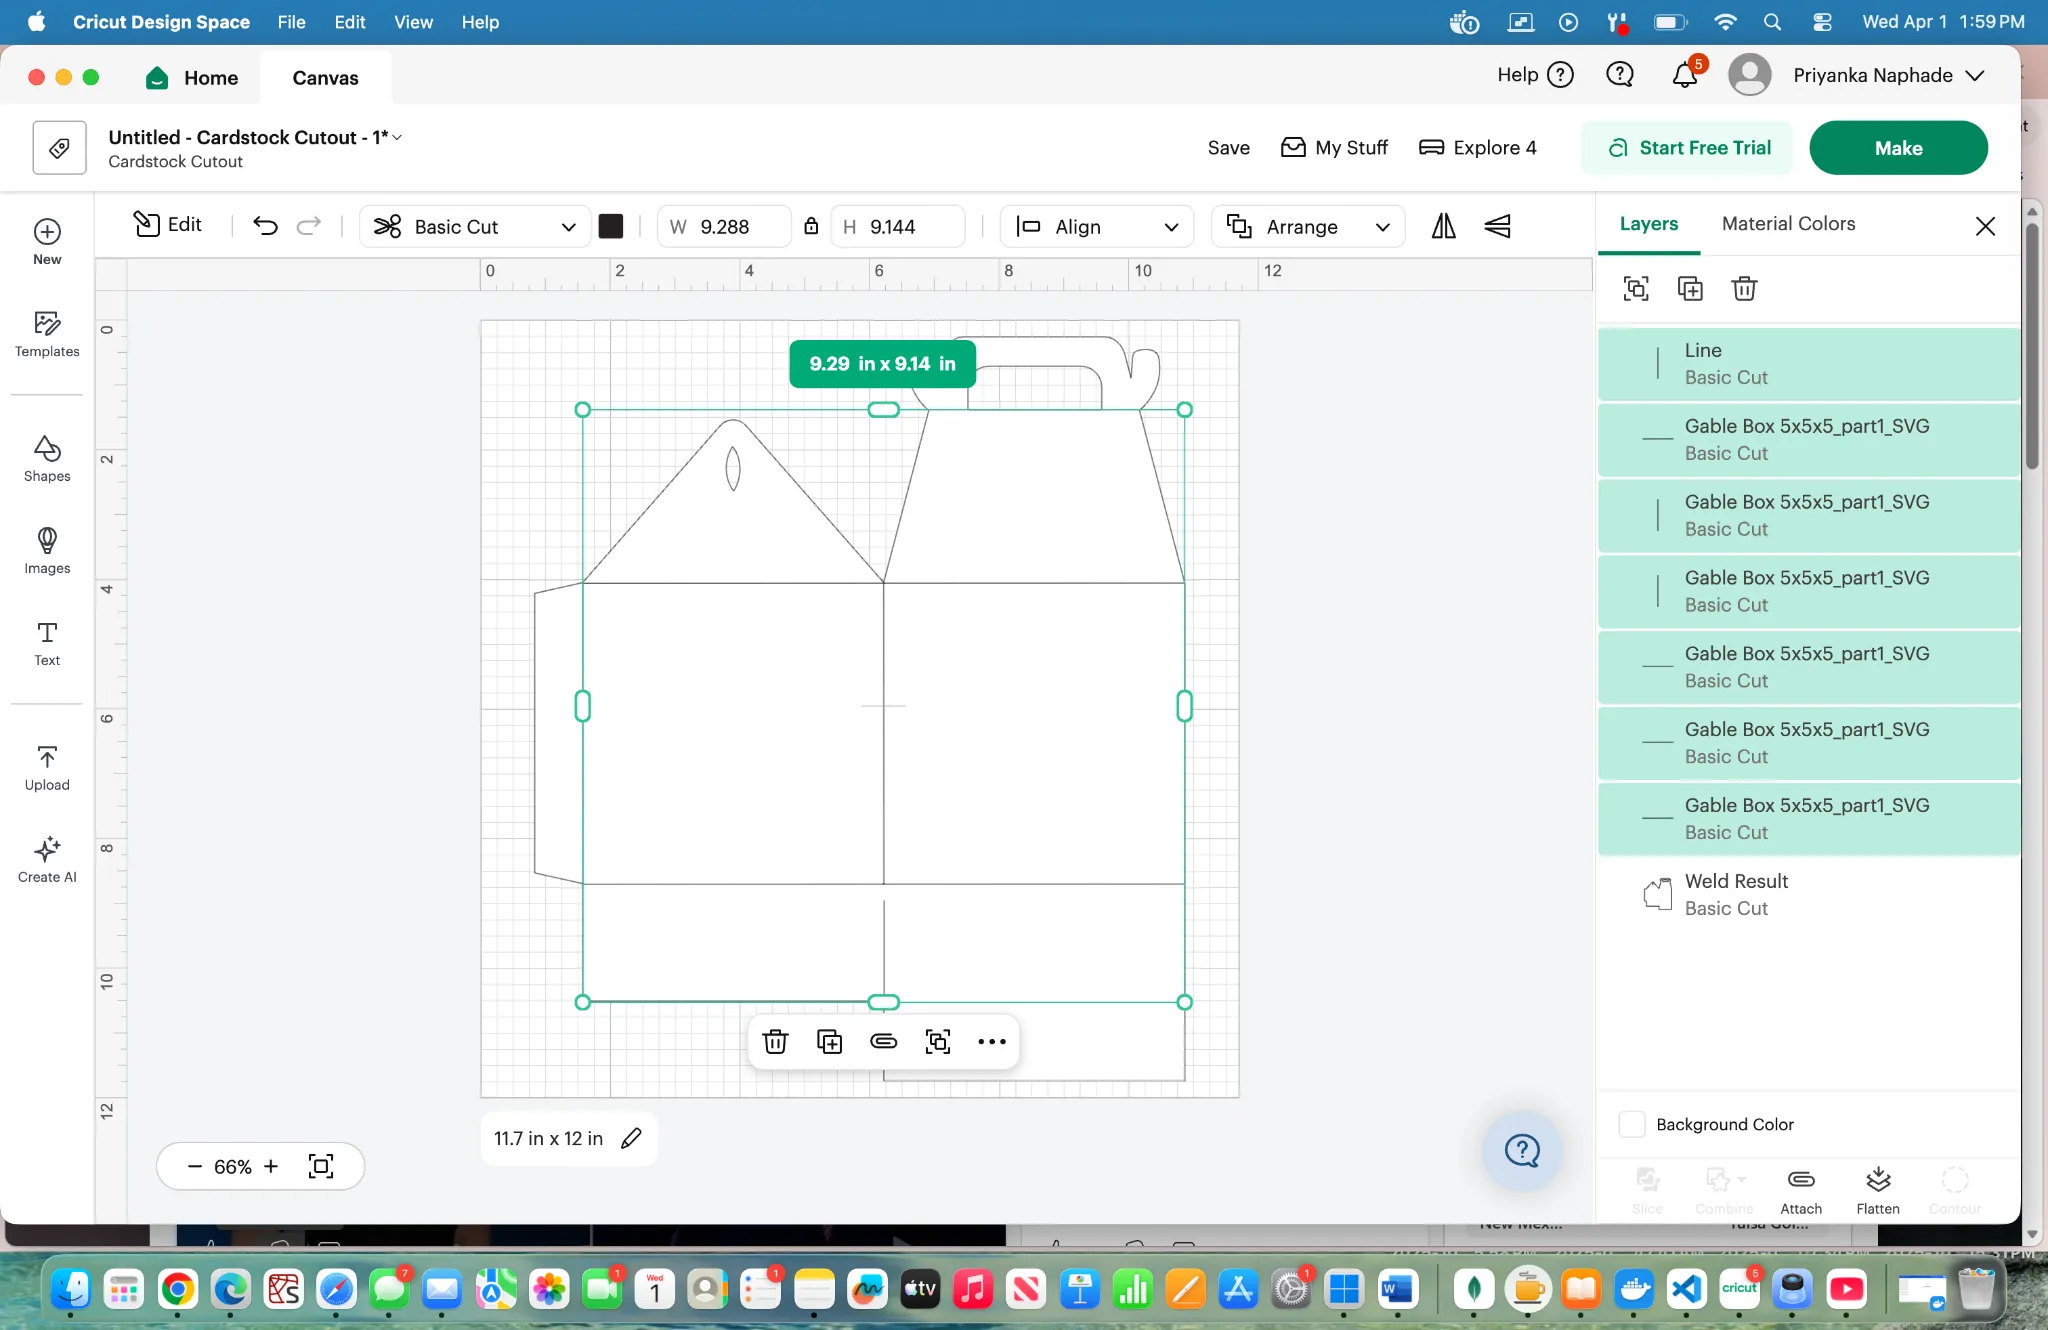
Select all the lines in the same manner while pressing shift and press the attach button. Then the eyeball symbol to hide the lines.
- The Cut
Next it is time to cut the shape out.
- These example photos use copy paper, however this project is meant to be done with cardstock and scaled up.
Press the make button that is on the top right hand side of the screen
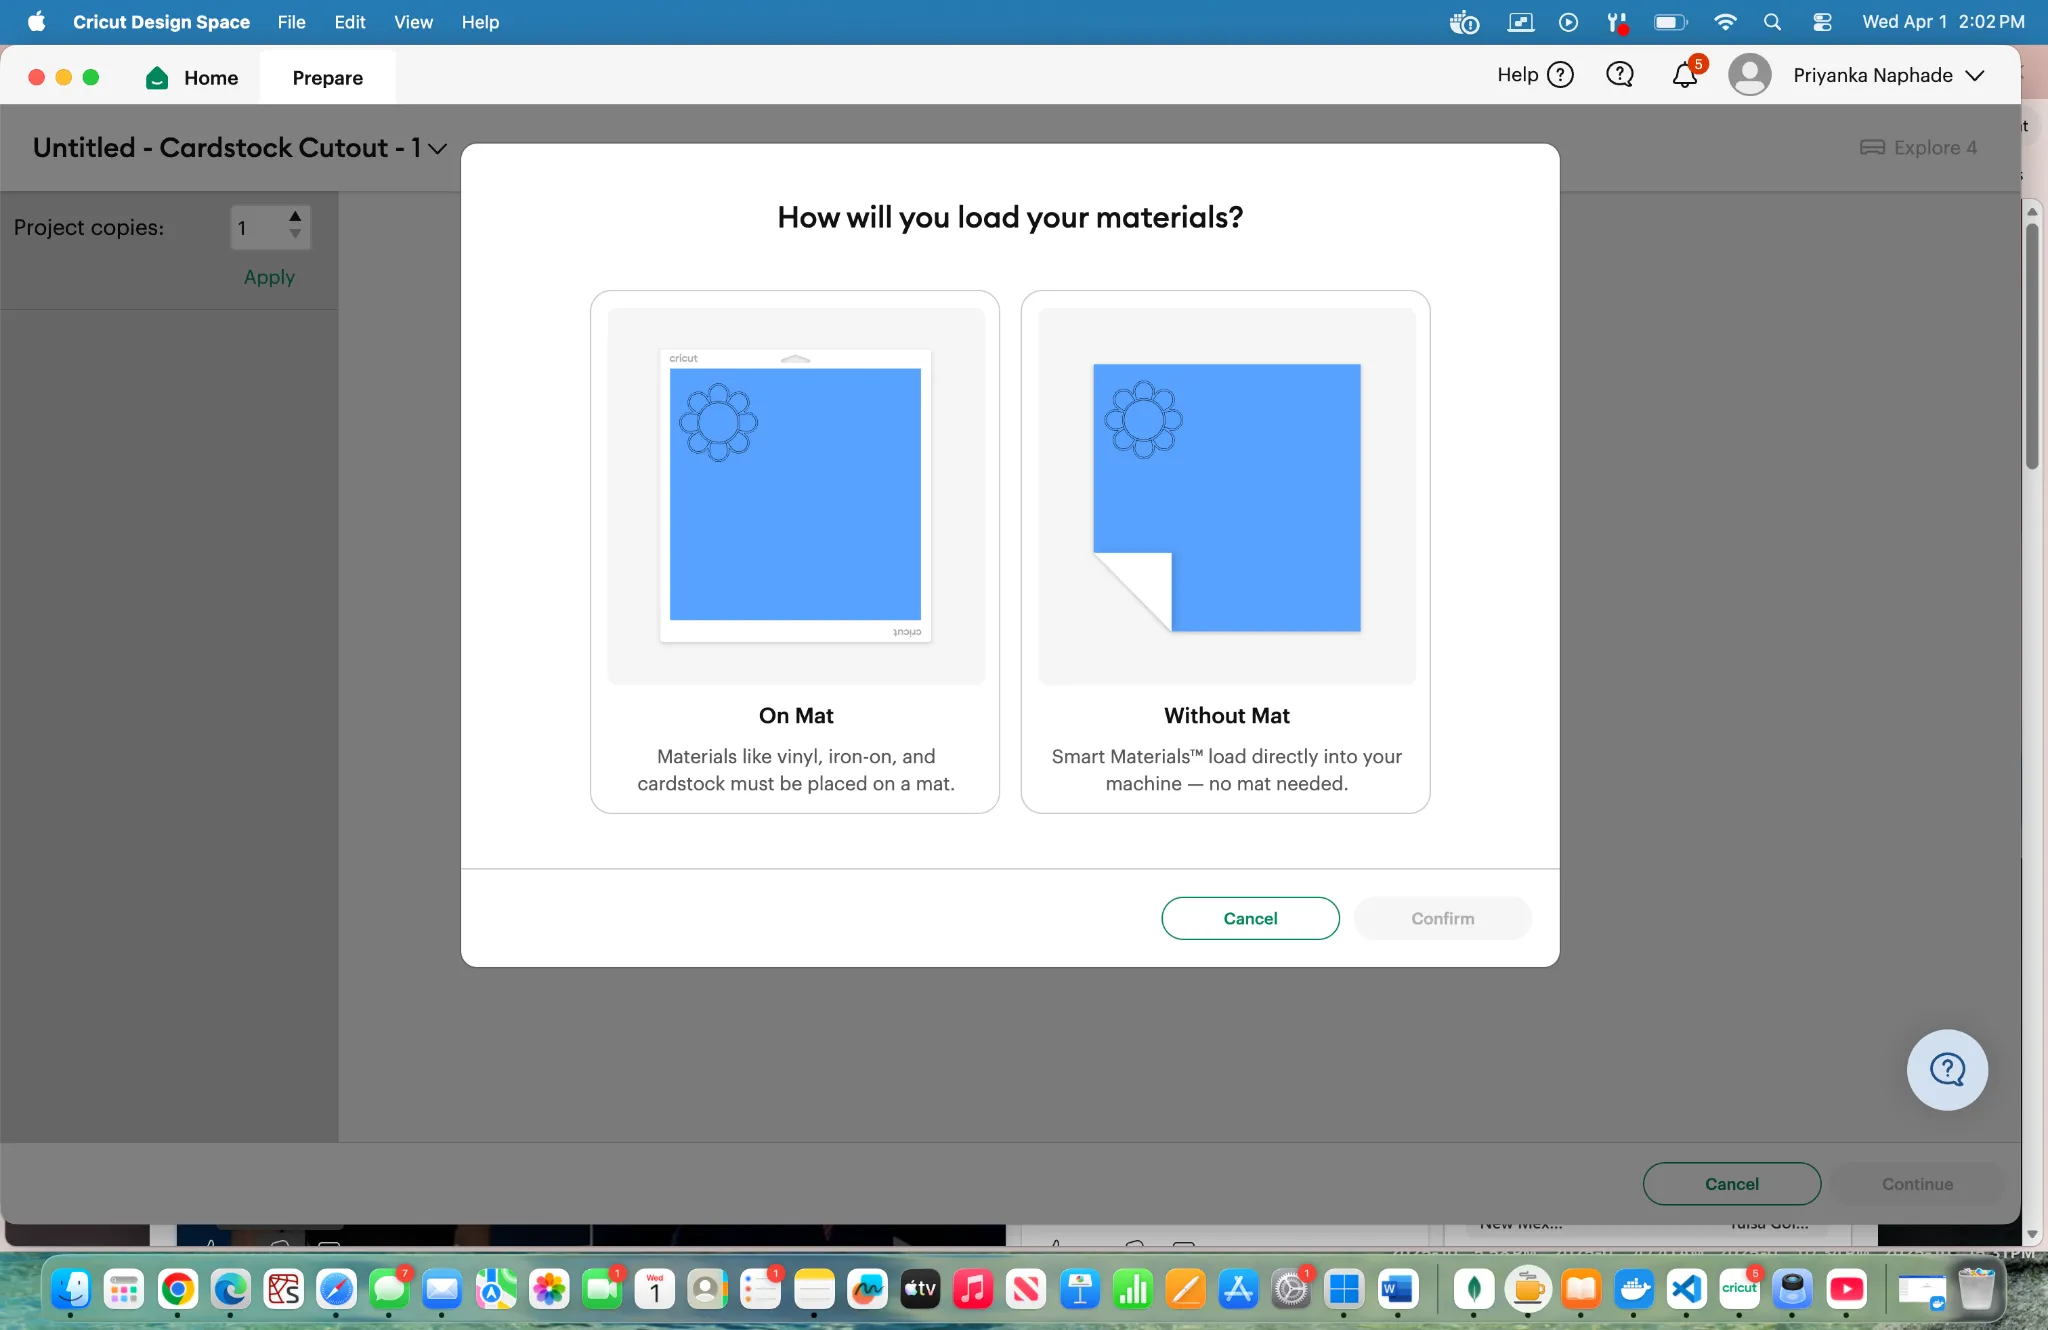
Select the on mat button and ensure that the mat is the same dimensions as the one you are using which in this case is 12 x 12.
Wait for your machine to pair with the Cricut
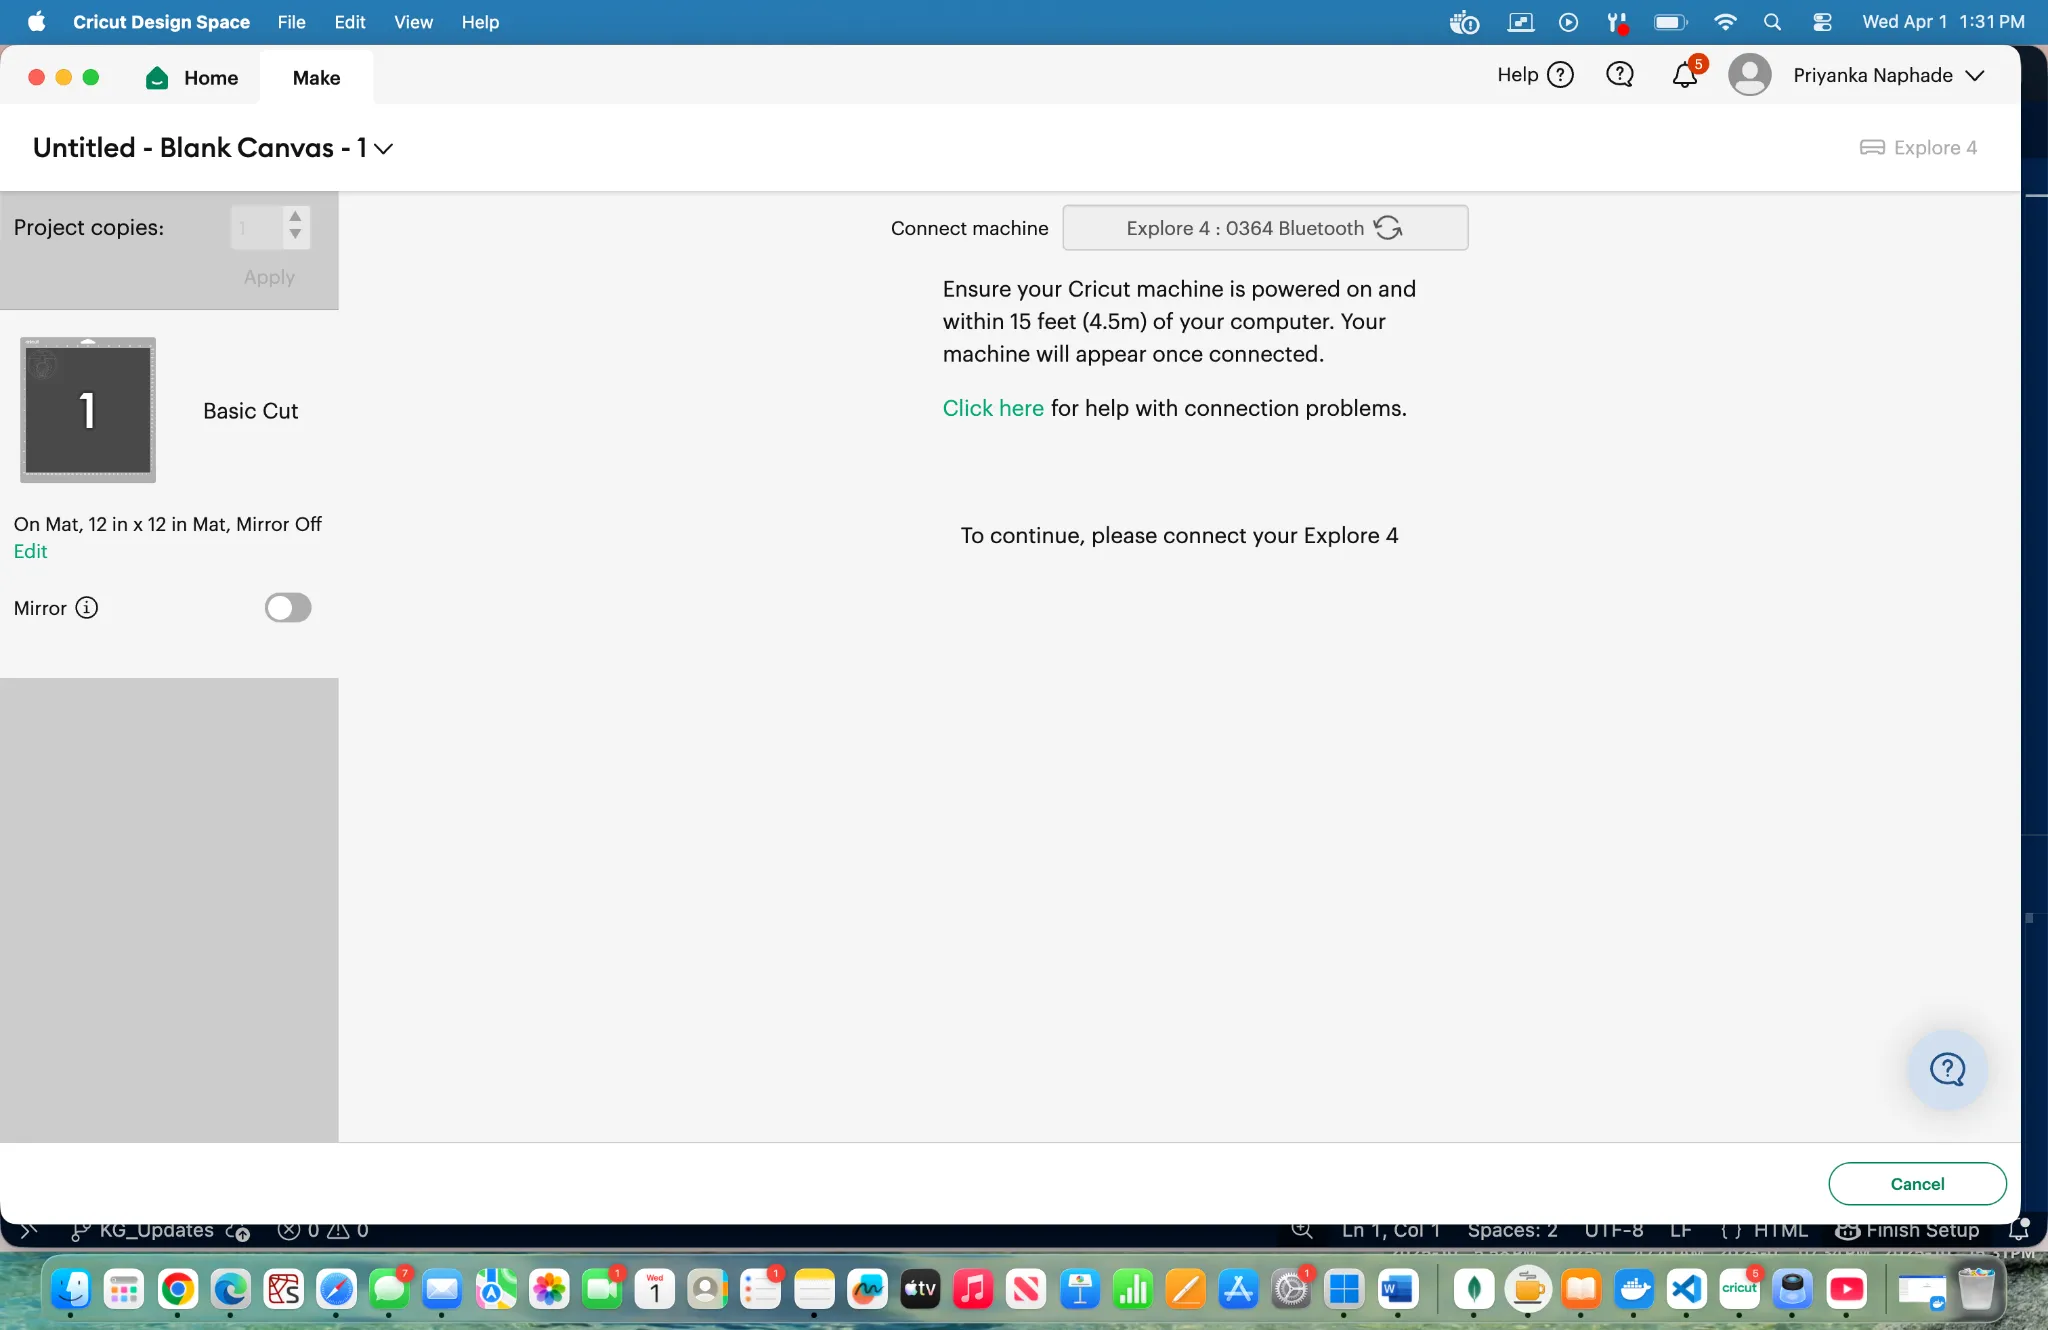
Then you will go to this screen
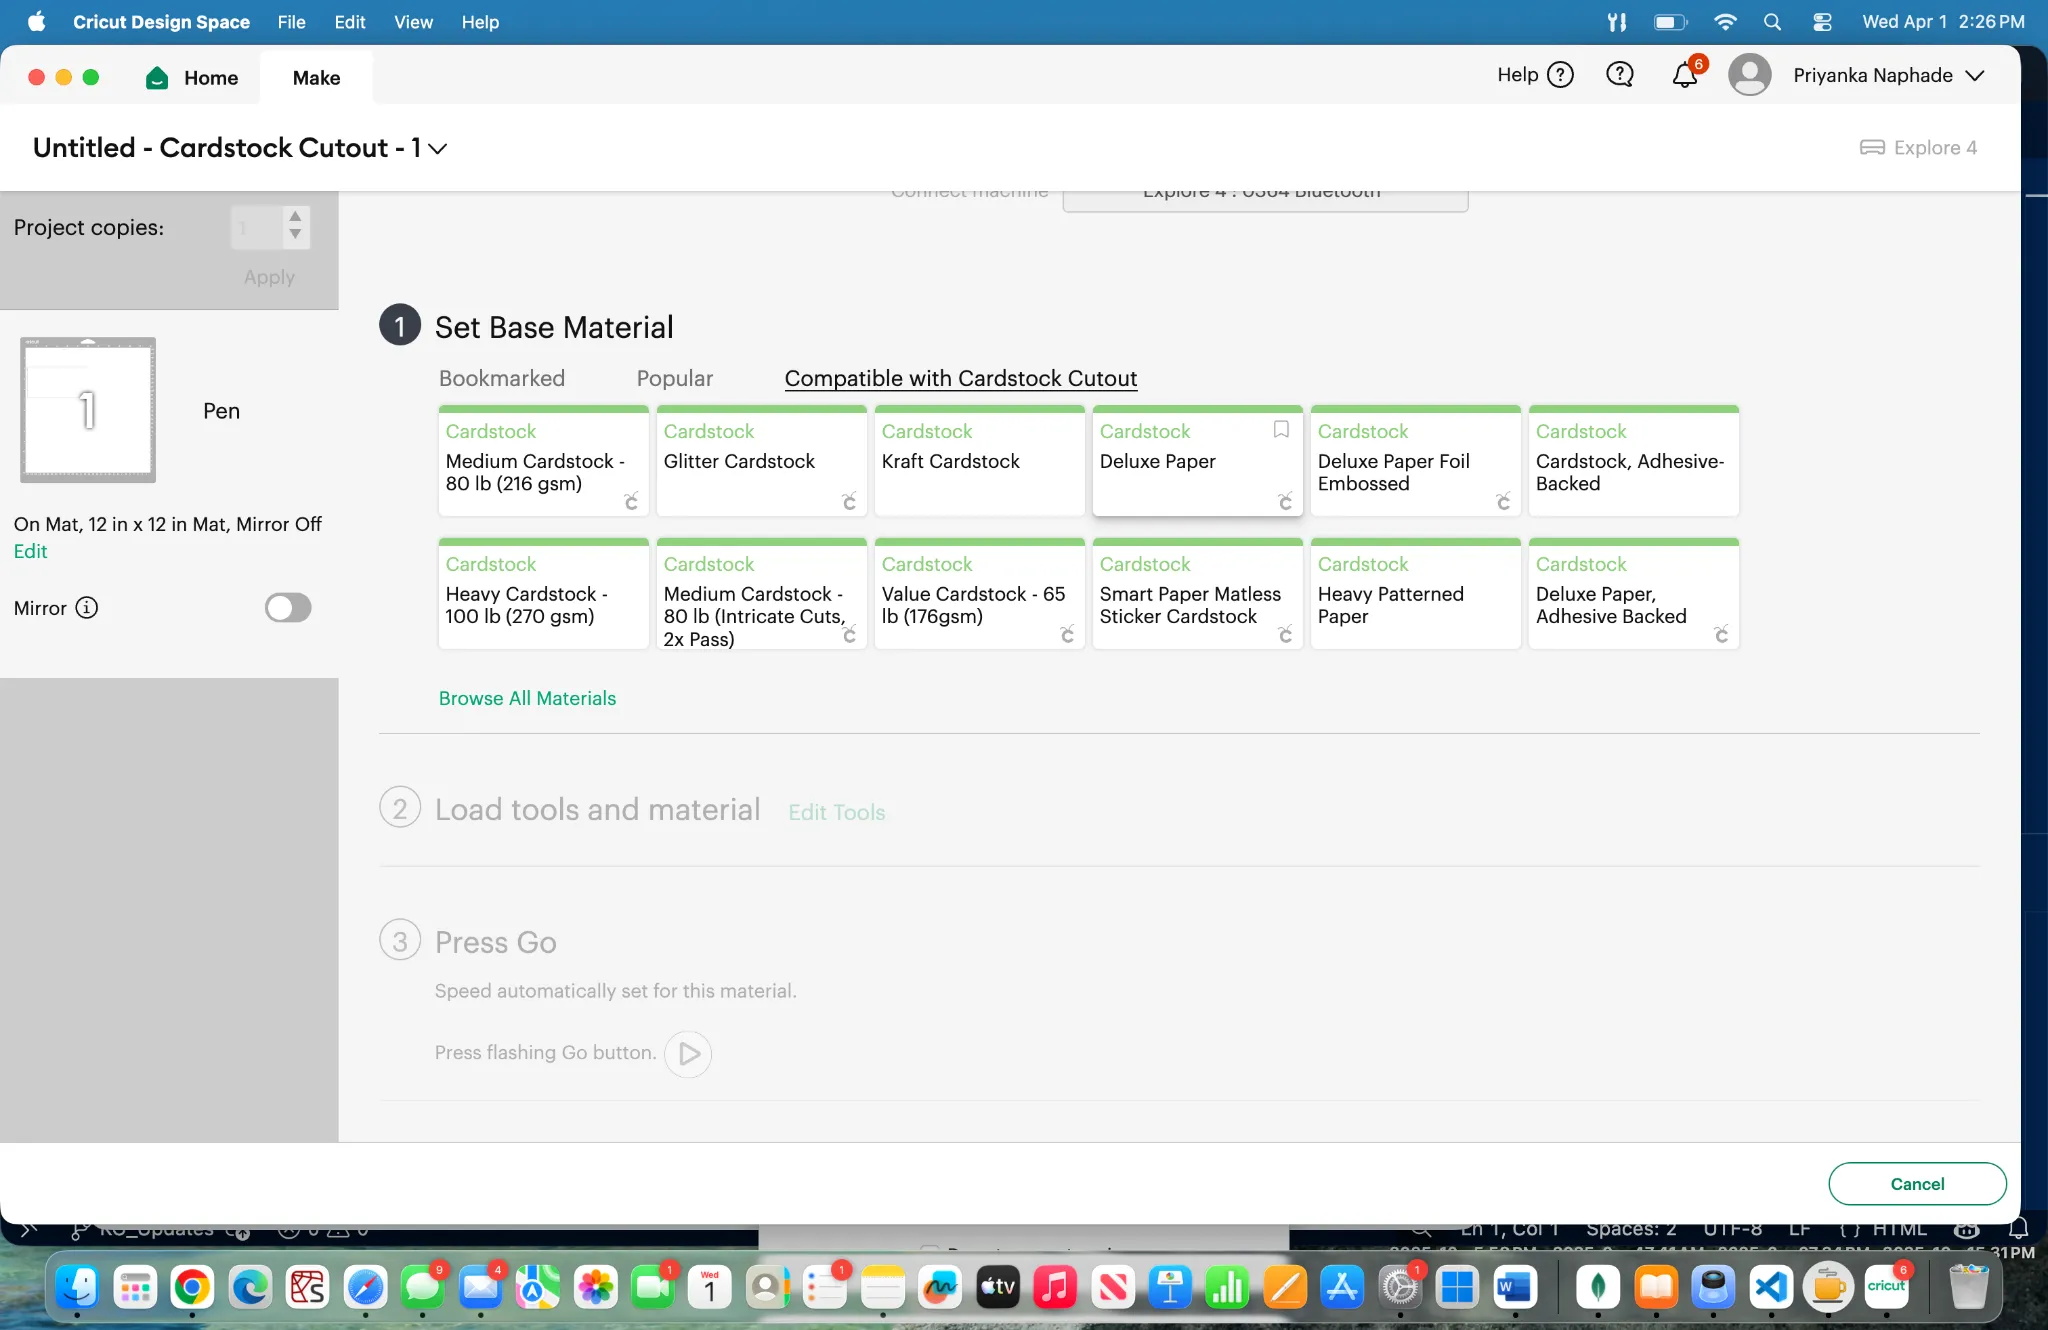
Press on the appropriate card stock button.
Then the next step will prompt 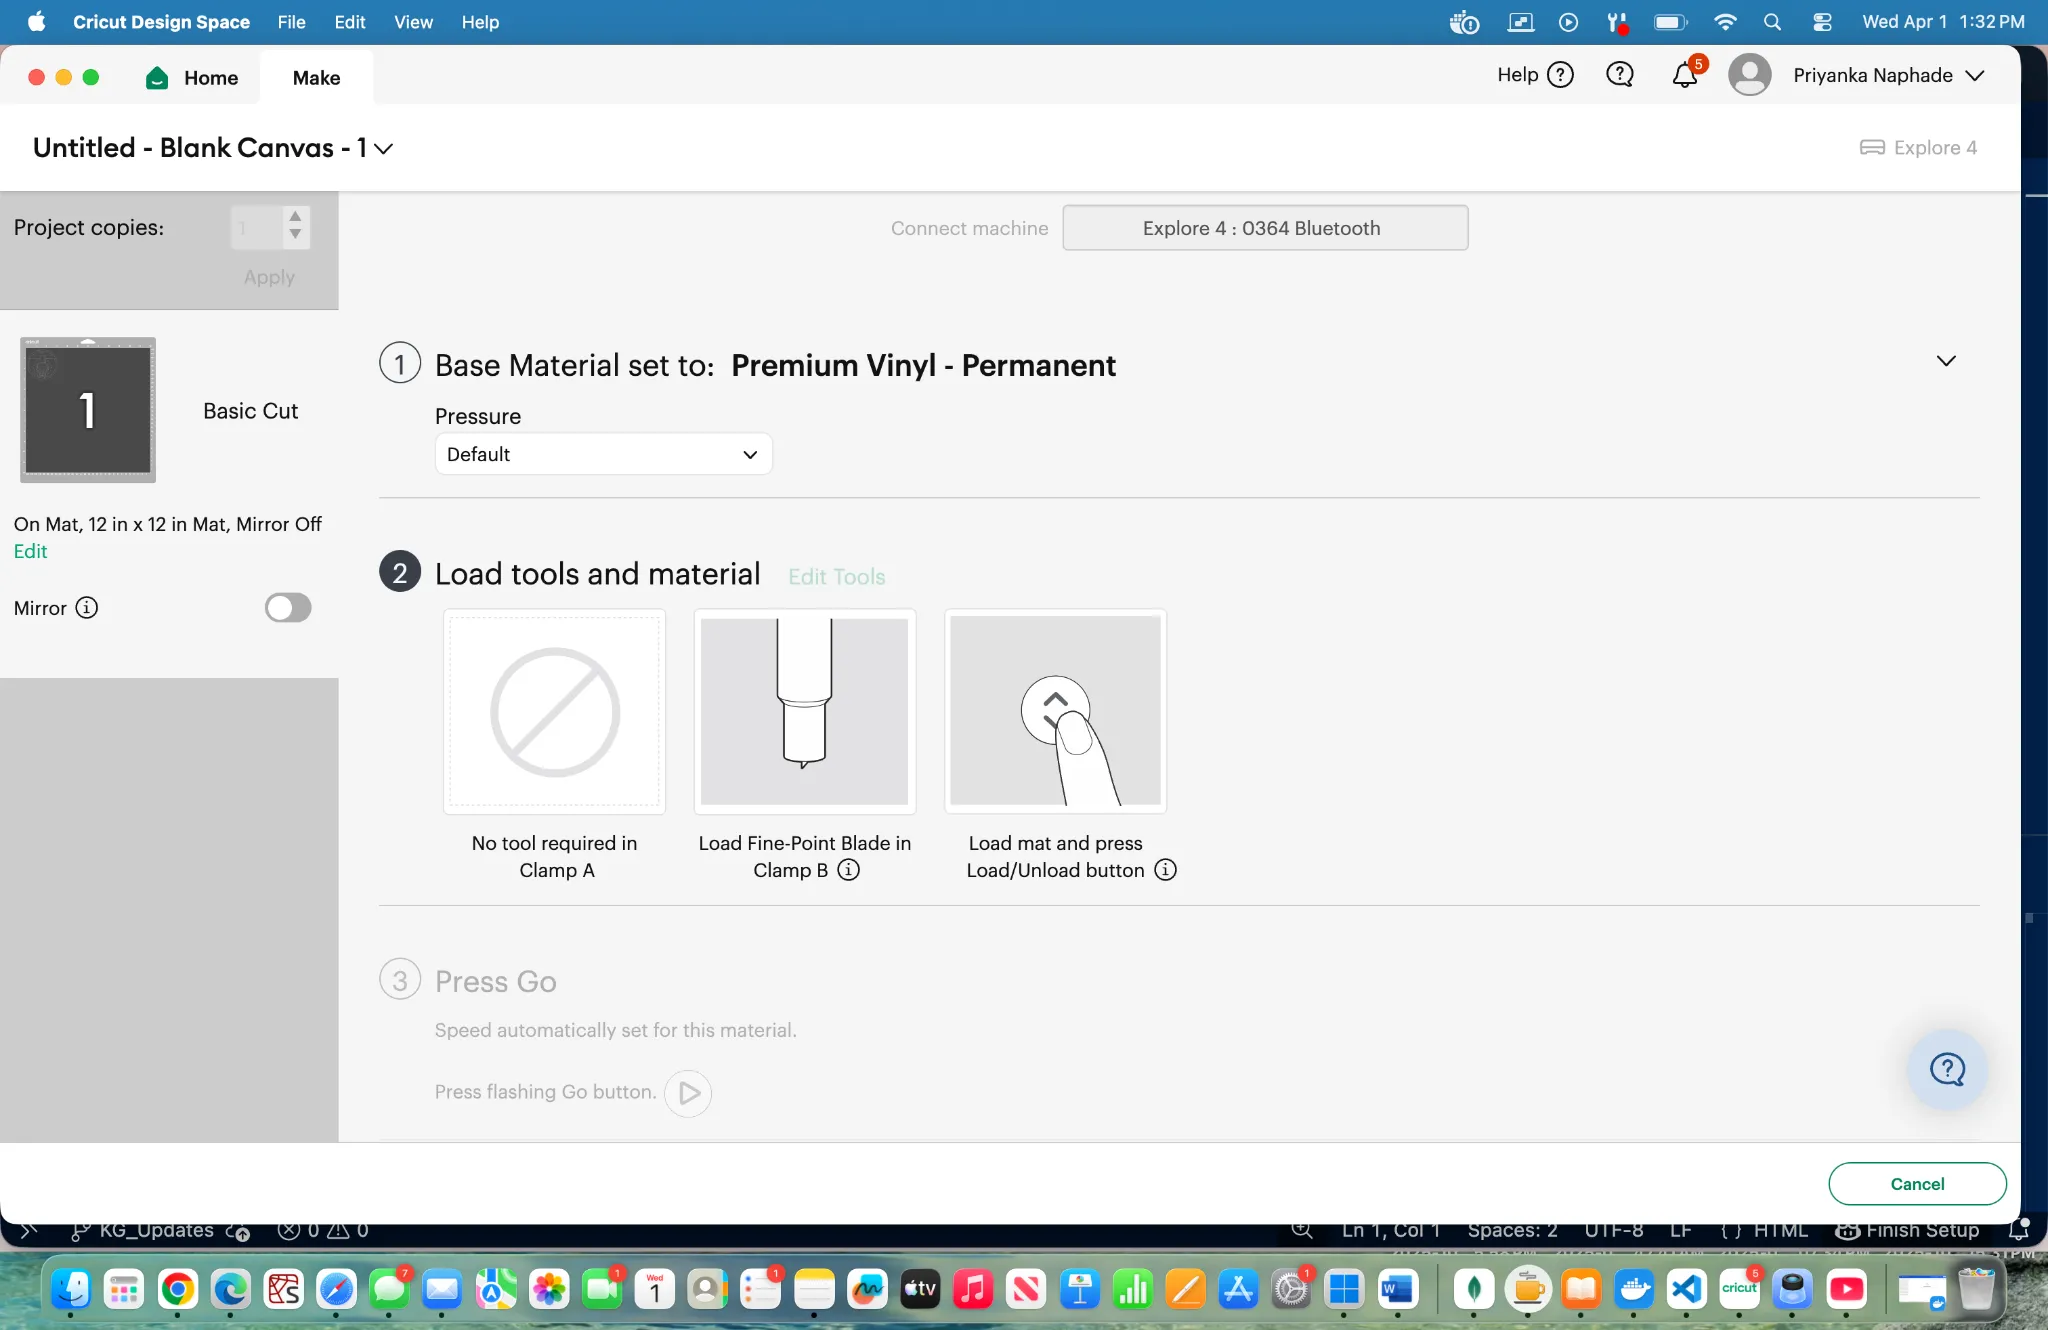
Follow the prompts, the final step after loading will be to press the go button and do the cut.
To the materials before the load
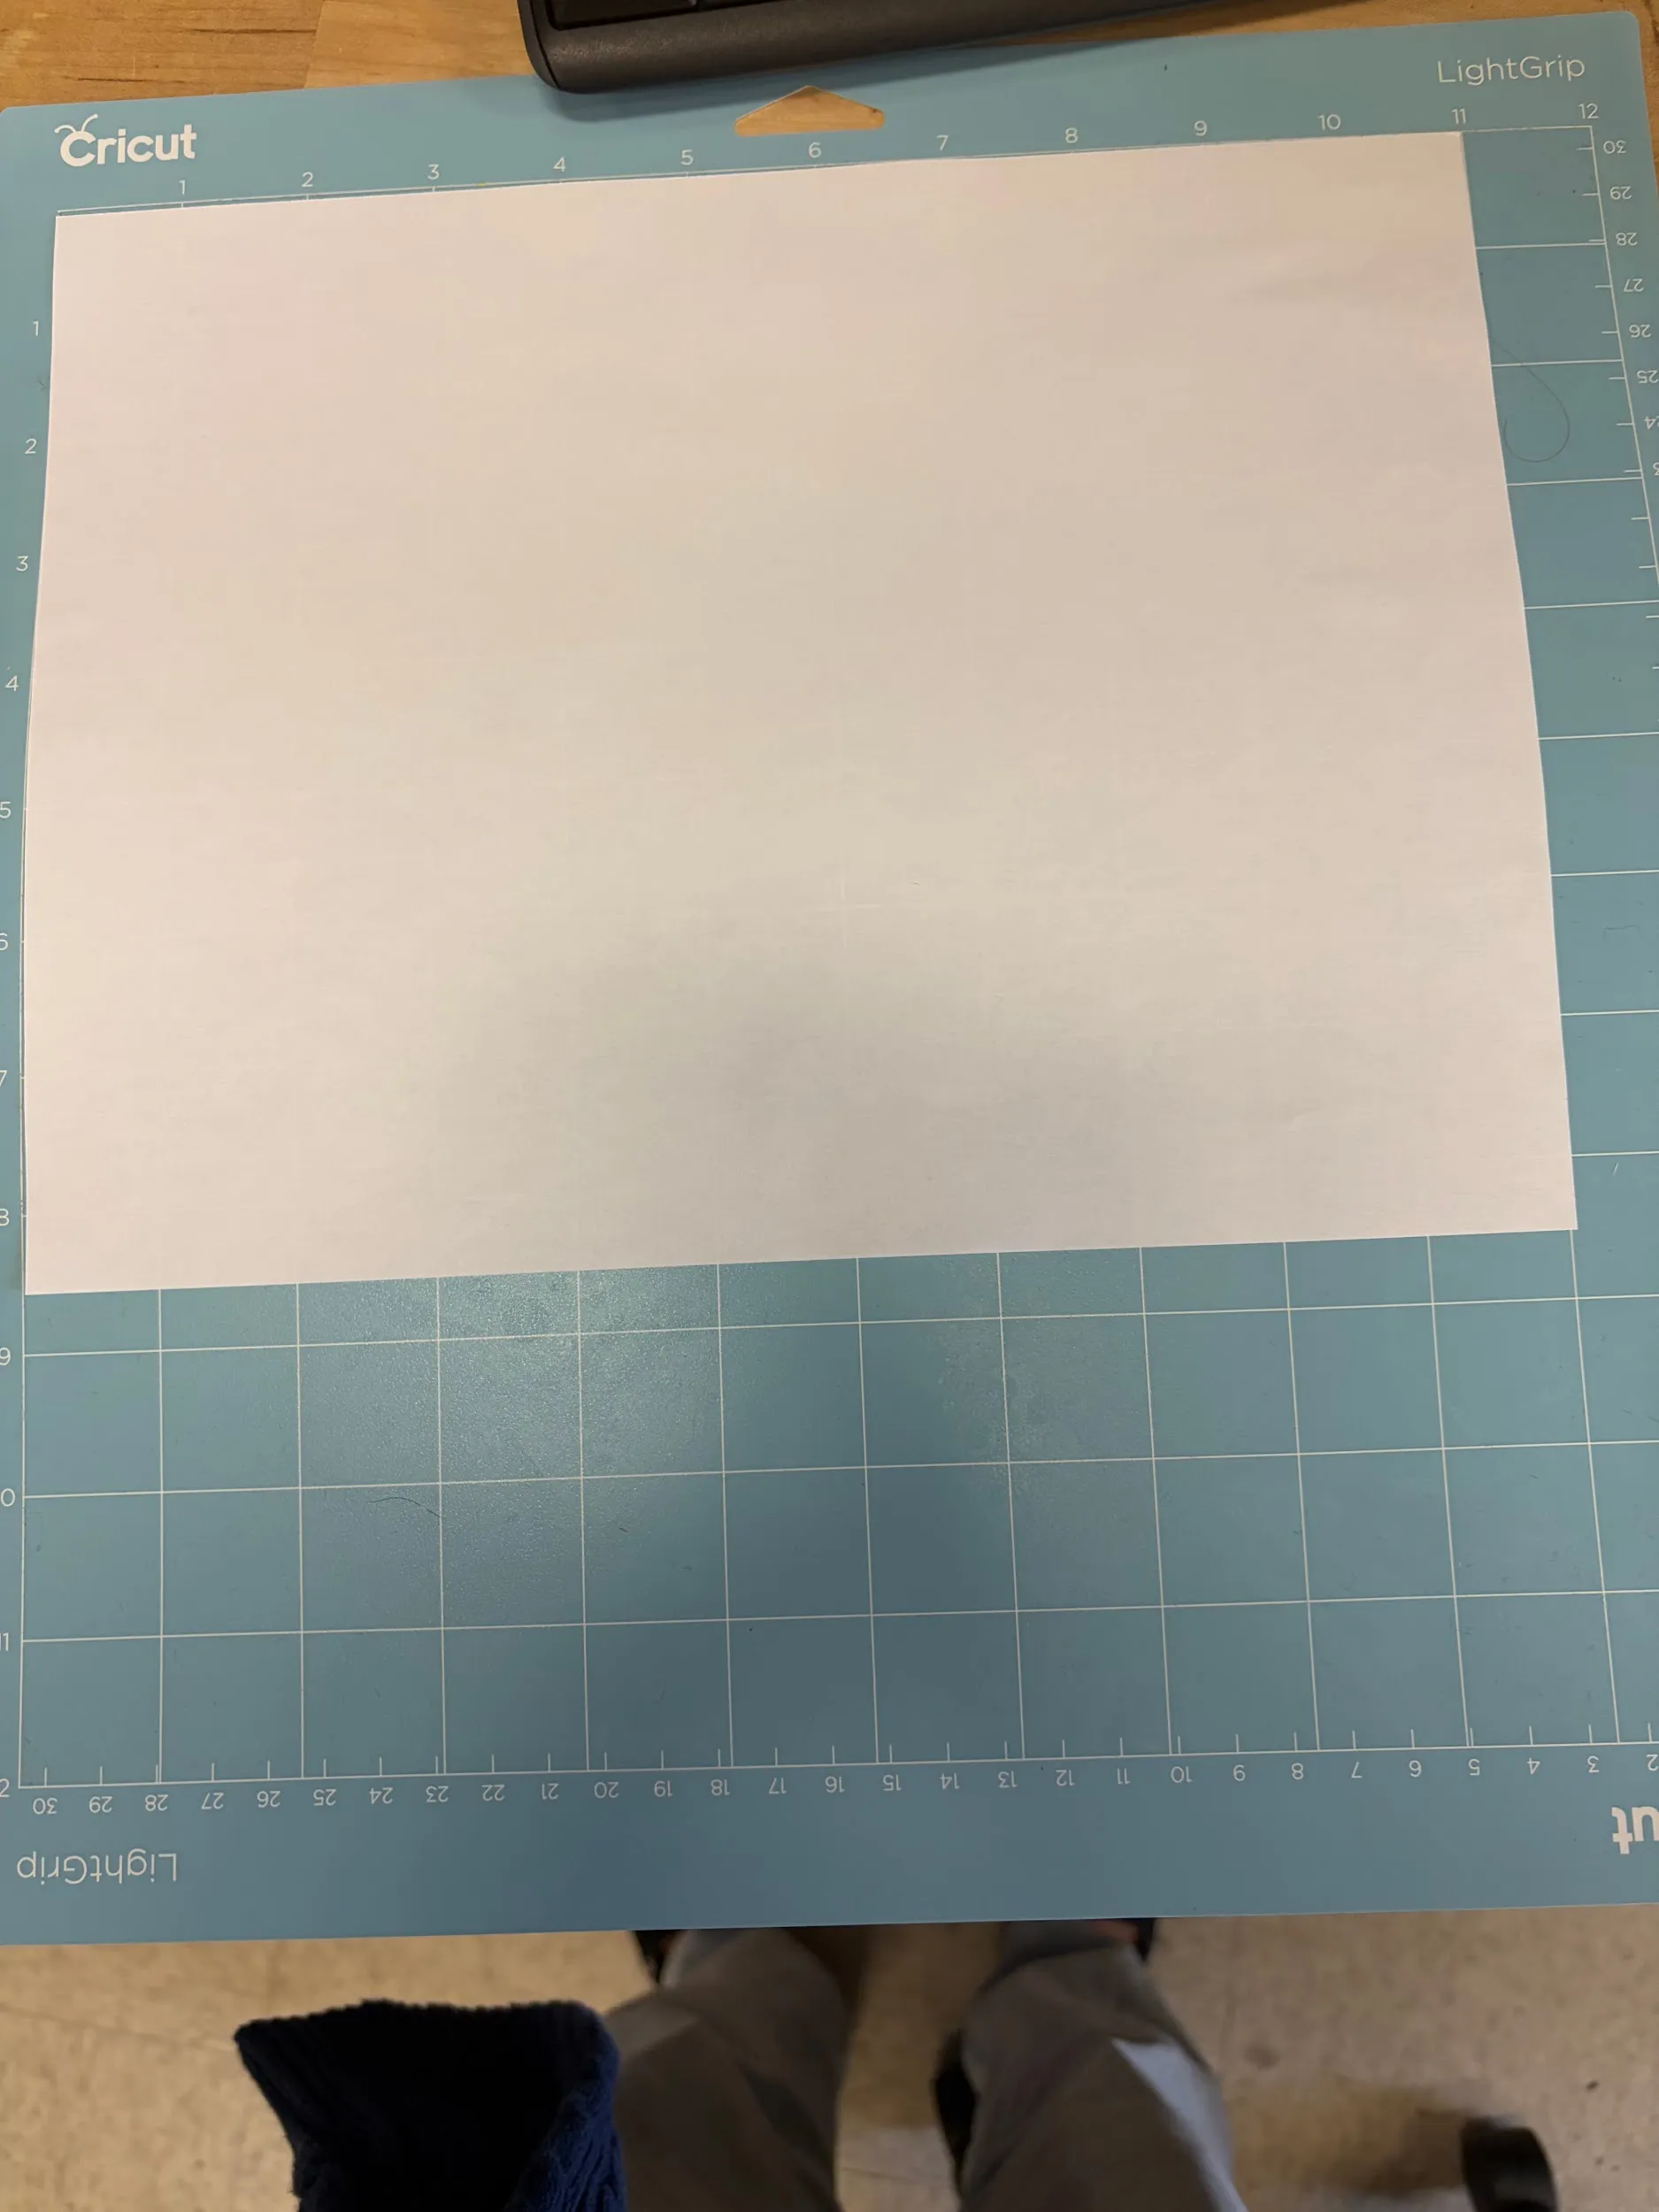
Attach your cardstock to the mat
Place the mat within the guardrails of the cricut, and press the load button.
Then press the go button
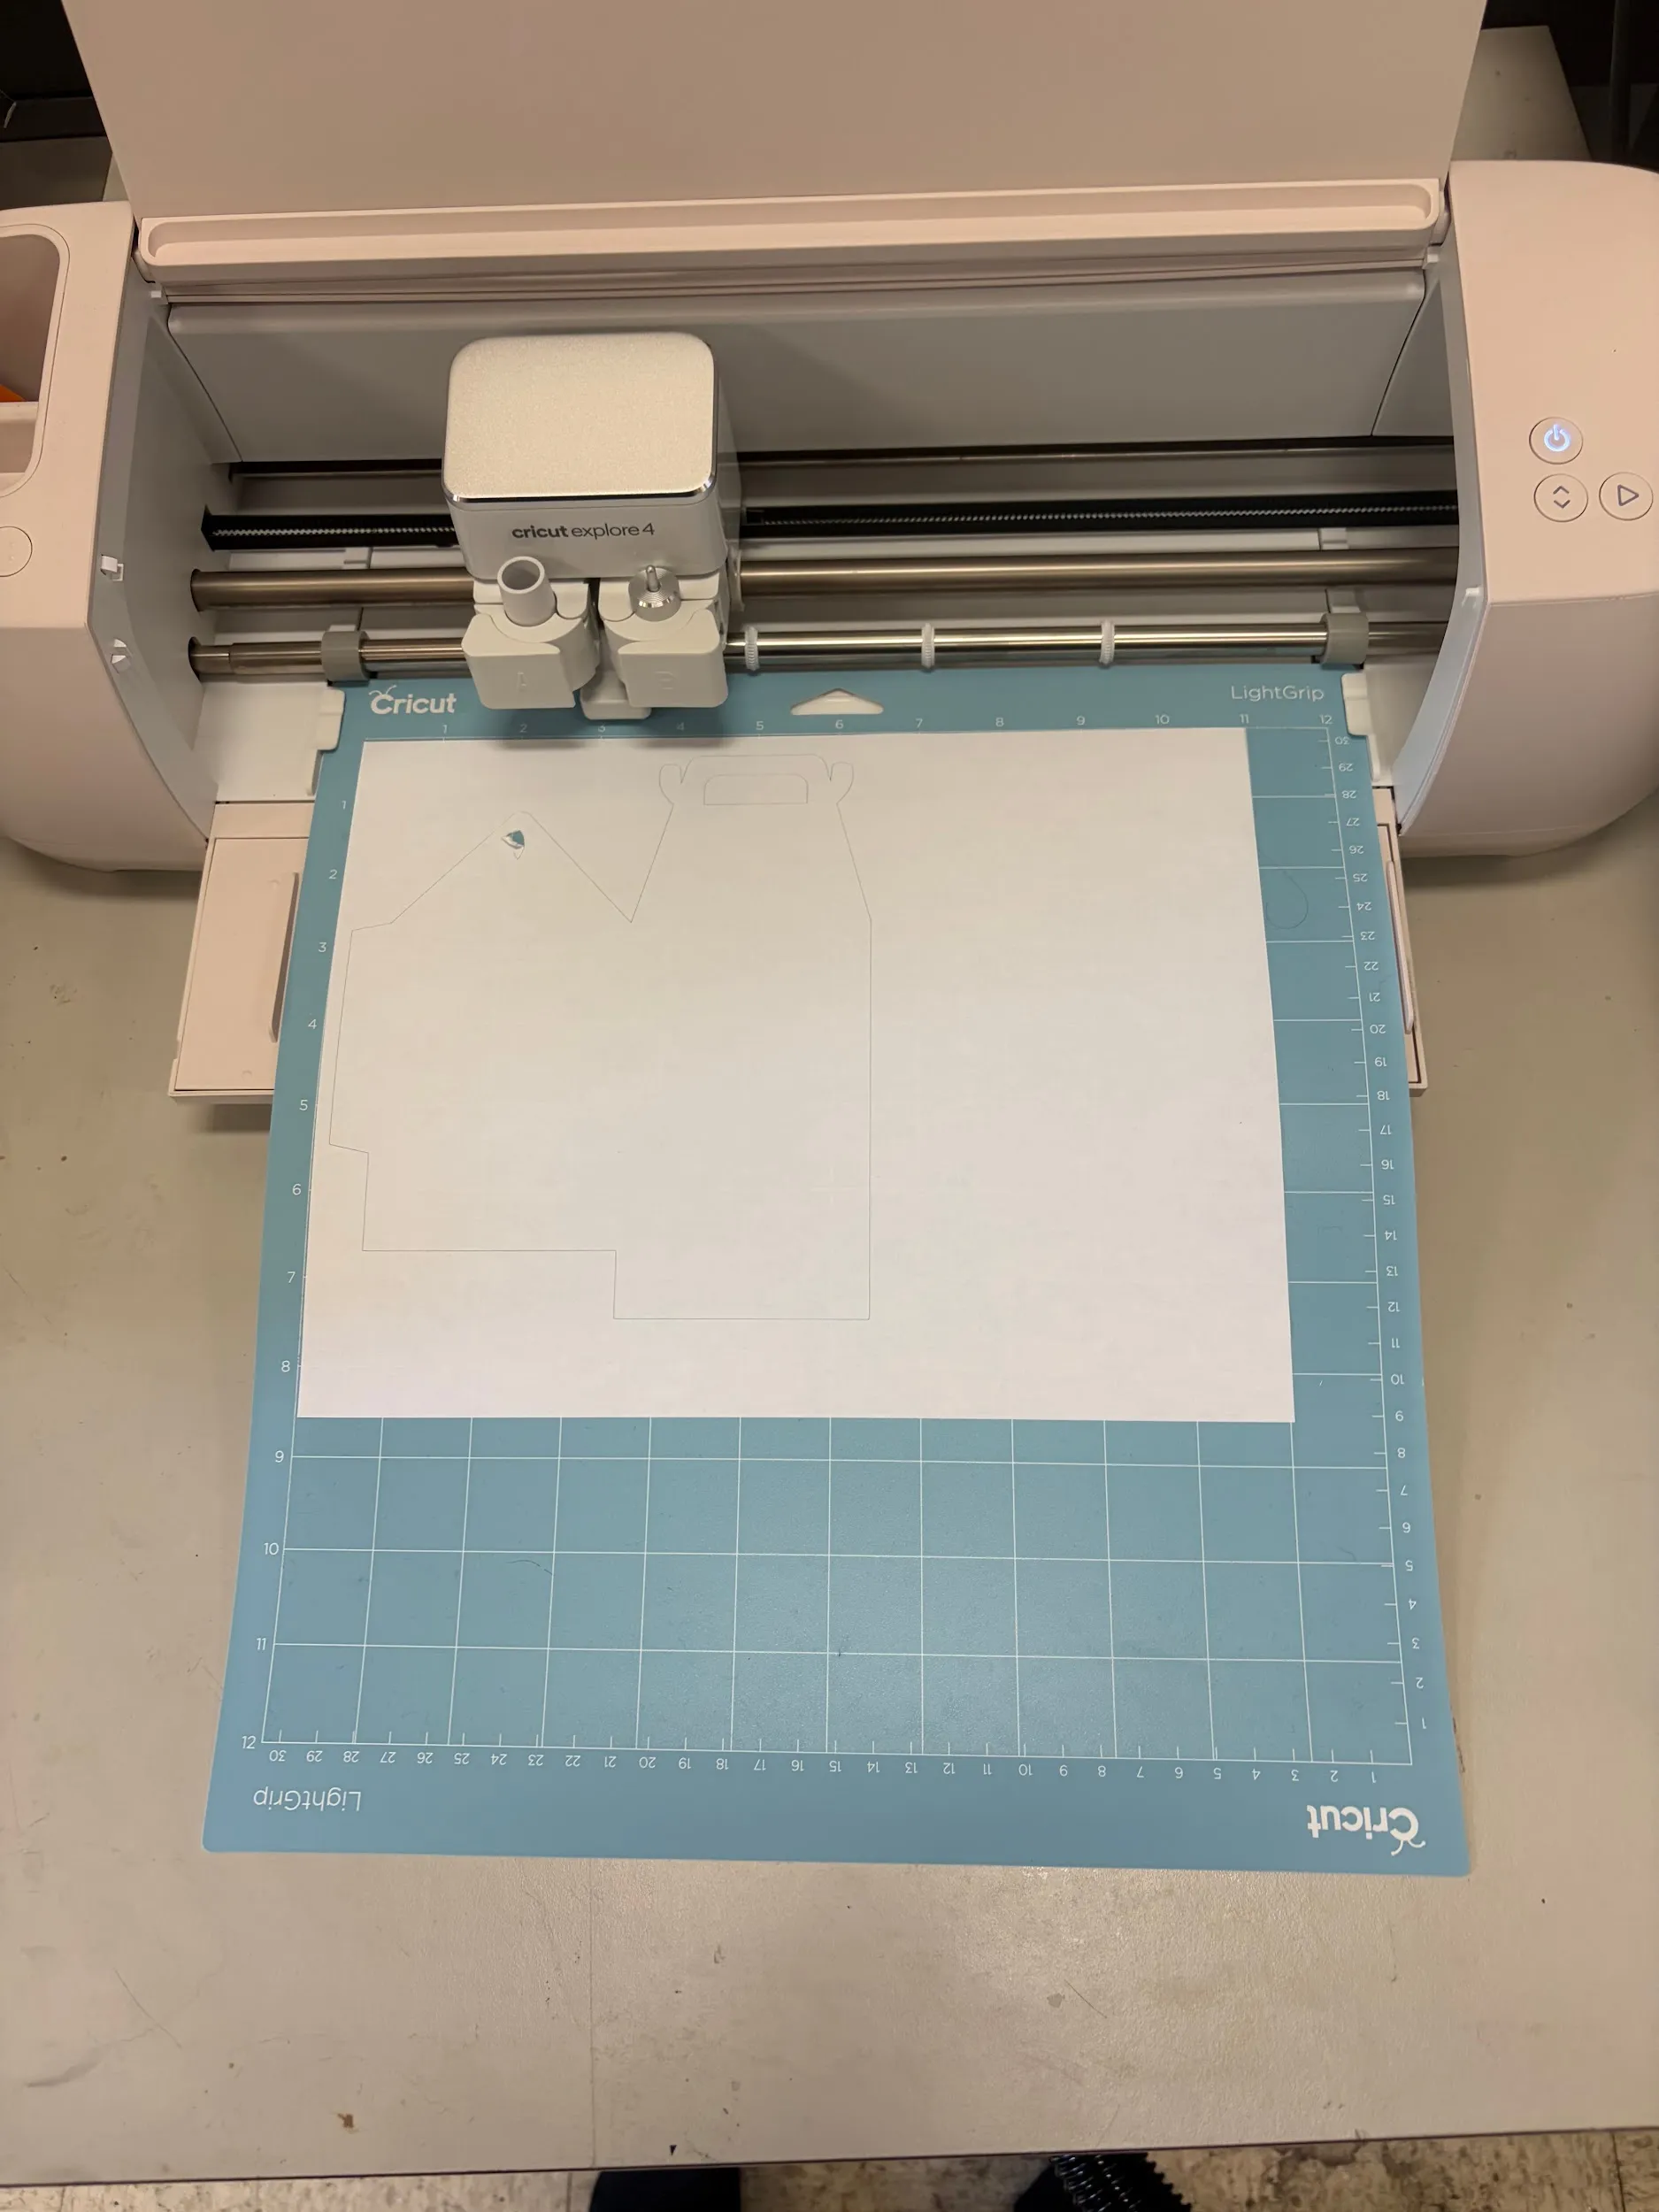
This is how the cut should look.
Cut this out twice, repeat the process to cut this shape again.
- Fold the Box
Overview:
In depth steps:
Fold along these lines on both the pieces :
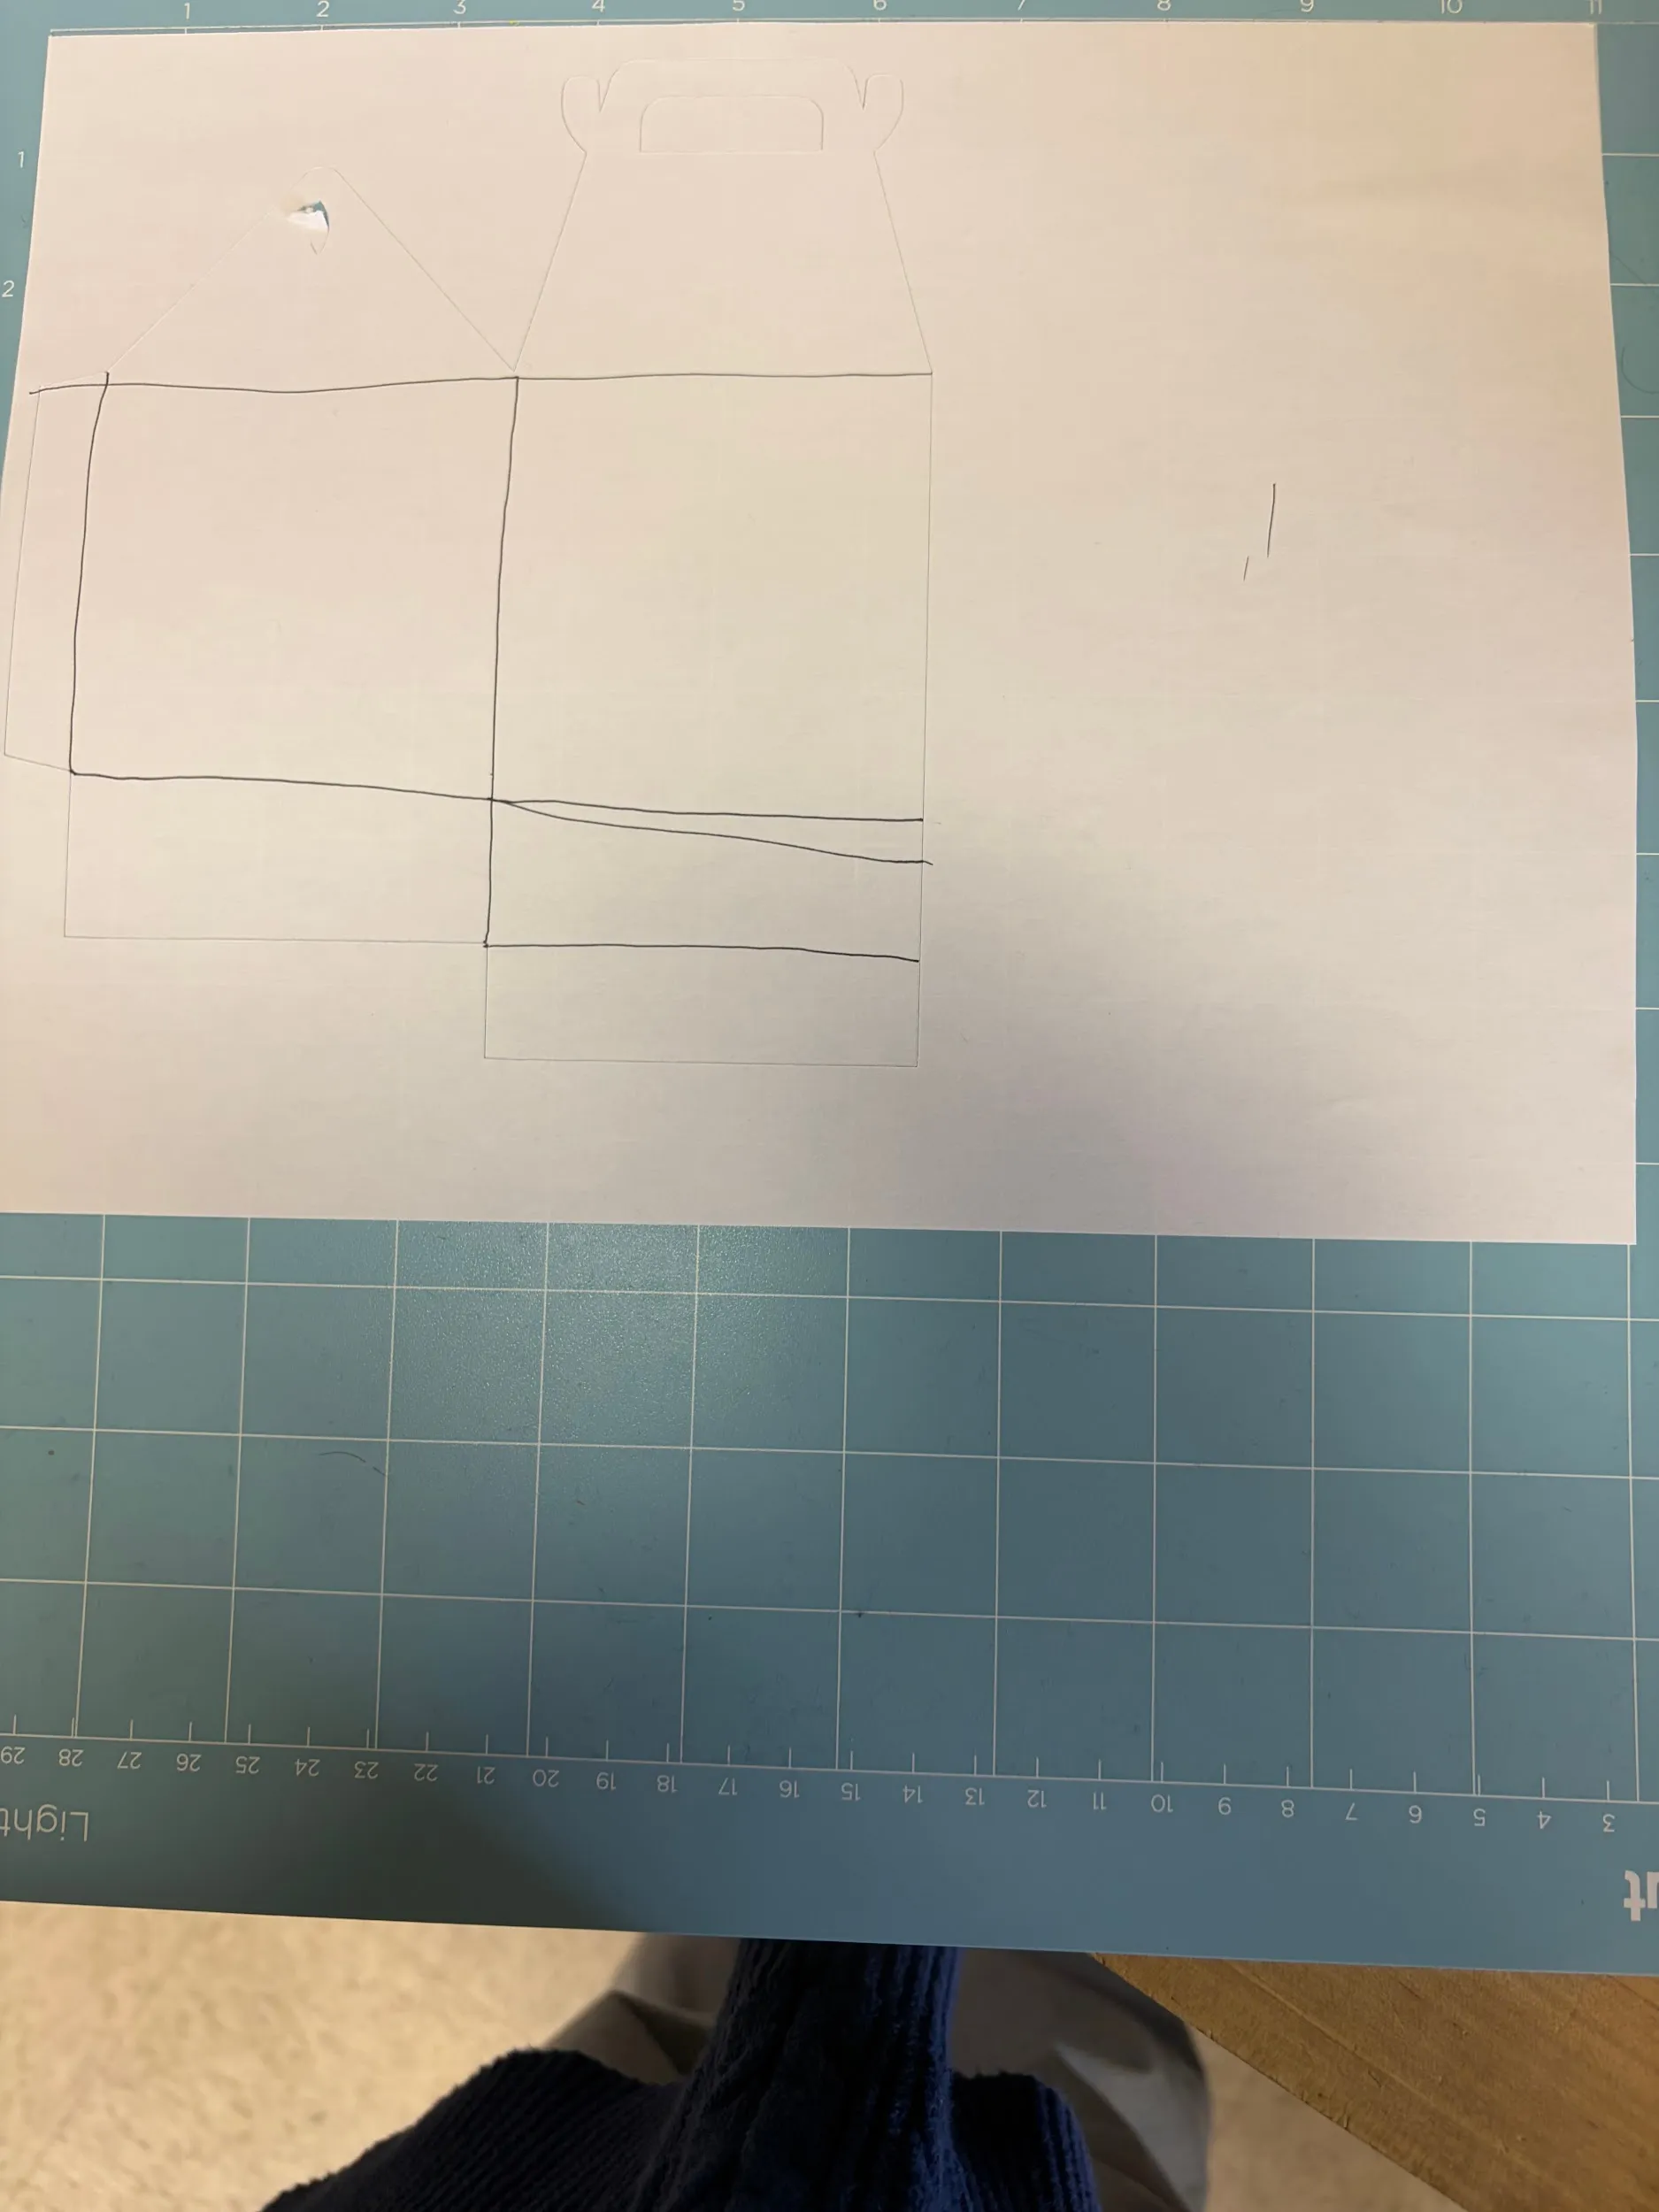
Lay out the two pieces side by side like so:
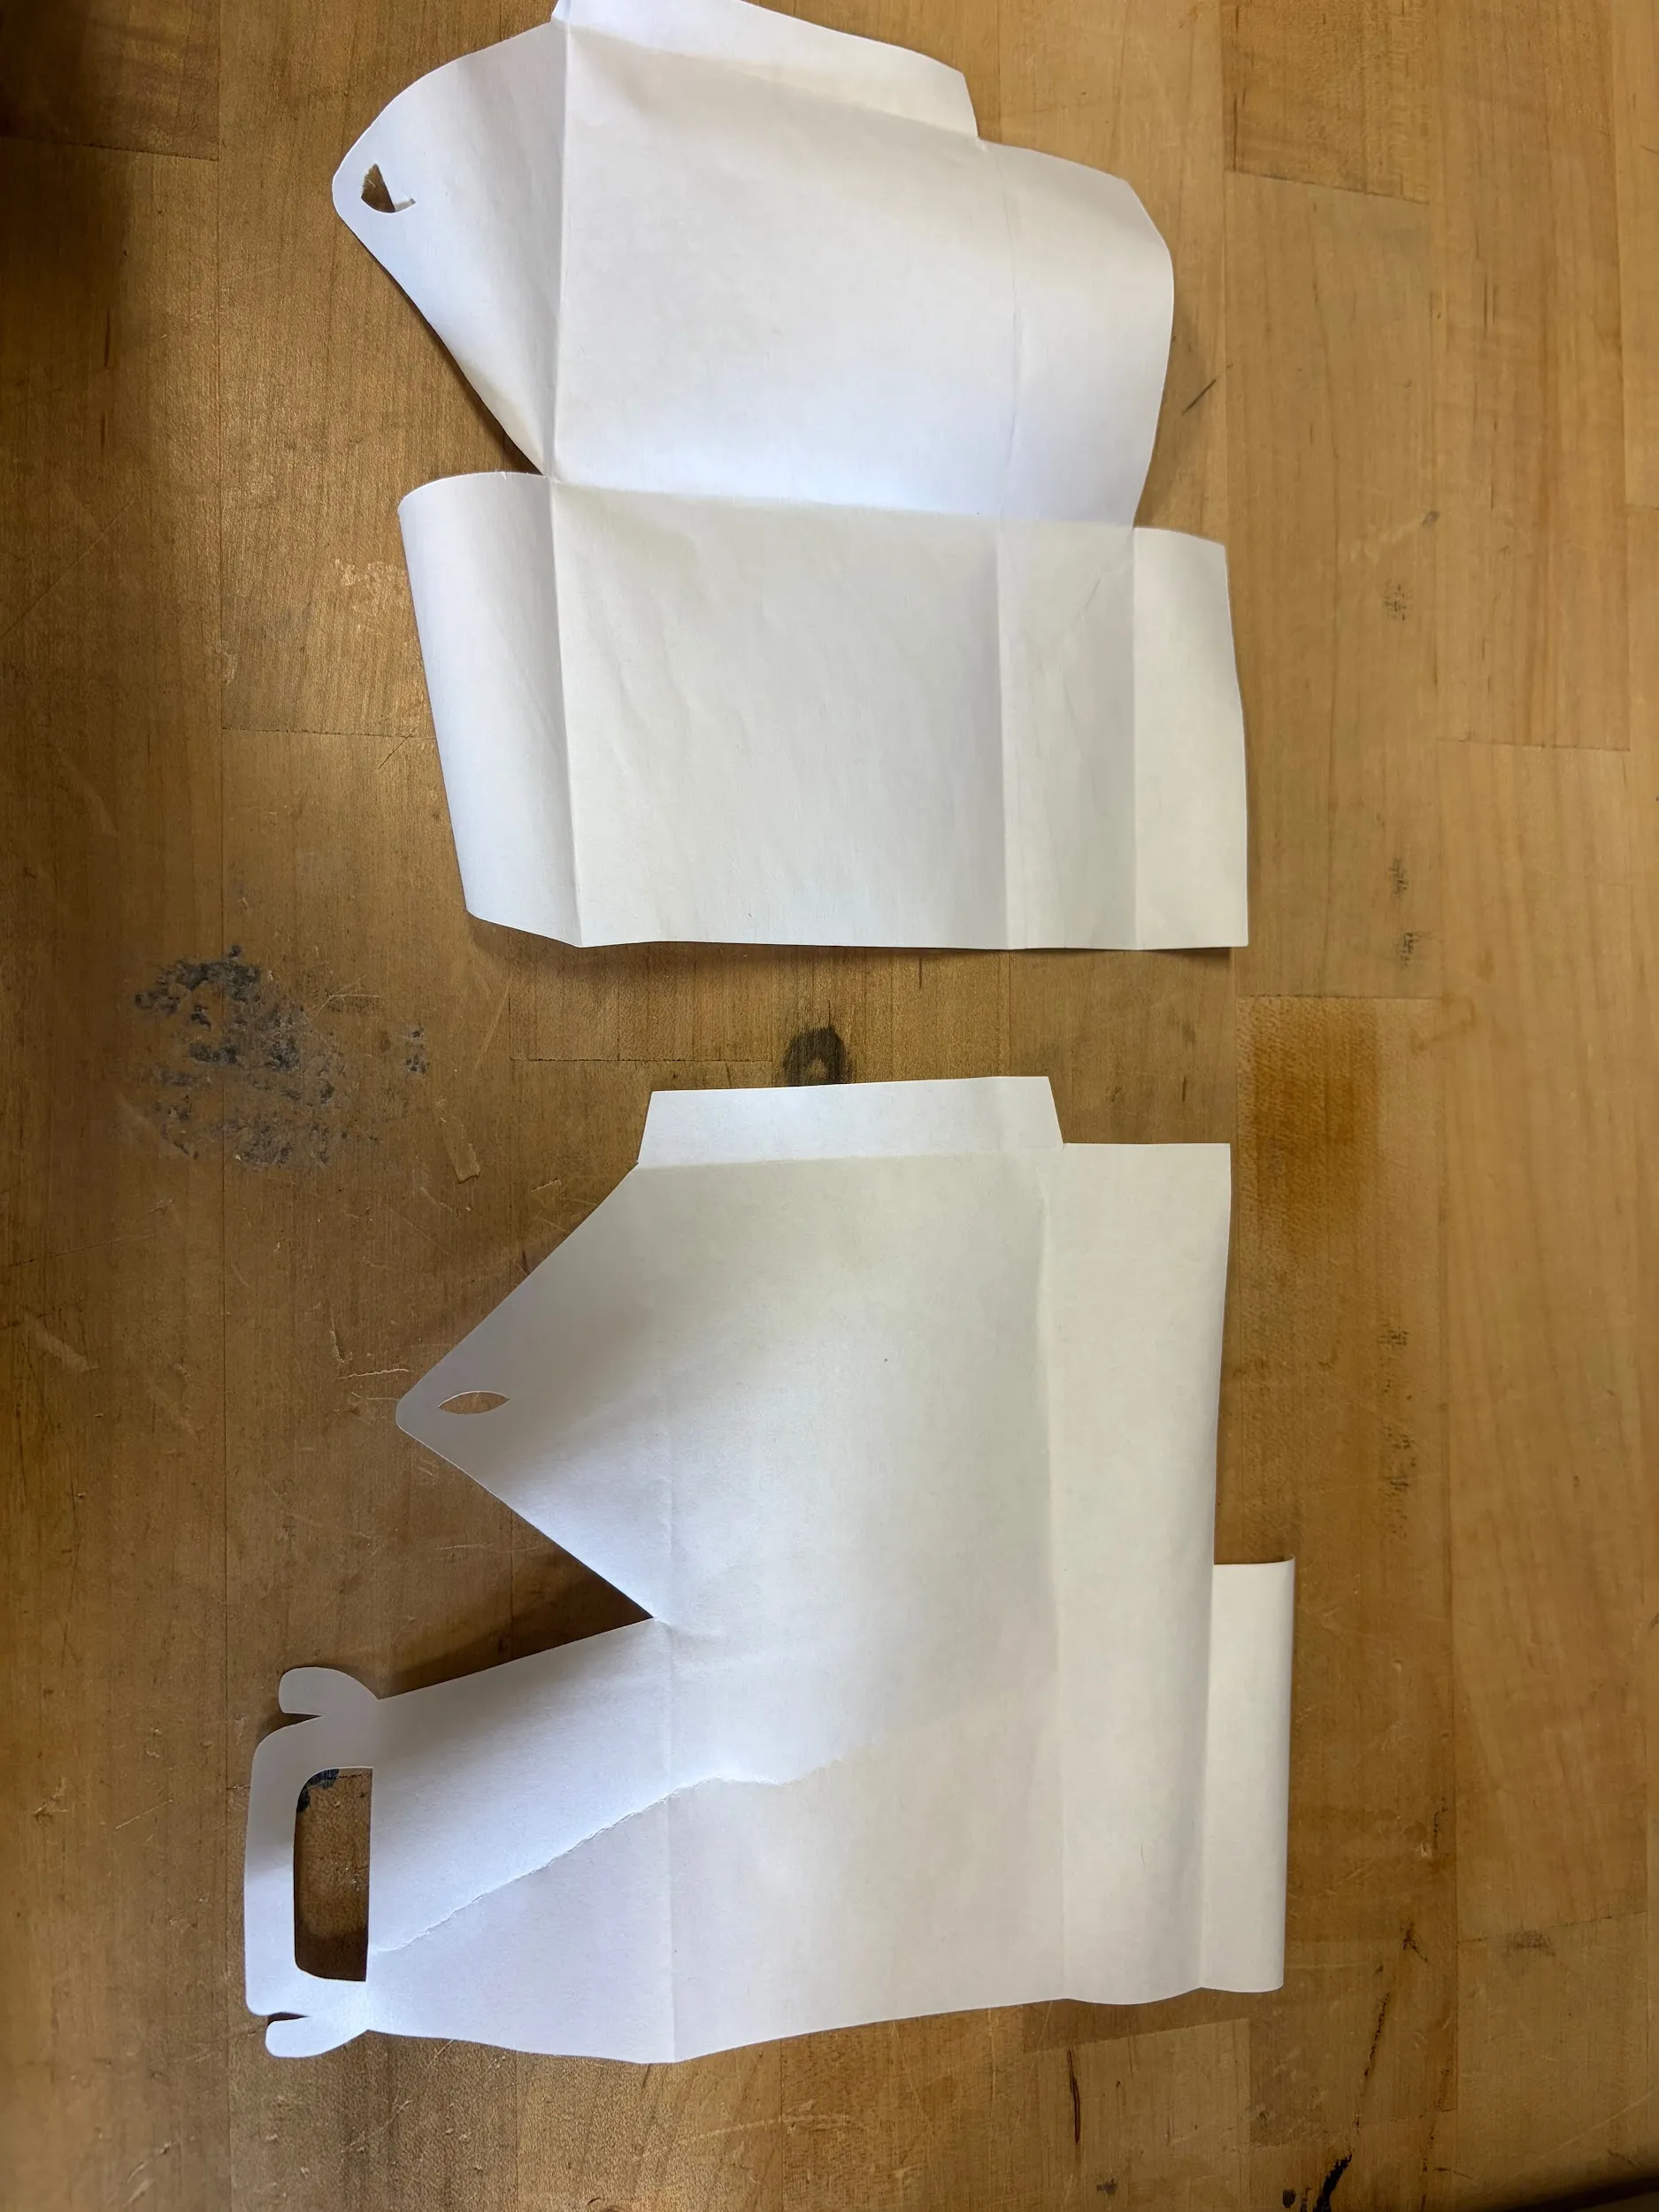
Tape the the inner tab of the right hand piece to the body of the left hand piece, as shown in the image below
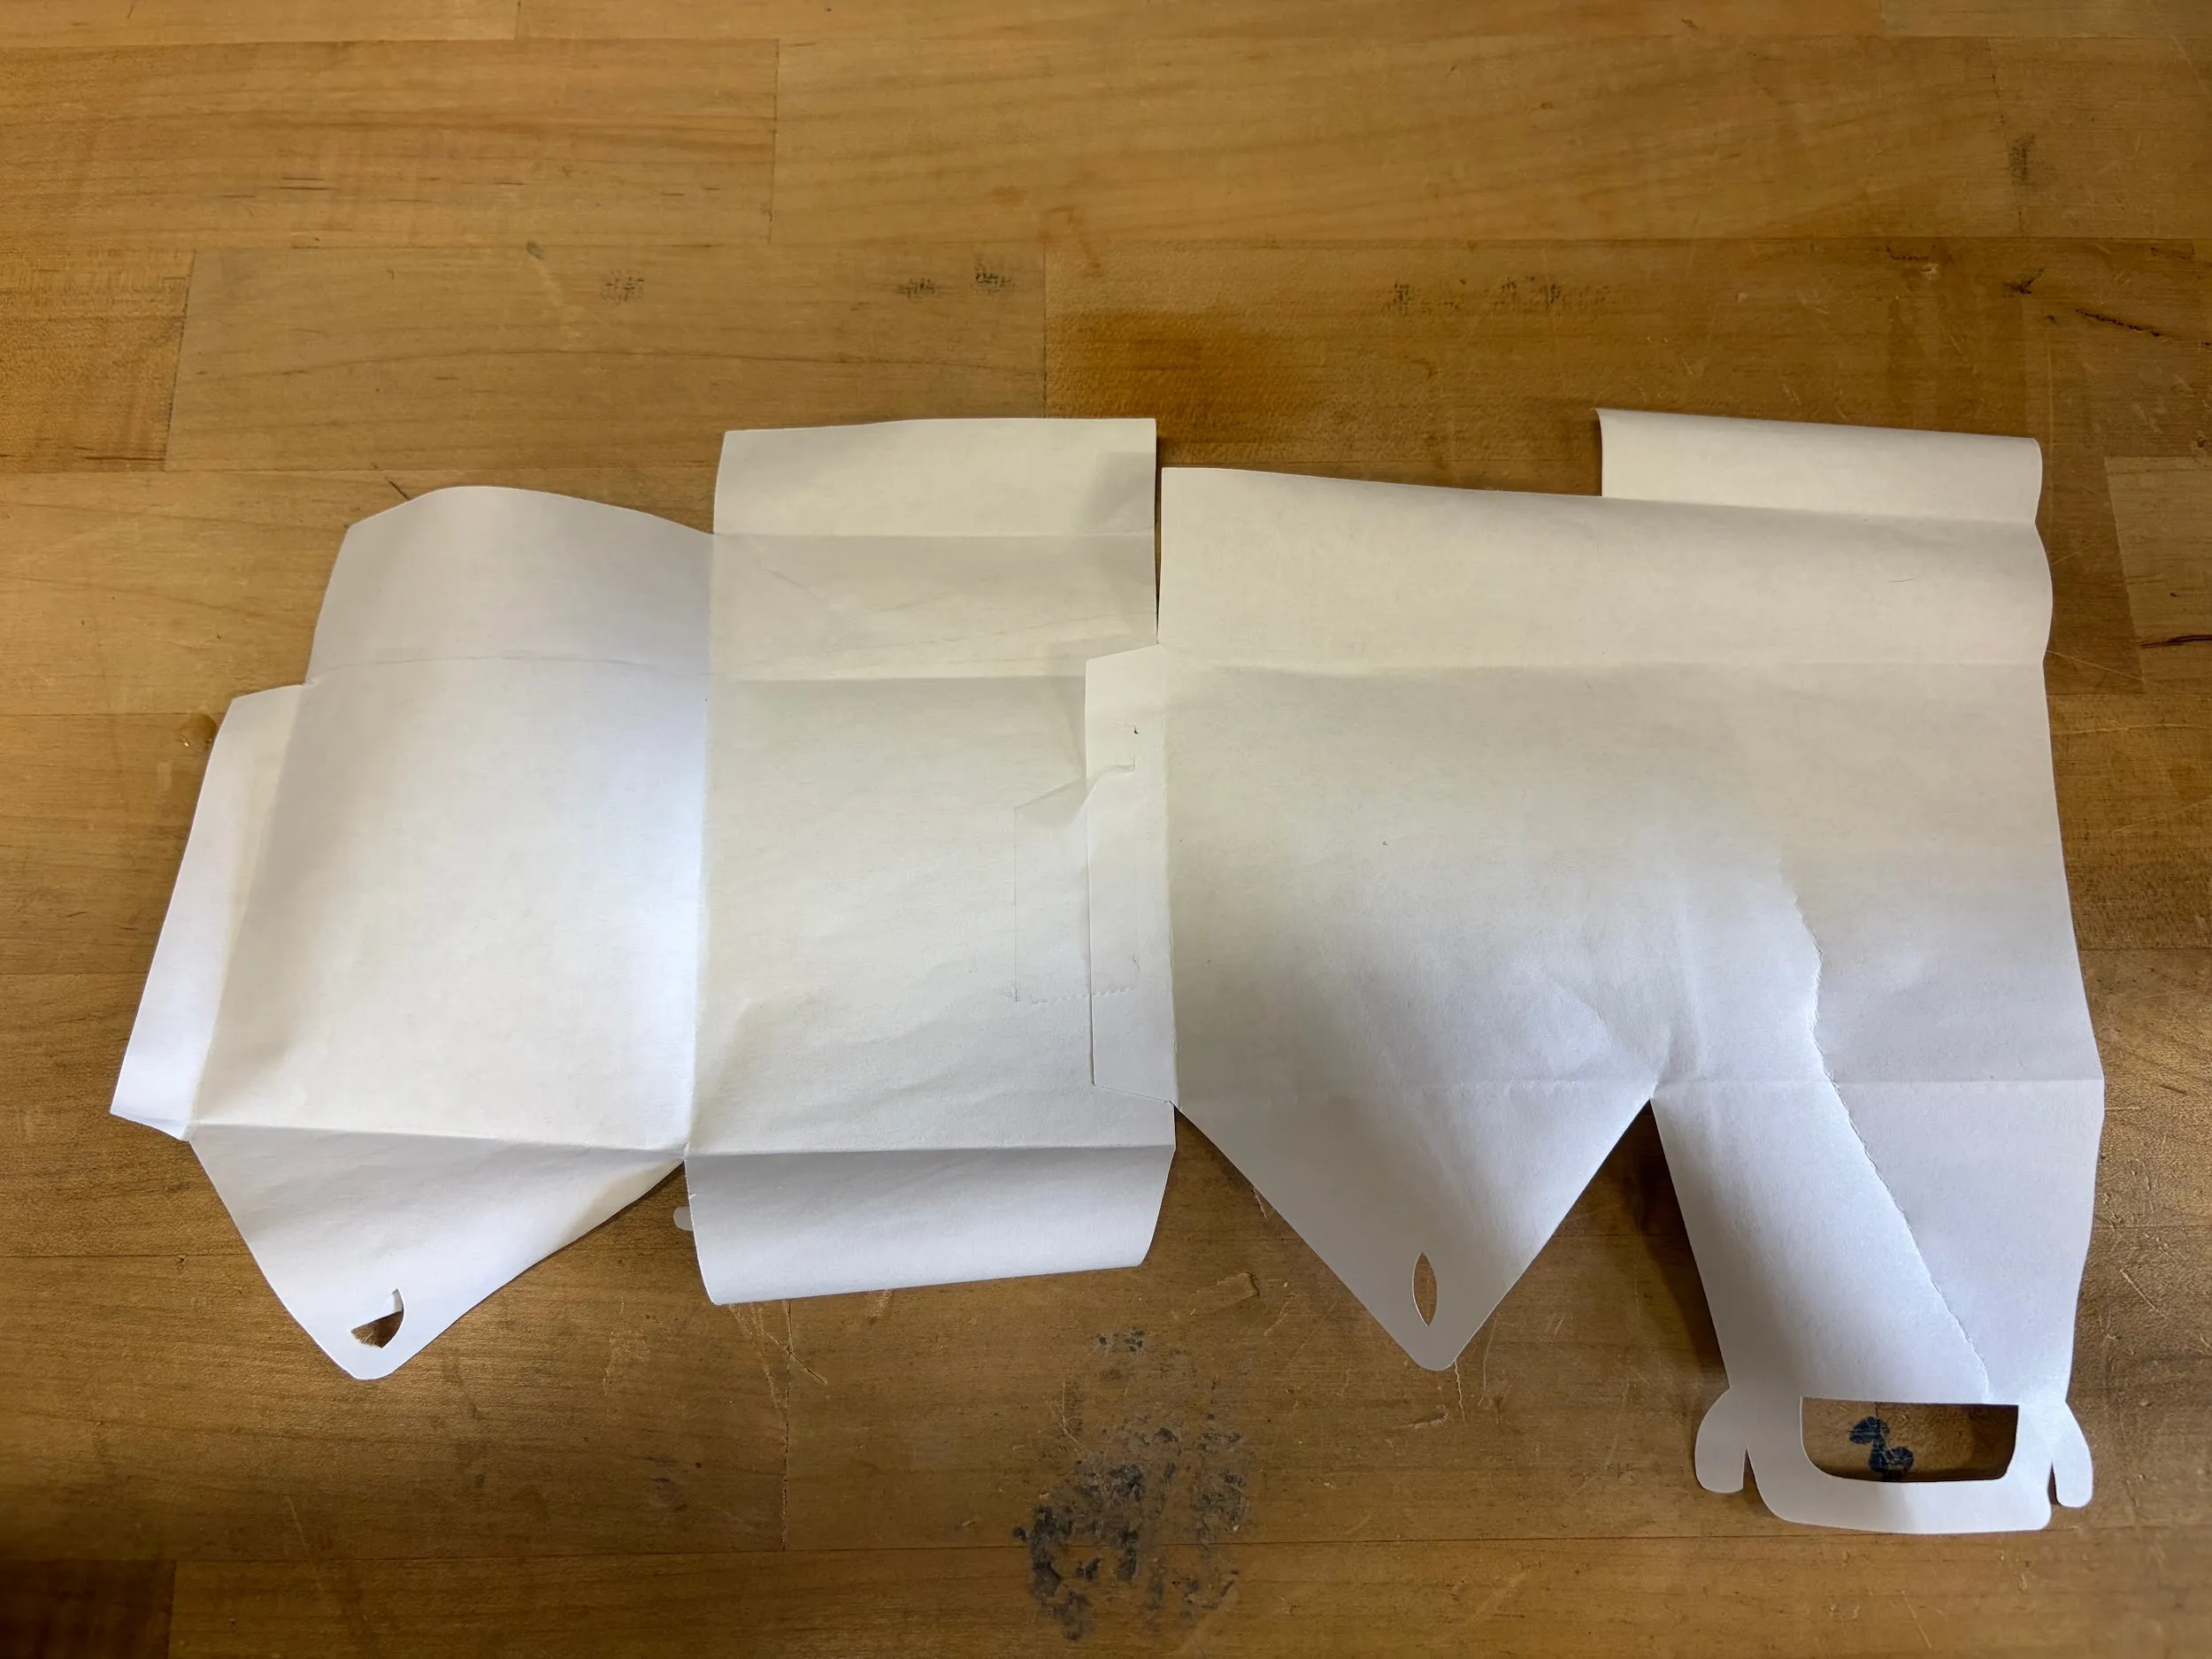
The tab on the outside left side of the piece wraps around to tape to the body of the right hand side piece.
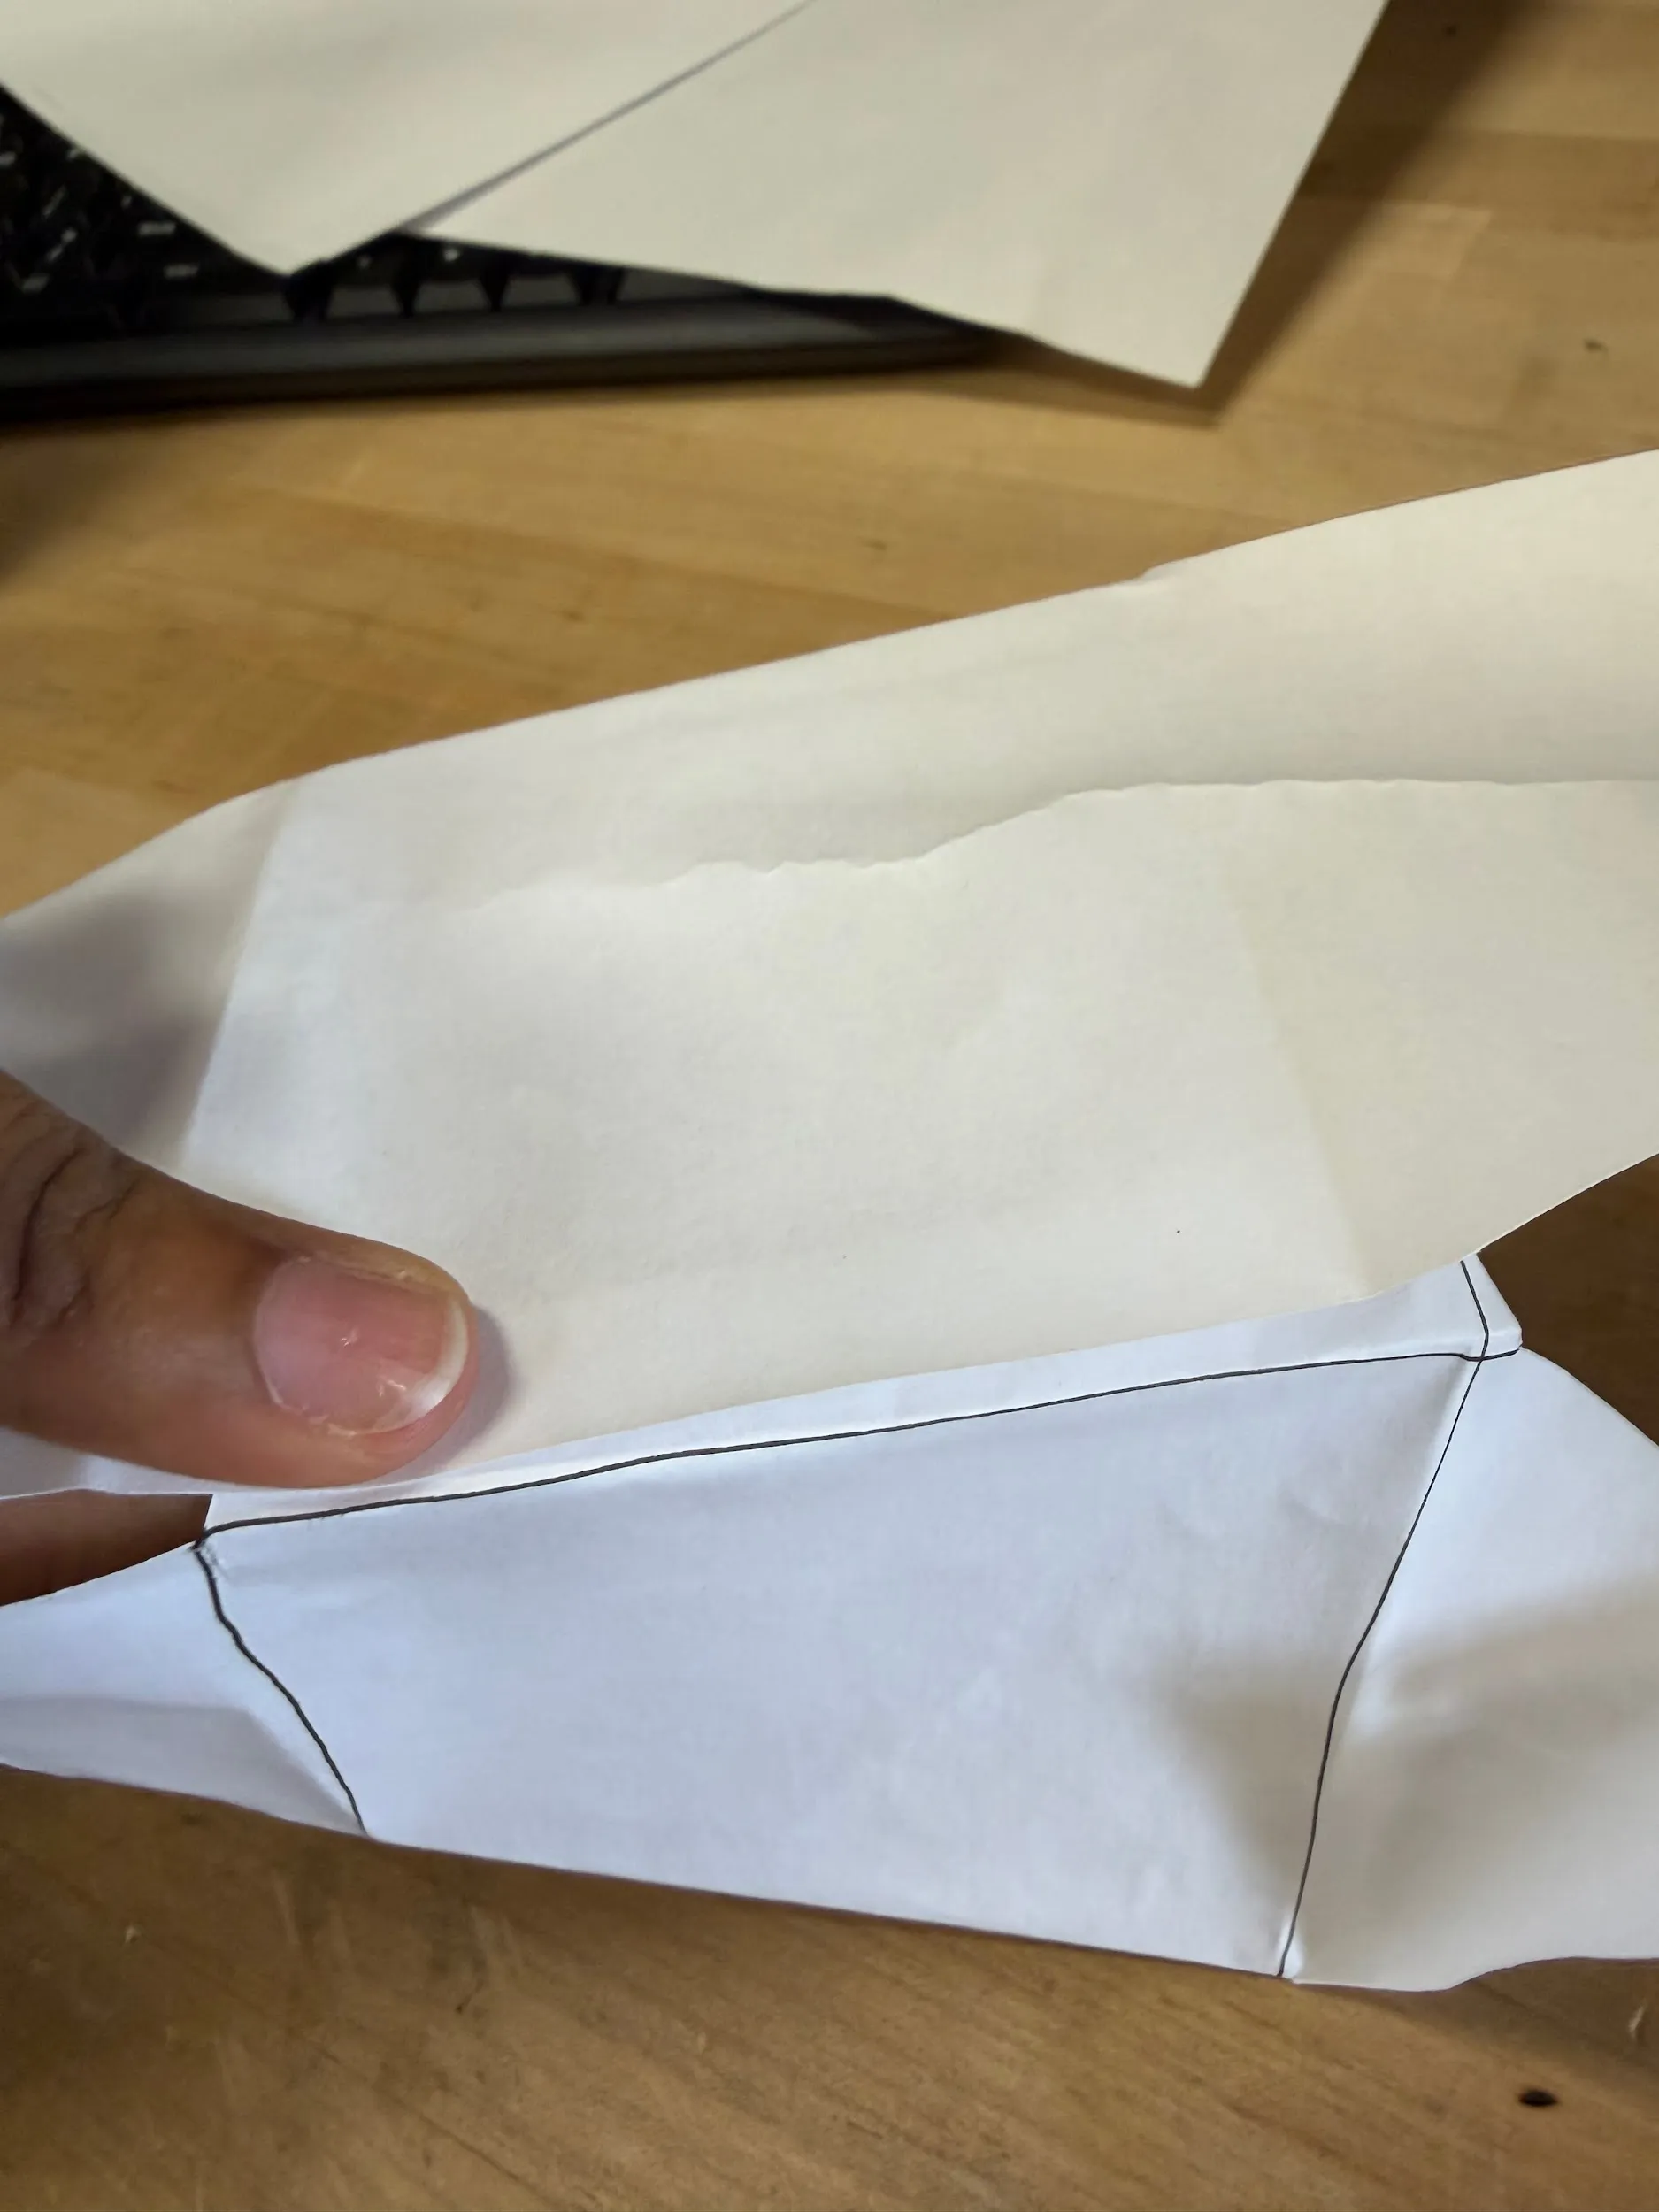
Then tape the two horizontal bottom flaps together as shown in the following image
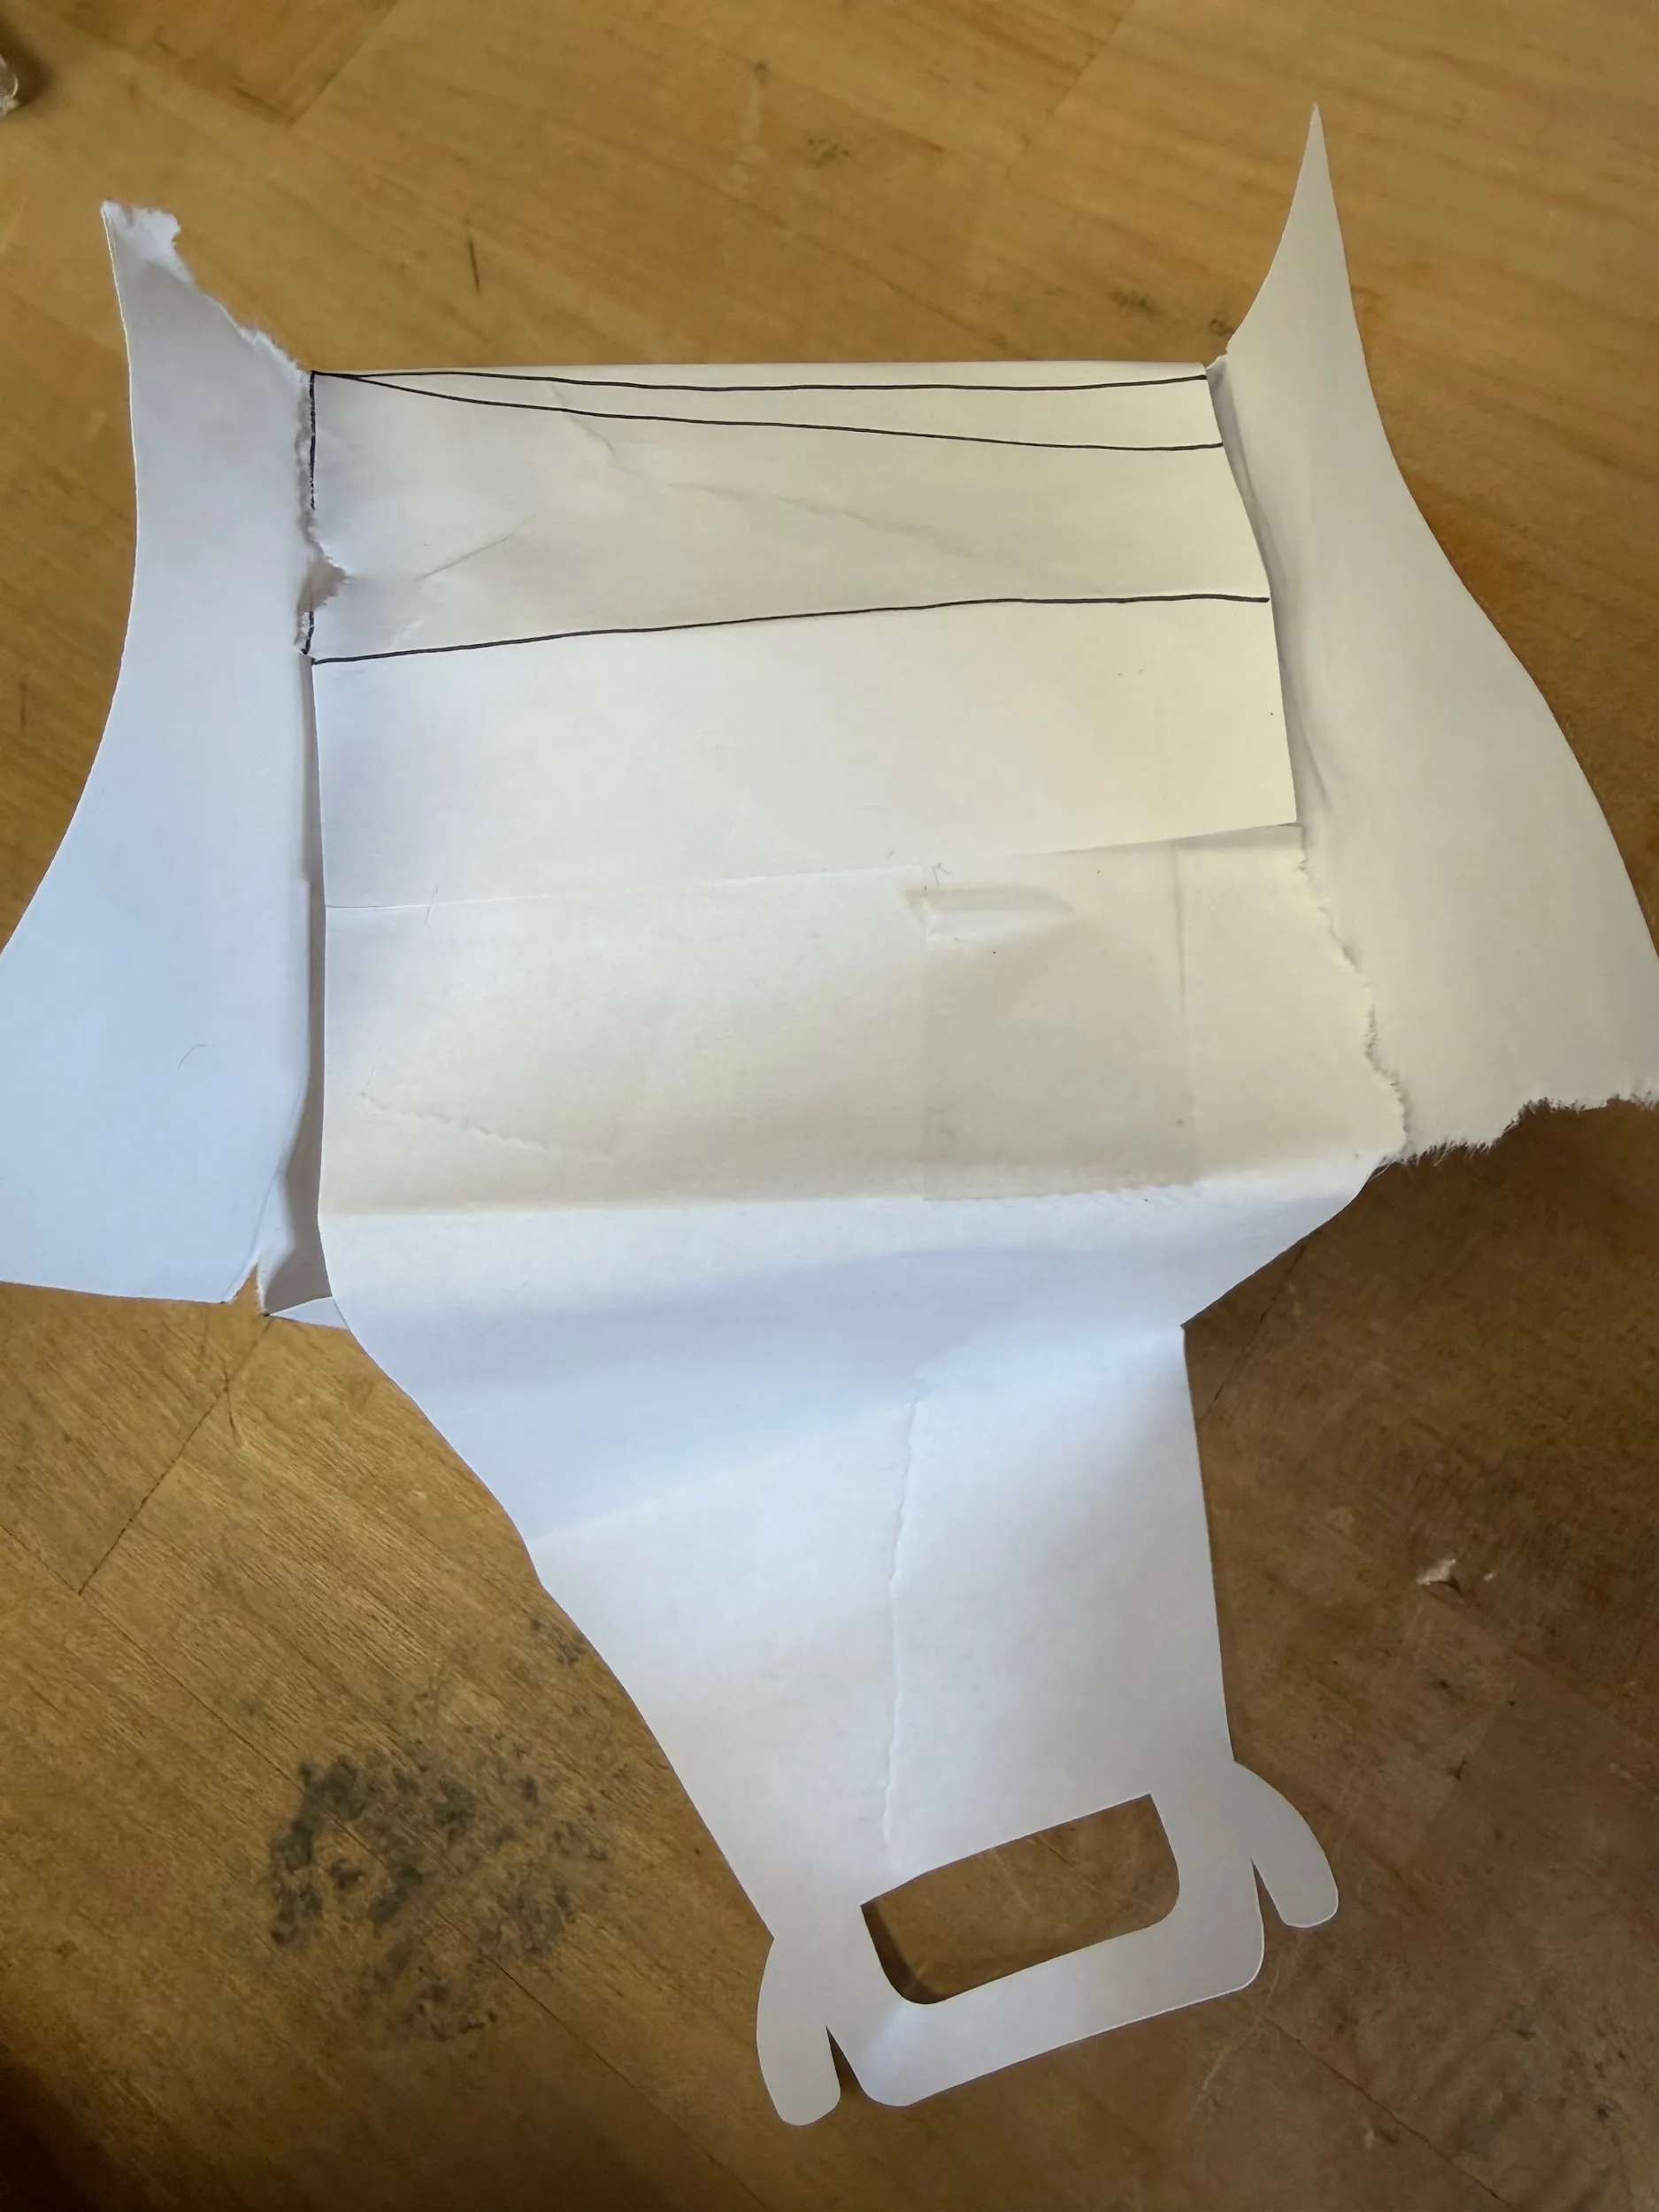
Then tape the vertical bottom pieces together like so
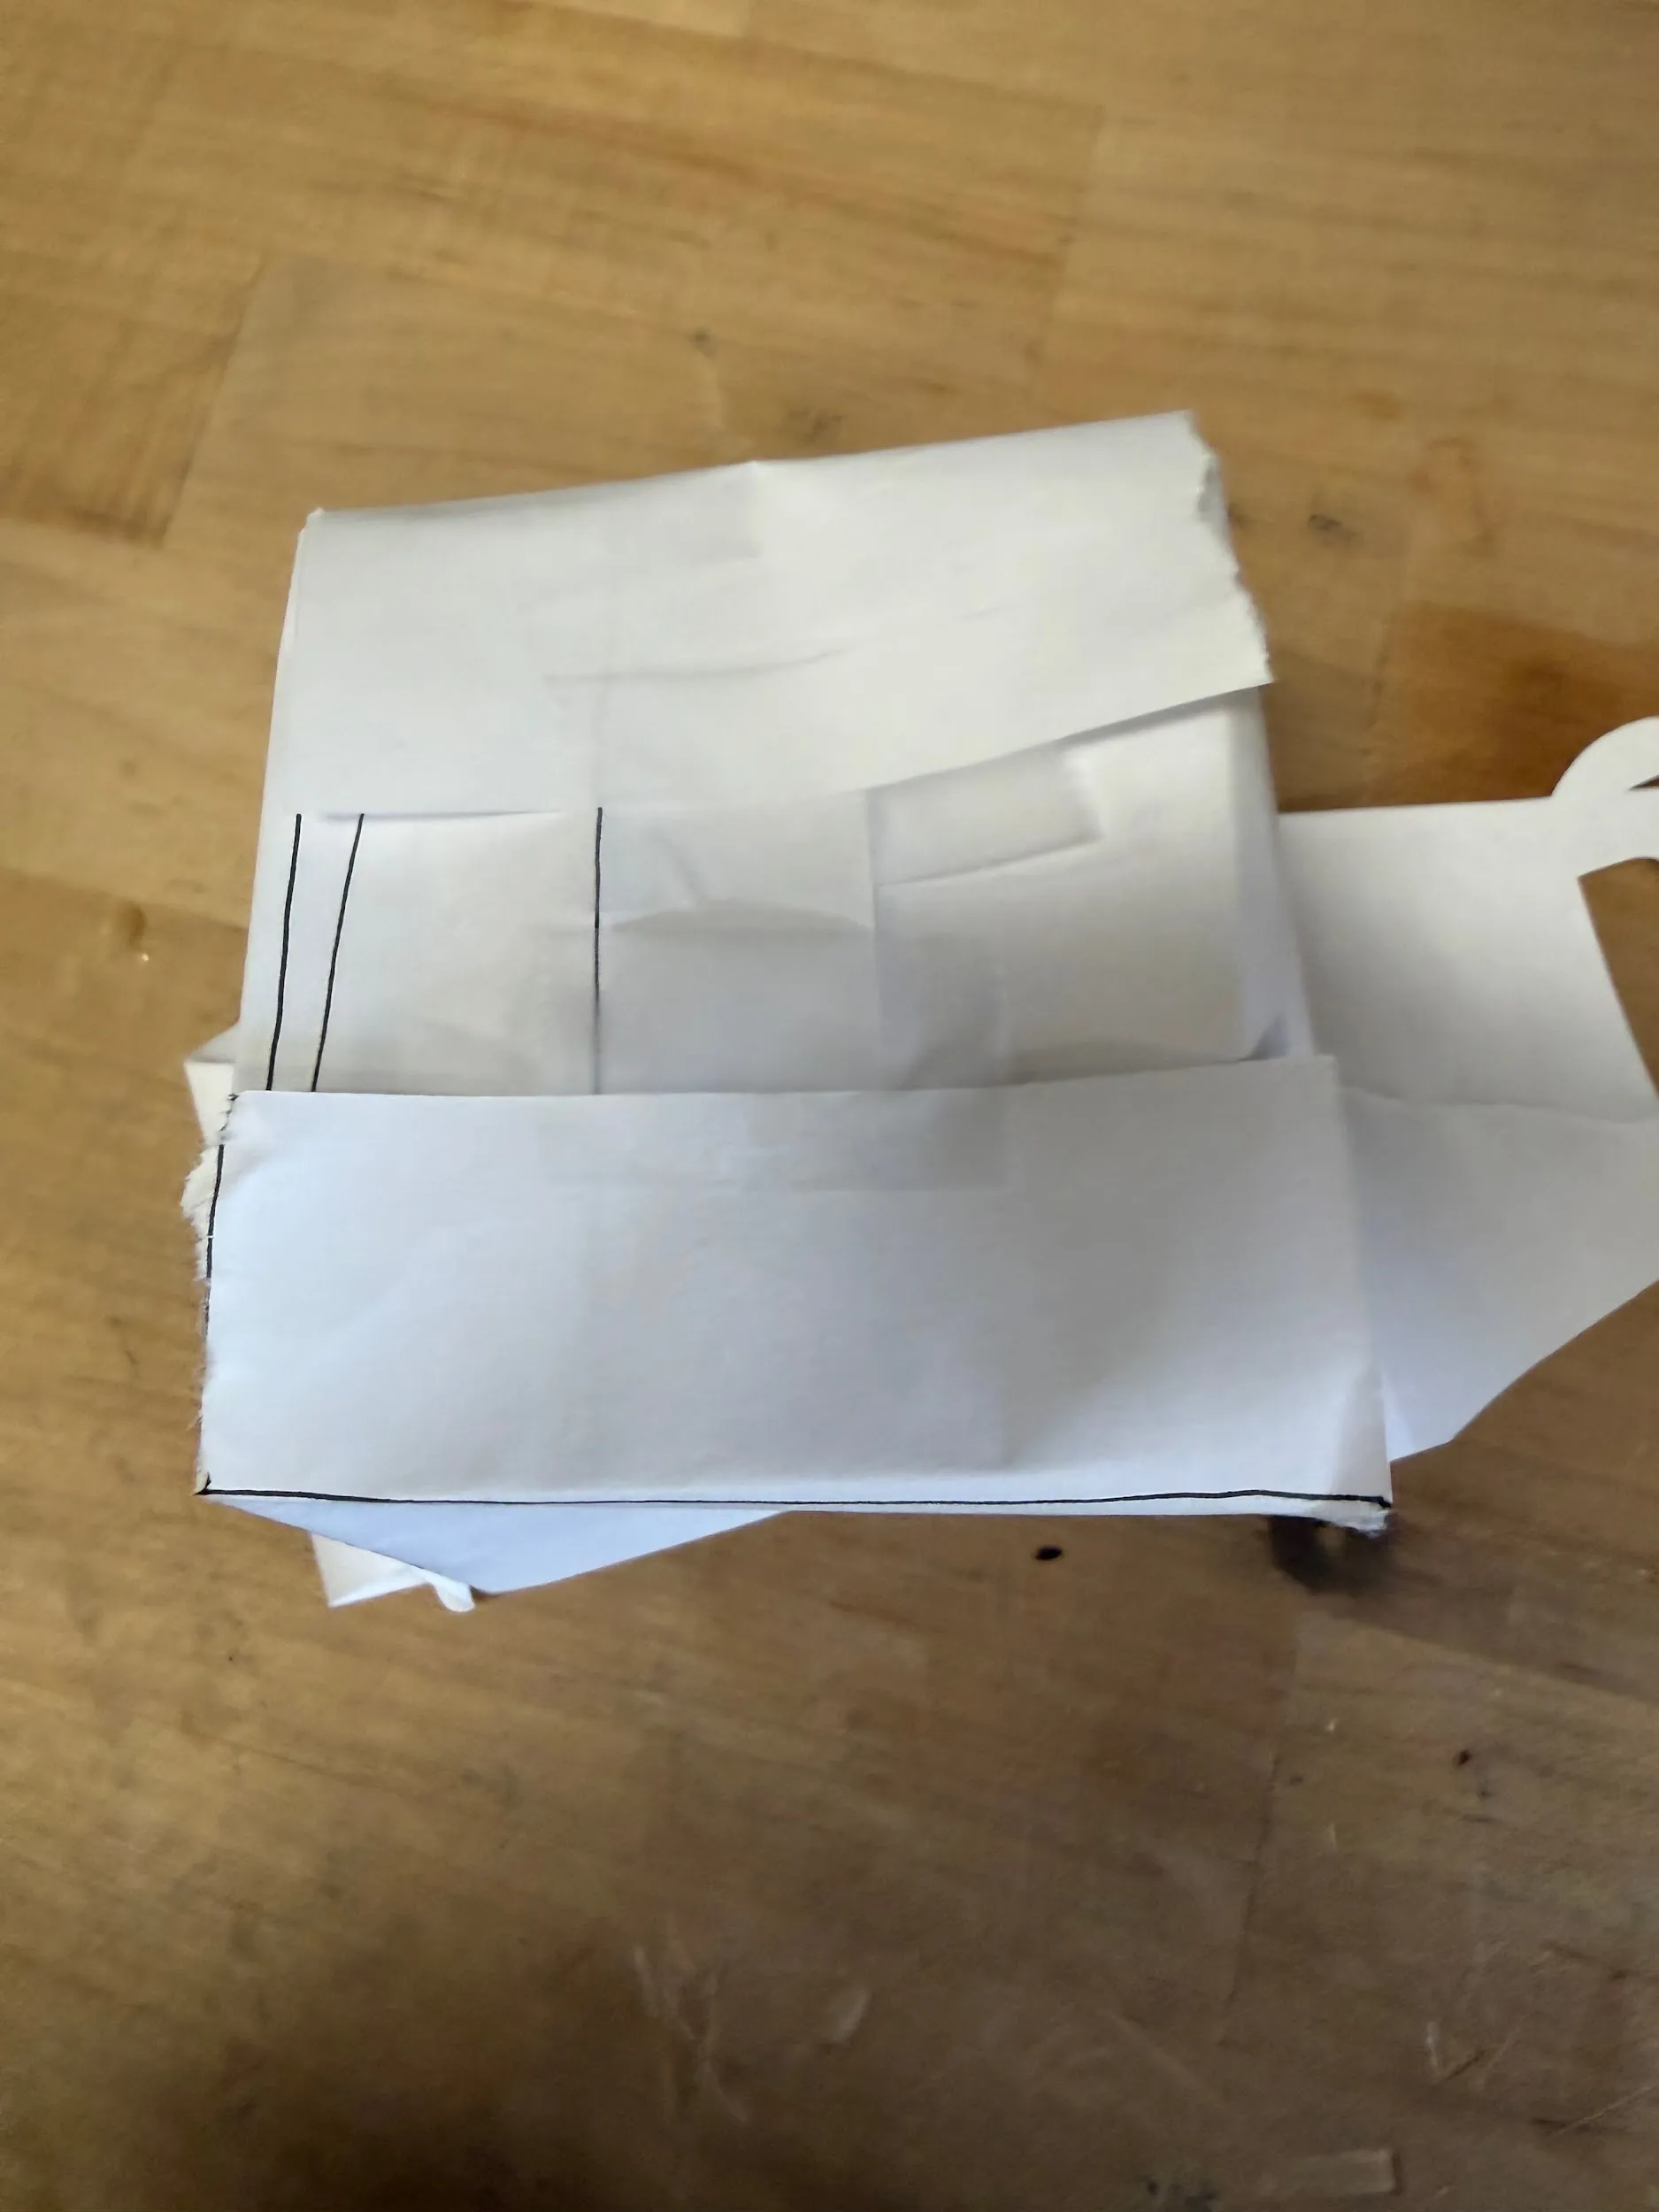
Tuck the protruding ends of the handles into the holes on the top side flaps to complete the box.